I am so excited to share these Wood Advent Calendar Activity Coins with you today!! I made a beautiful Felt Advent Calendar that I shared with you yesterday, but I needed the activities to put inside. I didn’t want to just write the activities on a piece of folded up paper- that’s no fun!
I wanted something more concrete and sturdy. Like wood. I used little round wood discs that I bought at Michaels, and used a transfer method that I’ll teach you to transfer the activities that I printed onto the discs.
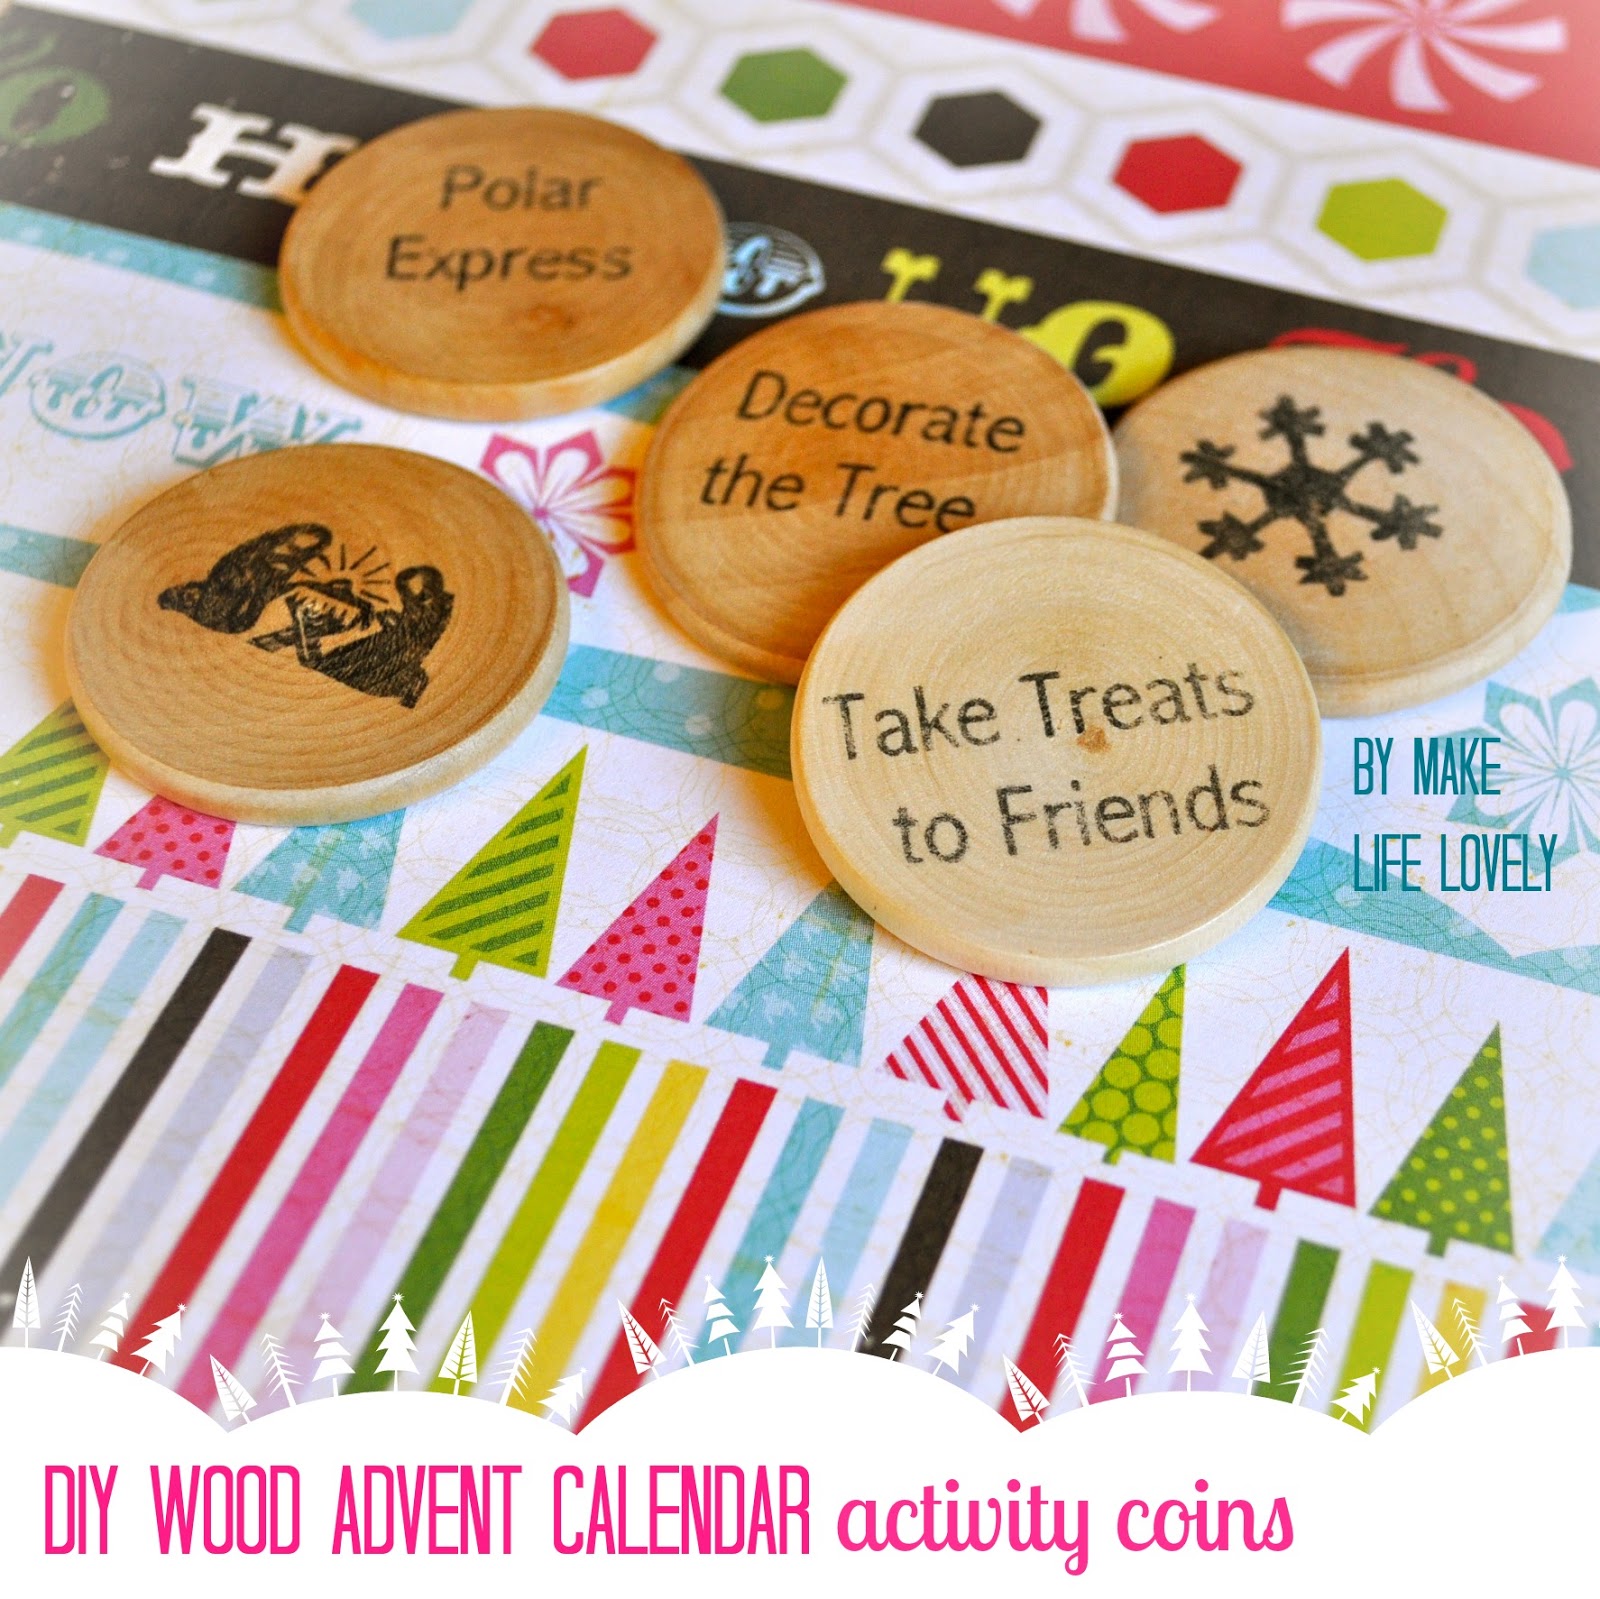
And I love the results! These coins will be a lot more fun for the kids to pull out of our advent calendar than a wrinkled up piece of paper, don’t you think?
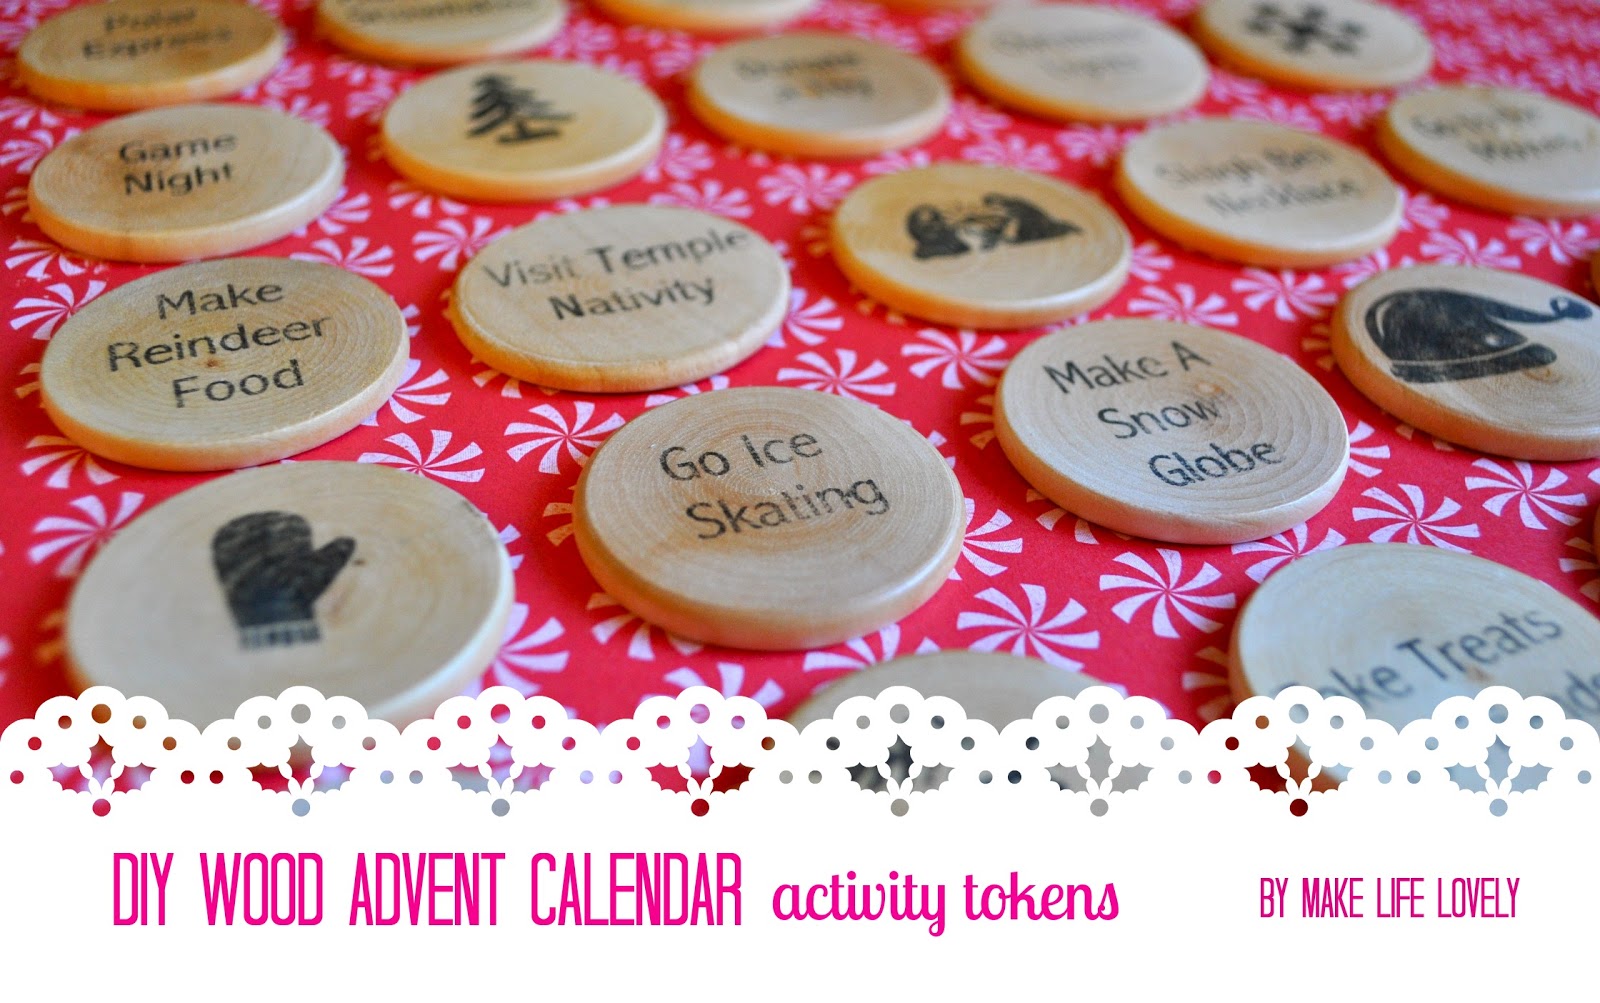
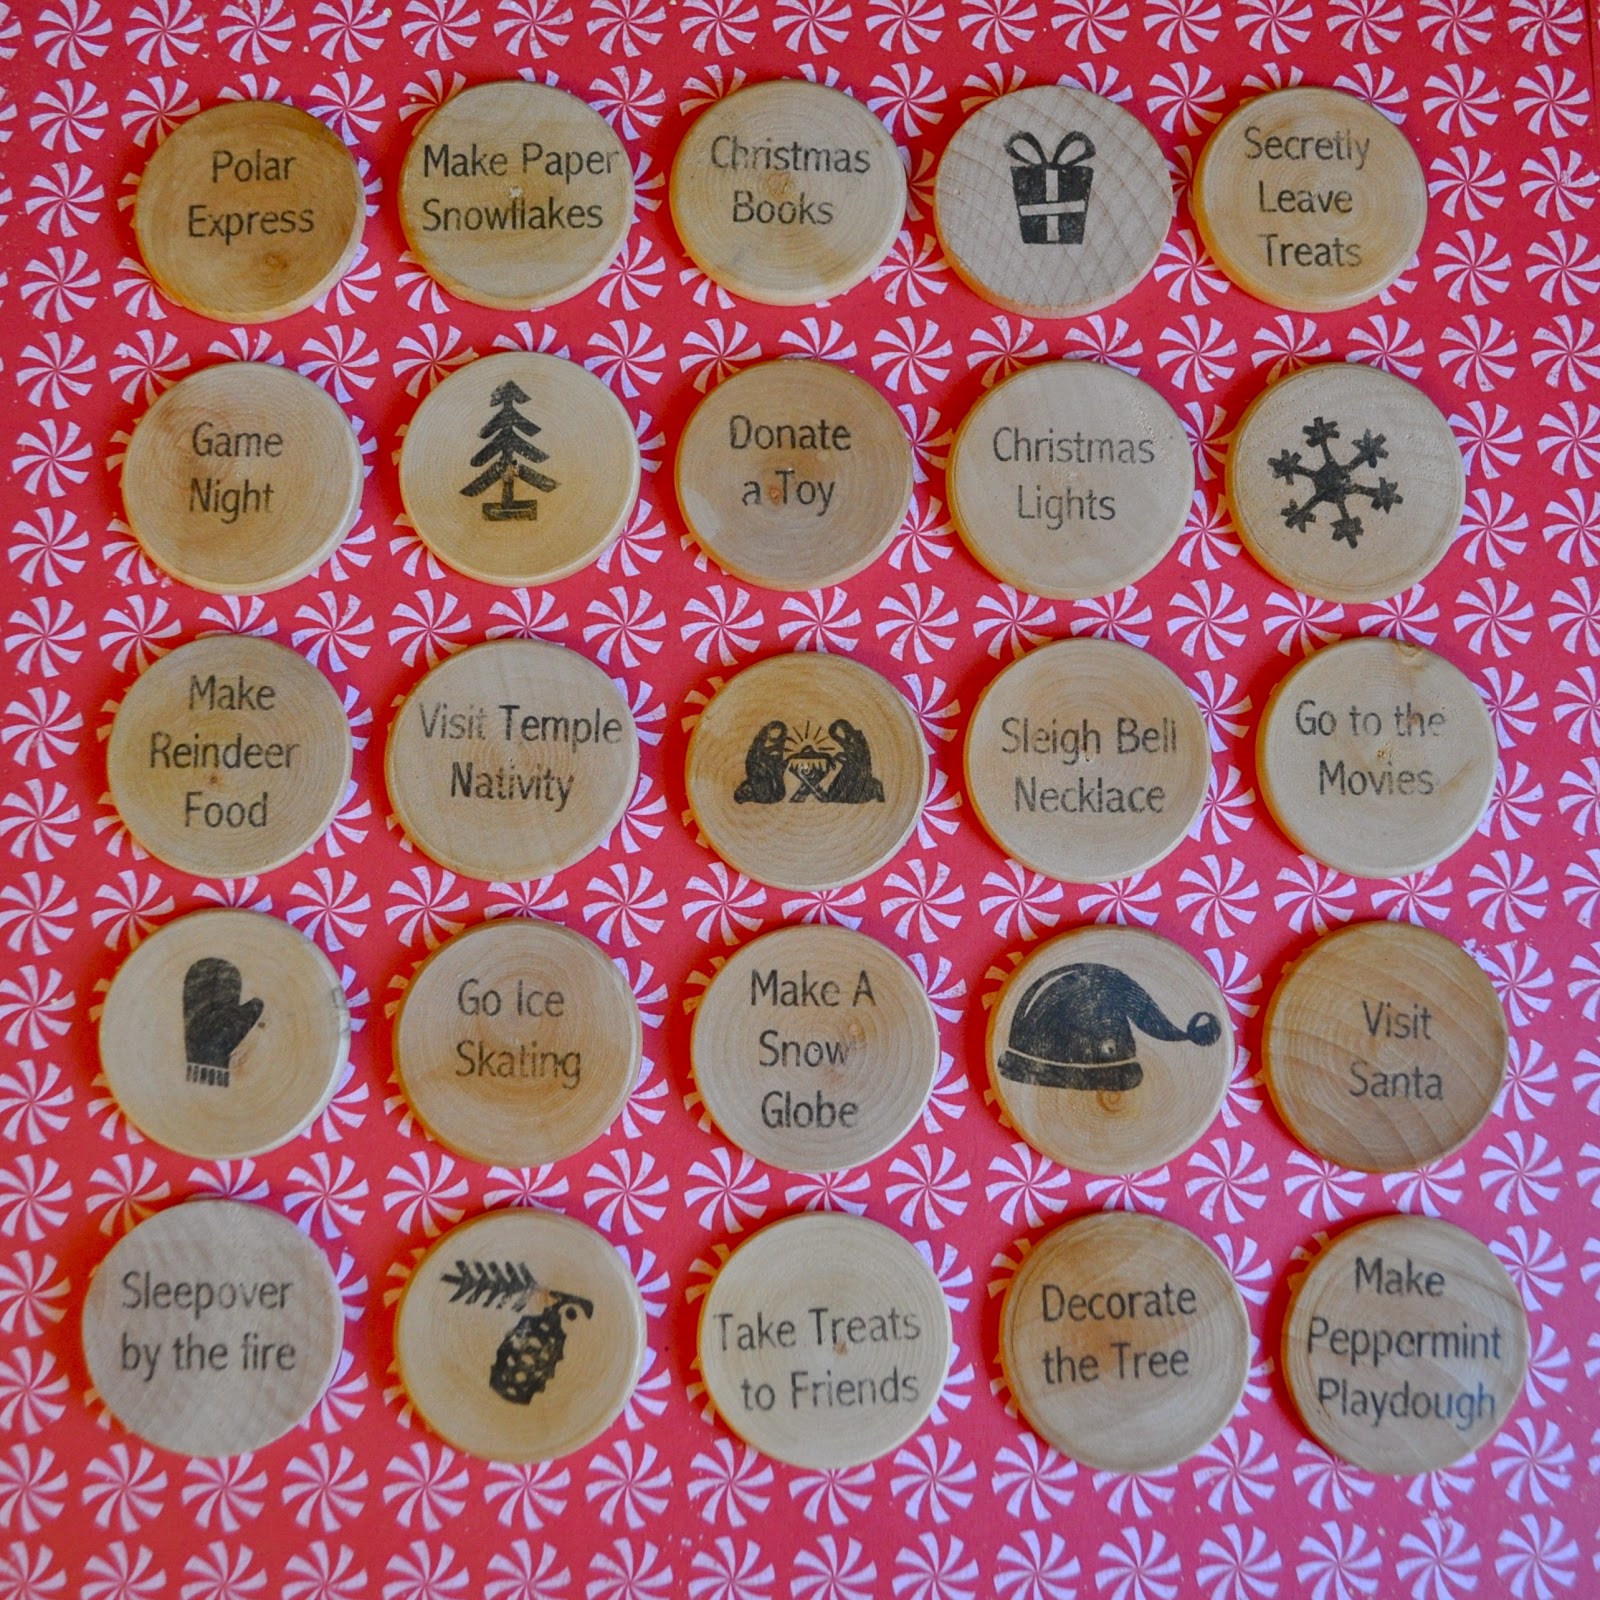
Here are just a few of the activities I put on the coins. There are TONS more activities than you will ever use in one year, but I figured the more the merrier, and then you can pick and choose which ones you would like to do with your kids.


I even sized some little Christmas pictures to go on the back of the tokens, or for a day when you give the kids a little present and don’t have the time to do an activity.

Supplies:
* Round wood discs (available at craft stores)
* Q-tip
* Citrasolv Orange Cleaner (available at natural and health food stores) If you’re in So. Cal, I found mine at Sprouts. You can also use the store locator to see if you can buy any near you.)
* Free printable I made for you

Step #1: Print out the free printable sheets
*** You must print these in mirror image on a laser printer, OR get copies made on a copy machine or printed on a laser printer in mirror image!! DO NOT print this out on your inkjet printer, because the ink will not transfer! ***
I just printed these on my computer regular, took my prints to a local copy center, and then had them make copies in mirror image for me. Easy!
Step #2: Cut out each activity that you would like to use, leaving a border around the edges.

Step #3: Put your cut out activity on the wood coin upside down, apply some Citrasolv to the piece of paper using a Q-tip, and use the top of the lid to scratch hard and all over the words to transfer them to the coin. If you’ve ever used a rub-on for scrapbooking, it is exactly like that.
Be careful not to wiggle the paper while you are rubbing, or you will have blurry words. You can lift up one corner very carefully to see if the transfer is working, and rub even harder to make the words darker. Then pull up the paper and voila! Instant gratification 😉

The coin on the left was just finished. Don’t worry, when it dries, it will look like the coin on the right.

Now put your cute little coins inside your advent calendar. Aren’t they cute?
And if you don’t have an advent calendar yet, check out this felt advent calendar tutorial for one you could make. You’ve still got time 🙂
I’d love for you to leave me a comment and let me know what you think of this project. Will you be giving it a try?
If you liked this project, please follow me on Facebook, Twitter, Pinterest, Bloglovin’, and Instagram.
XO, Laura