There are a million different ways to decorate Easter eggs, but one of the easiest ways I’ve discovered is by decorating them with vinyl.
Vinyl Easter egg decorating is so easy a child could do it, and there are a whole range of possibilities!
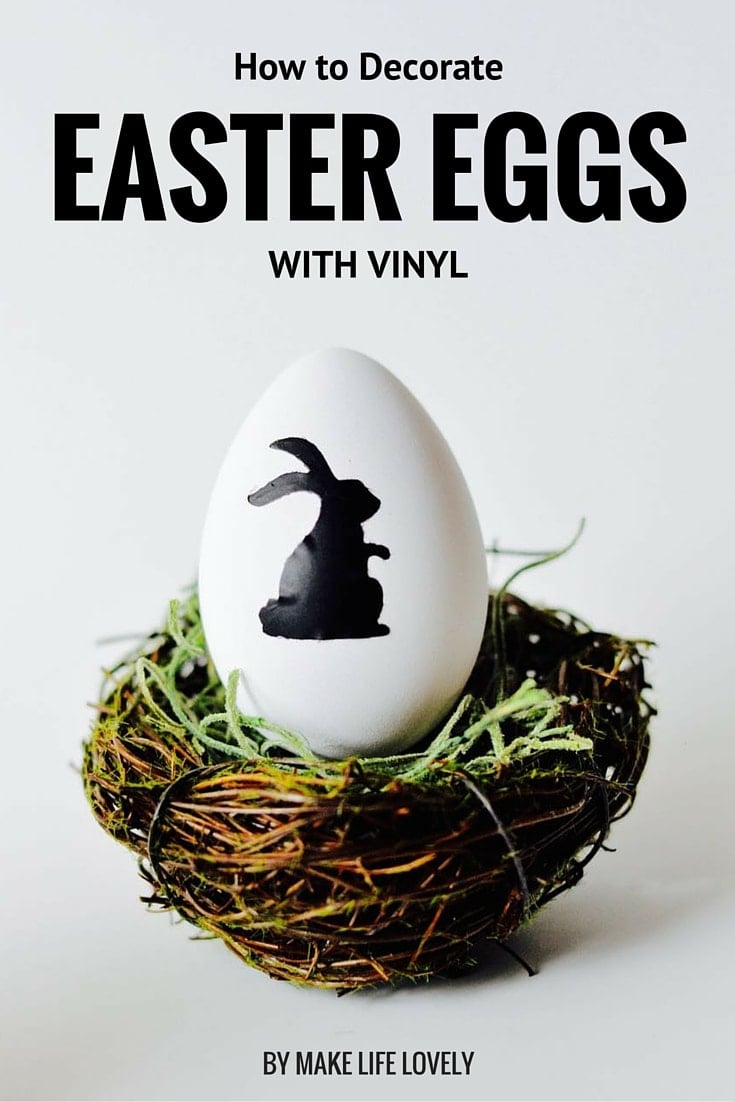
You can have a whole set of these eggs completed from start to finish in under 10 minutes, so it’s a quick mess-free way to decorate if you’re in a hurry.
Vinyl Easter Egg Decorations
Supplies:
- Eggs- These can be real, wooden, realistic looking craft eggs, or plastic
- Self-adhesive vinyl
- Die cut machine- I used my Sizzix Big Shotbut you could also use a Cricut
- Dies or cut files
Directions:
STEP 1. You can use plain white or colored eggs.
If you choose to color your eggs, then do so now using your favorite method.
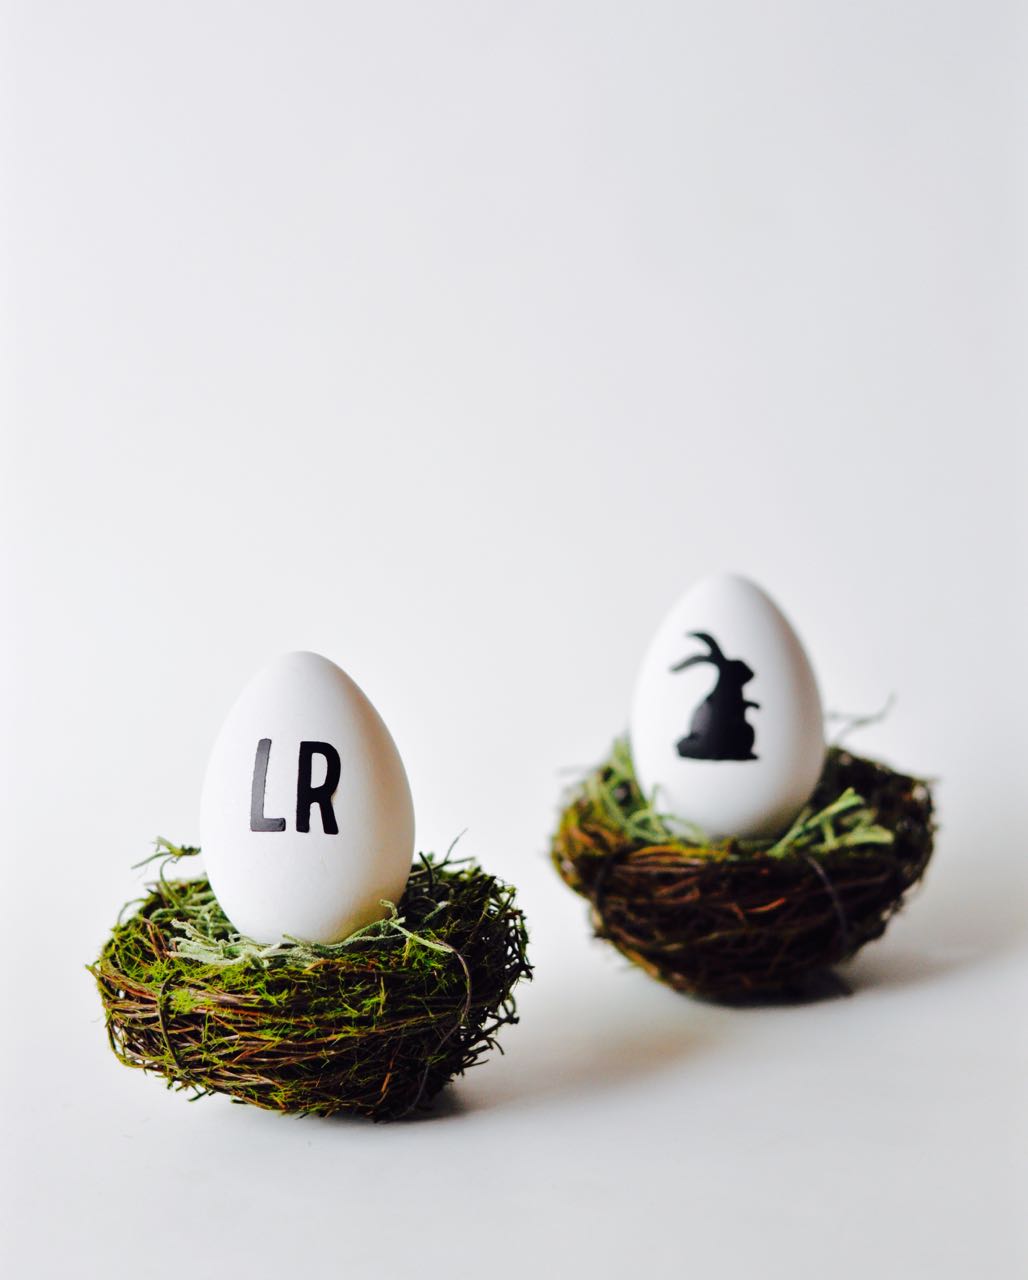
STEP 2. Use your die cut machine to cut out small letters or words to decorate your egg with.

To cut the cute little bunny, I made a Sizzix sandwich with the Magnetic Cutting Pad on the bottom, a cutting pad, the vinyl, the bunny die, and then another cutting pad on top.
I rolled the whole stack through my Big Shot machine and ended up with the perfect little bunny silhouette for my egg!
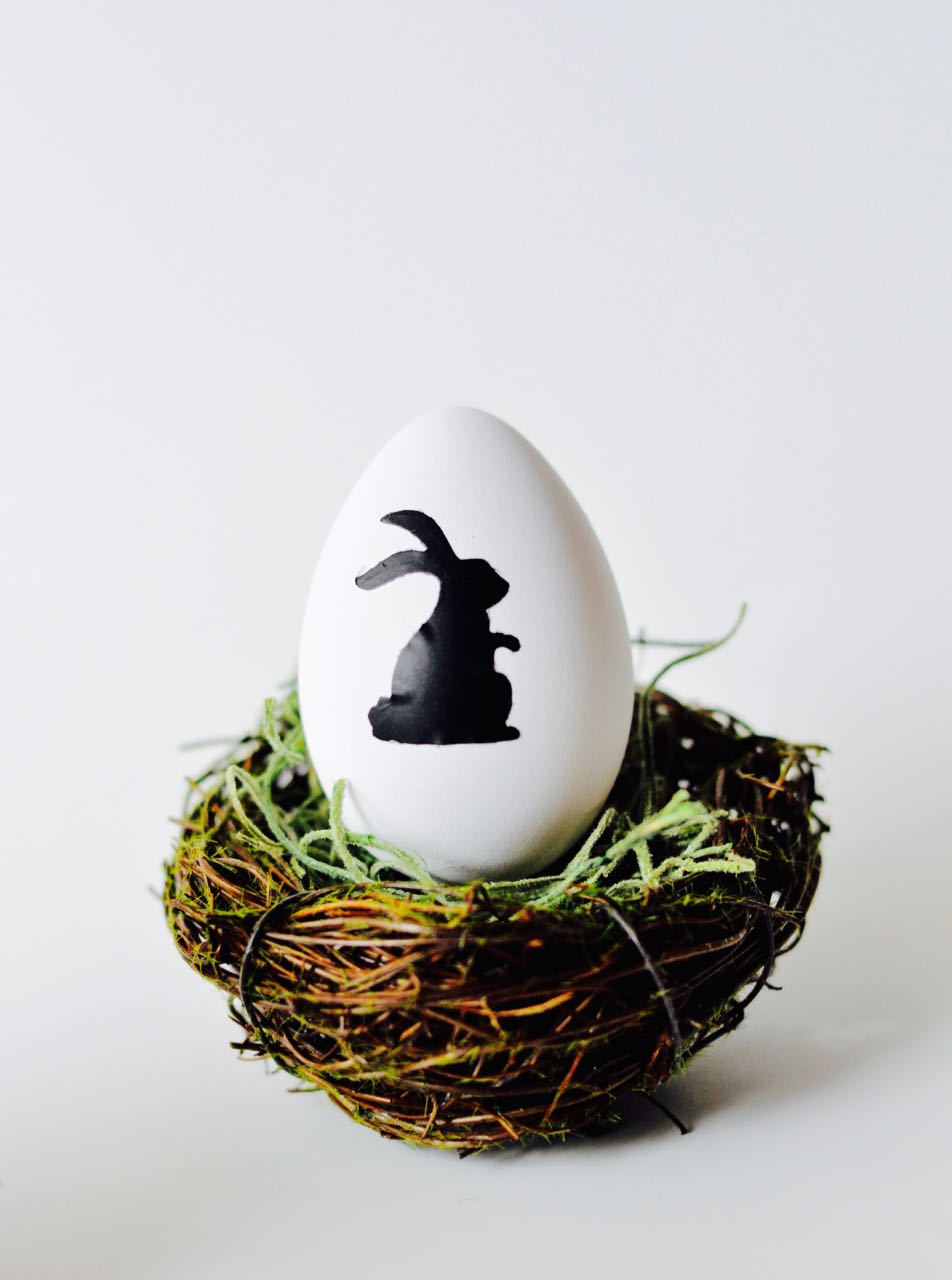
STEP 3. Unpeel the vinyl bunny off the paper backing, and stick it onto your egg.
So easy!

I also cut some small letters out to make the initials of everyone in my family on each egg.
Vinyl Easter egg decorating is a simple and easy way to decorate those eggs without the mess!
For more fun Easter ideas, you’ll love these…


DIY painted bunny jars. This is a great way to repurpose those old baby jars.

Easy marbled Easter eggs tutorial

How to grow a geode in an egg. This is a great science experiment to do with the kids!
Happy crafting!
![]()
Leave a Reply