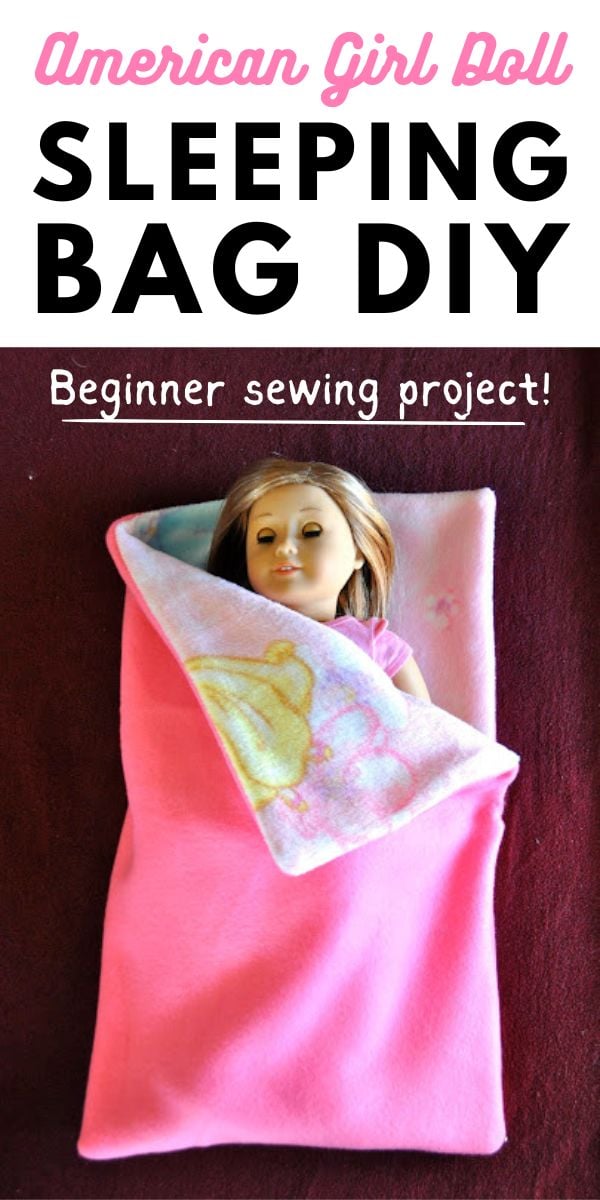
Make an easy American Girl doll sleeping bag for your daughter or grandaughter’s American Girl doll!
My daughter got an American Girl doll for Christmas this year, and I got a sewing machine that we both have been excited to try out.
We both are VERY novice sewers, so I wanted to go easy for our first project.
This project was actually pretty easy or us sewing newbies, and were both pretty proud of the end result!
American Girl Doll Sleeping Bag
Our American Girl Doll sleeping bag was a spur of the moment project, so we just used some material that I already had on hand.
If I were to make this again, I would definitely choose some cuter fabric. 😉
BUT, my daughter loves it, so that’s all that matters!
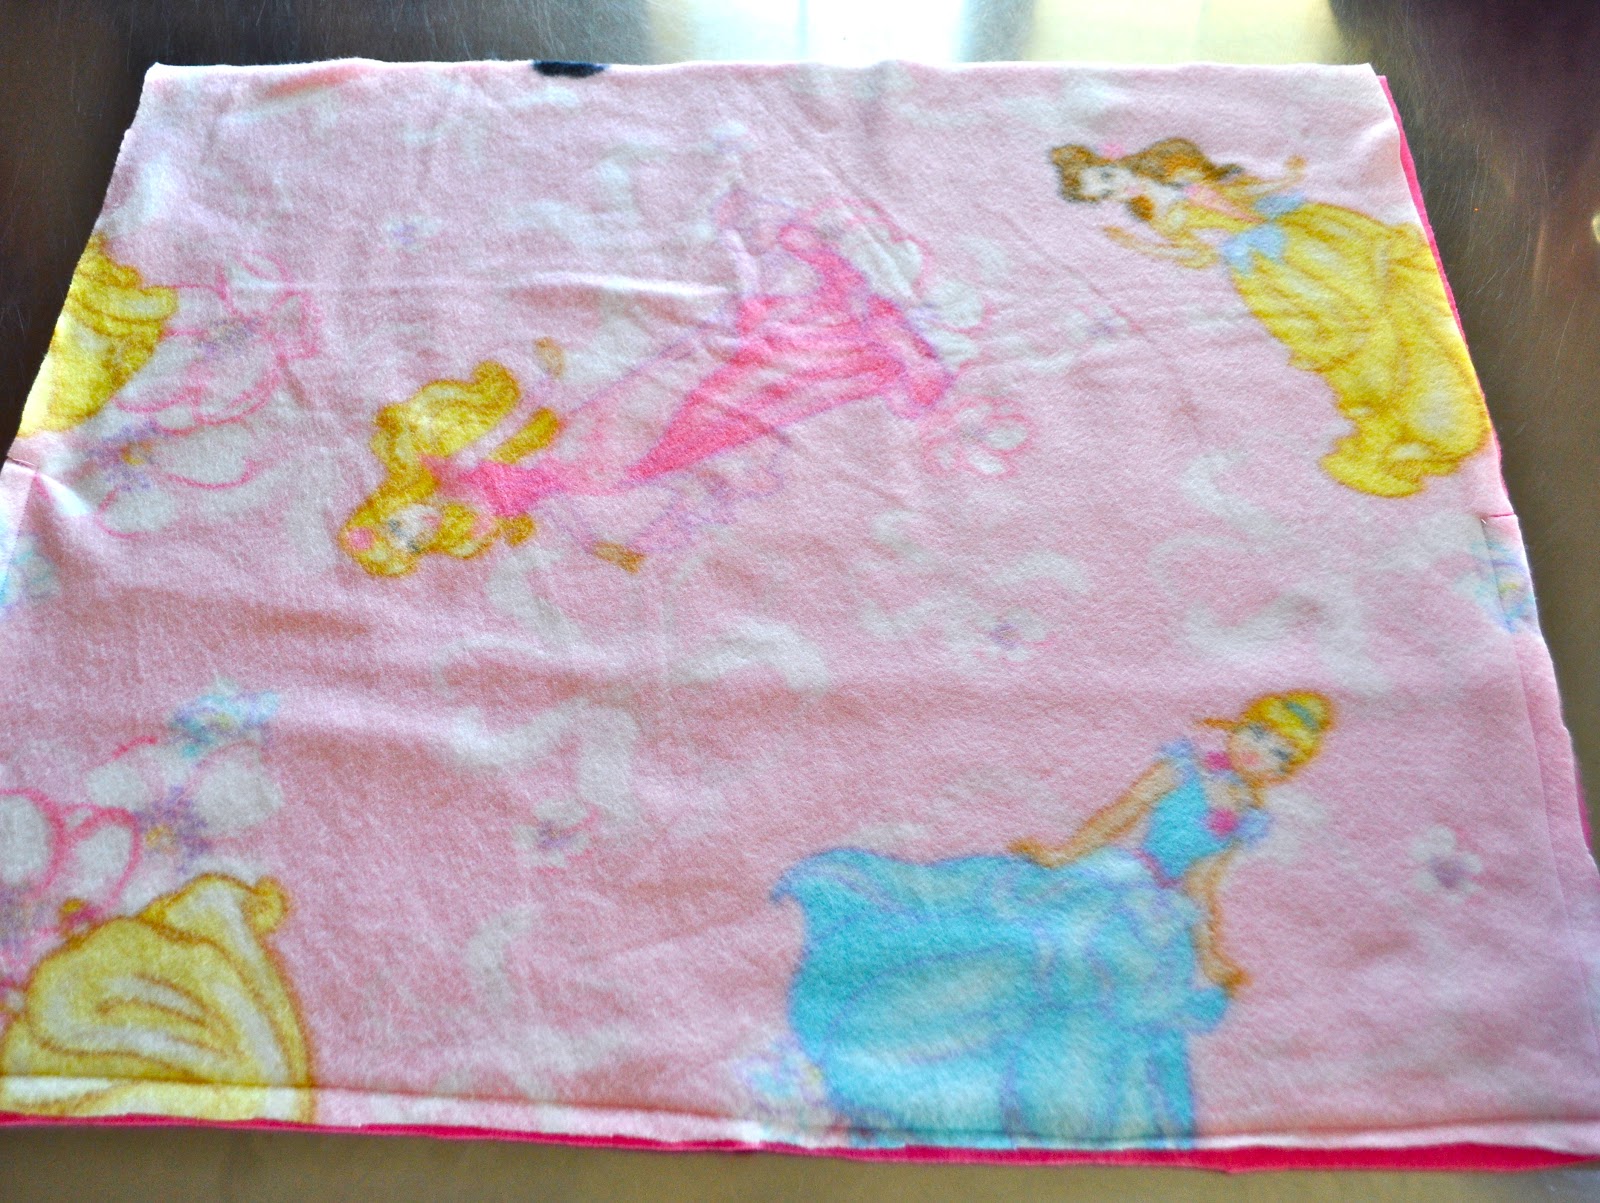
Cut the Fabric
Cut two pieces of fabric into a 21″x27″ rectangle.

One piece is for the inside lining of the doll sleeping bag, and one is for the outside.
I used the princess fabric for my liner, and the bright pink for the outside.
Pin the Fabric Pieces
Lay out the sleeping bag fabric, right side up.
Place the lining fabric on top of it, wrong side up.
Pin the two pieces together.
Sew the Doll Sleeping Bag
Use a fabric marker to mark the center of each short side.


Finishing the Bag
Clip the corners, and then cut a small slit next to the dots.
Turn the bag right side out.
I used the point of my scissor to push in the corners.

Fold the material in half to form the sleeping bag, with the right sides touching, then pin together.
Sew starting at the dot, and sew down the unsewn side and across the bottom of the bag.
Turn the bag right side out, and use your scissors to push out the corners.

All done!
Now if I can make this American Girl Doll sleeping bag with my limited sewing skills, then you can definitely make this!
Your little girl will love you even more for it!
P.S. My daughter helped sew this one, and now wants to save up her money to buy herself a sewing machine.
Love that.
Now we just need to make a quick pillow for her and she’ll be set to go to the next sleepover!
We are going to roll up the sleeping bag when not in use, wrap a ribbon around it, and tie it for easy storage and transport.
![]()
This article was updated in July 2024 and was originally published in January 2013.
justjess says
I love this idea. My daughter also got an American Girl doll for Christmas, and I think she will *love* to have a sleeping bag for her doll. Thanks for the tutorial!
Laura Russell says
You’re very welcome! If your daughter is anything like mine, she will LOVE her doll’s new sleeping bag! Thanks for reading 🙂
Buffy0214 says
Awesome tutorial and just in time for us. There are others out there but his was quick and easy. My daughter made this sleeping bag in less than an hour. (with some fleece she picked out and some satin left over from a halloween costume). Now her doll is ready for an AG sleepover. Thanks!
Laura @ Make Life Lovely says
Great, glad I could help! What a cute idea for a party!
Anonymous says
My granddaugther and I just made two sleeping bags for her dolls, she loves them
Laura @ Make Life Lovely says
Your granddaughters are lucky to have a grandma like you to make doll sleeping bags with them! Thank you for sharing!
Anonymous says
thanks so much! super easy and used it for my daughters 1st sewing lesson!
Laura @ Make Life Lovely says
Love it! That makes me happy, because I did this project with my daughter, too, to get her started on my new machine. Thanks for the comment!
Steven says
Hello Laura,
Very nice job, the sewing looks great and the doll fits into the sleeping bag perfectly!
Nancy says
so glad to find this! I need to make 12 sleeping bags for an American Girl themed birthday party and didn’t want to do something elaborate!!
Kathy B says
Loved this pattern…it worked beautifully and I made it from scraps I had. Thank you.
Laura says
Excellent, so happy to hear it Kathy! I love when I can make a project out of my scraps… it makes the finished product even better, doesn’t it? 🙂
Rachel says
Found you on Pinterest! Thank you for this tutorial. My 7 year old has helped make three of these for herself and friends, and I’ve made at least 3 on my own. I’m about to do another tonight. I’ve been adding a pillow and sleep mask and gifting a dolly sleep set. Thanks again!
belinda says
I have a Disney toddler that I made a nightdress and nightgown from an old dress. I was thinking I should make a bed so I saw this when I typed in beds for A G so I’ve book marked it and will make it from two more old dresses.
Laura says
That’s awesome Belinda! My daughter loves hers. What a great way to reuse an old dress too!
Linda says
Thank you so much!
Kimmy B says
Thank you for this! I’ve just finished two for my girls. I changed it up slightly and added batting inside so that it is quilted. I used all scraps. They’re perfect!
Laura says
Yay, that’s great to hear Kimmy! I bet it looks great quilted too, and I love that you used up your scraps for this project. Thanks so much for stopping by!
Lois says
My granddaughter and I made 3 of these in one afternoon! She did a great job. She’s giving them to her sisters for Christmas! They were so easy to make. I had to help a bit. We were on a time crunch. Thanks for the good tutorial!
Laura says
Wow, that’s great! What a sweet granddaughter you have to make these for her sisters. I bet they will love them. And what a nice grandma you are to help her! I’m so happy to help you both!
Cait D says
I had to watch my nieces while my FIL was on hospice. This was the perfect project to keep their spirits up. Thanks for making the tutorial.
Laura says
I’m so glad to hear that. You’re very welcome!