Make Life Lovely

Your DIY Guide to a Lovelier Life

  • Home
  • About
    • My Story
    • Contact
    • PR/Press
    • Terms
  • DIY / Crafts
    • Crafts
    • Gifts
    • For the Home
    • Kids
    • Memories
    • Paper
    • Parties
    • Printable
  • Holidays
    • Valentine’s Day
    • St. Patrick’s Day
    • Easter
    • Mother’s Day
    • Father’s Day
    • Fourth of July
    • Halloween
    • Thanksgiving
    • Christmas
    • New Year’s Eve
  • Food
    • Bread
    • Dessert
    • Drink
    • Main Dish
    • Side Dish
    • Soup
  • Fashion
    • Accessories
    • Beauty
    • Clothes
  • Travel

How to Make a Mason Jar Snow Globe {In 5 Minutes}

September 24, 2018 By Laura 17 Comments

1051shares
  • Share
  • Tweet

Make a beautiful mason jar snow globe in under 5 minutes!  This simple tutorial will teach you how to make a snow globe in a mason jar to decorate with for the holiday and winter season.

There’s something magical about turning a snow globe upside down and watching the small glitter flakes happily dance down to the bottom of the jar.  When I was in Anthropologie recently I saw some lovely snow globes made out of mason jars that I fell in love with.

Mason jar snow globe

I love Anthropologie as much as the next person, but $28 for a small and $40 for a large mason jar snow globe was much more money than I wanted to pay.

Each Anthropologie snow globe mason jar was adorable, but I knew that I could make them for a LOT cheaper using mason jars from my collection and some bottle brush trees.

I found my bottle brush trees at Home Depot (of all places) for around $7.50 for a BIG bag of 21 trees. Such a great deal!

Here’s how to make my Anthropologie inspired snow globes, with a much more reasonable price tag.

BONUS:  These DIY mason jar snow globes can be made in under 5 minutes each!

Mason jar snow globe

How to Make a Mason Jar Snow Globe

Supplies:

  • Mason jars (any shape and size you want)
  • Bottle brush trees
  • Fake snow or epsom salt (I used fake snow because I wanted it fluffier than Anthro’s version)
  • Glue gun
  • Clear glitter (optional)
  • Small rocks or clear pebbles (optional)
Step 1.  Glue a bottle brush tree onto the inside of a mason jar lid.
If you want your tree to sit higher in your mason jar snow globe, then glue your tree to a small rock or pebble.  This way you can add more snow to your mason jar without it covering up too much of the tree.

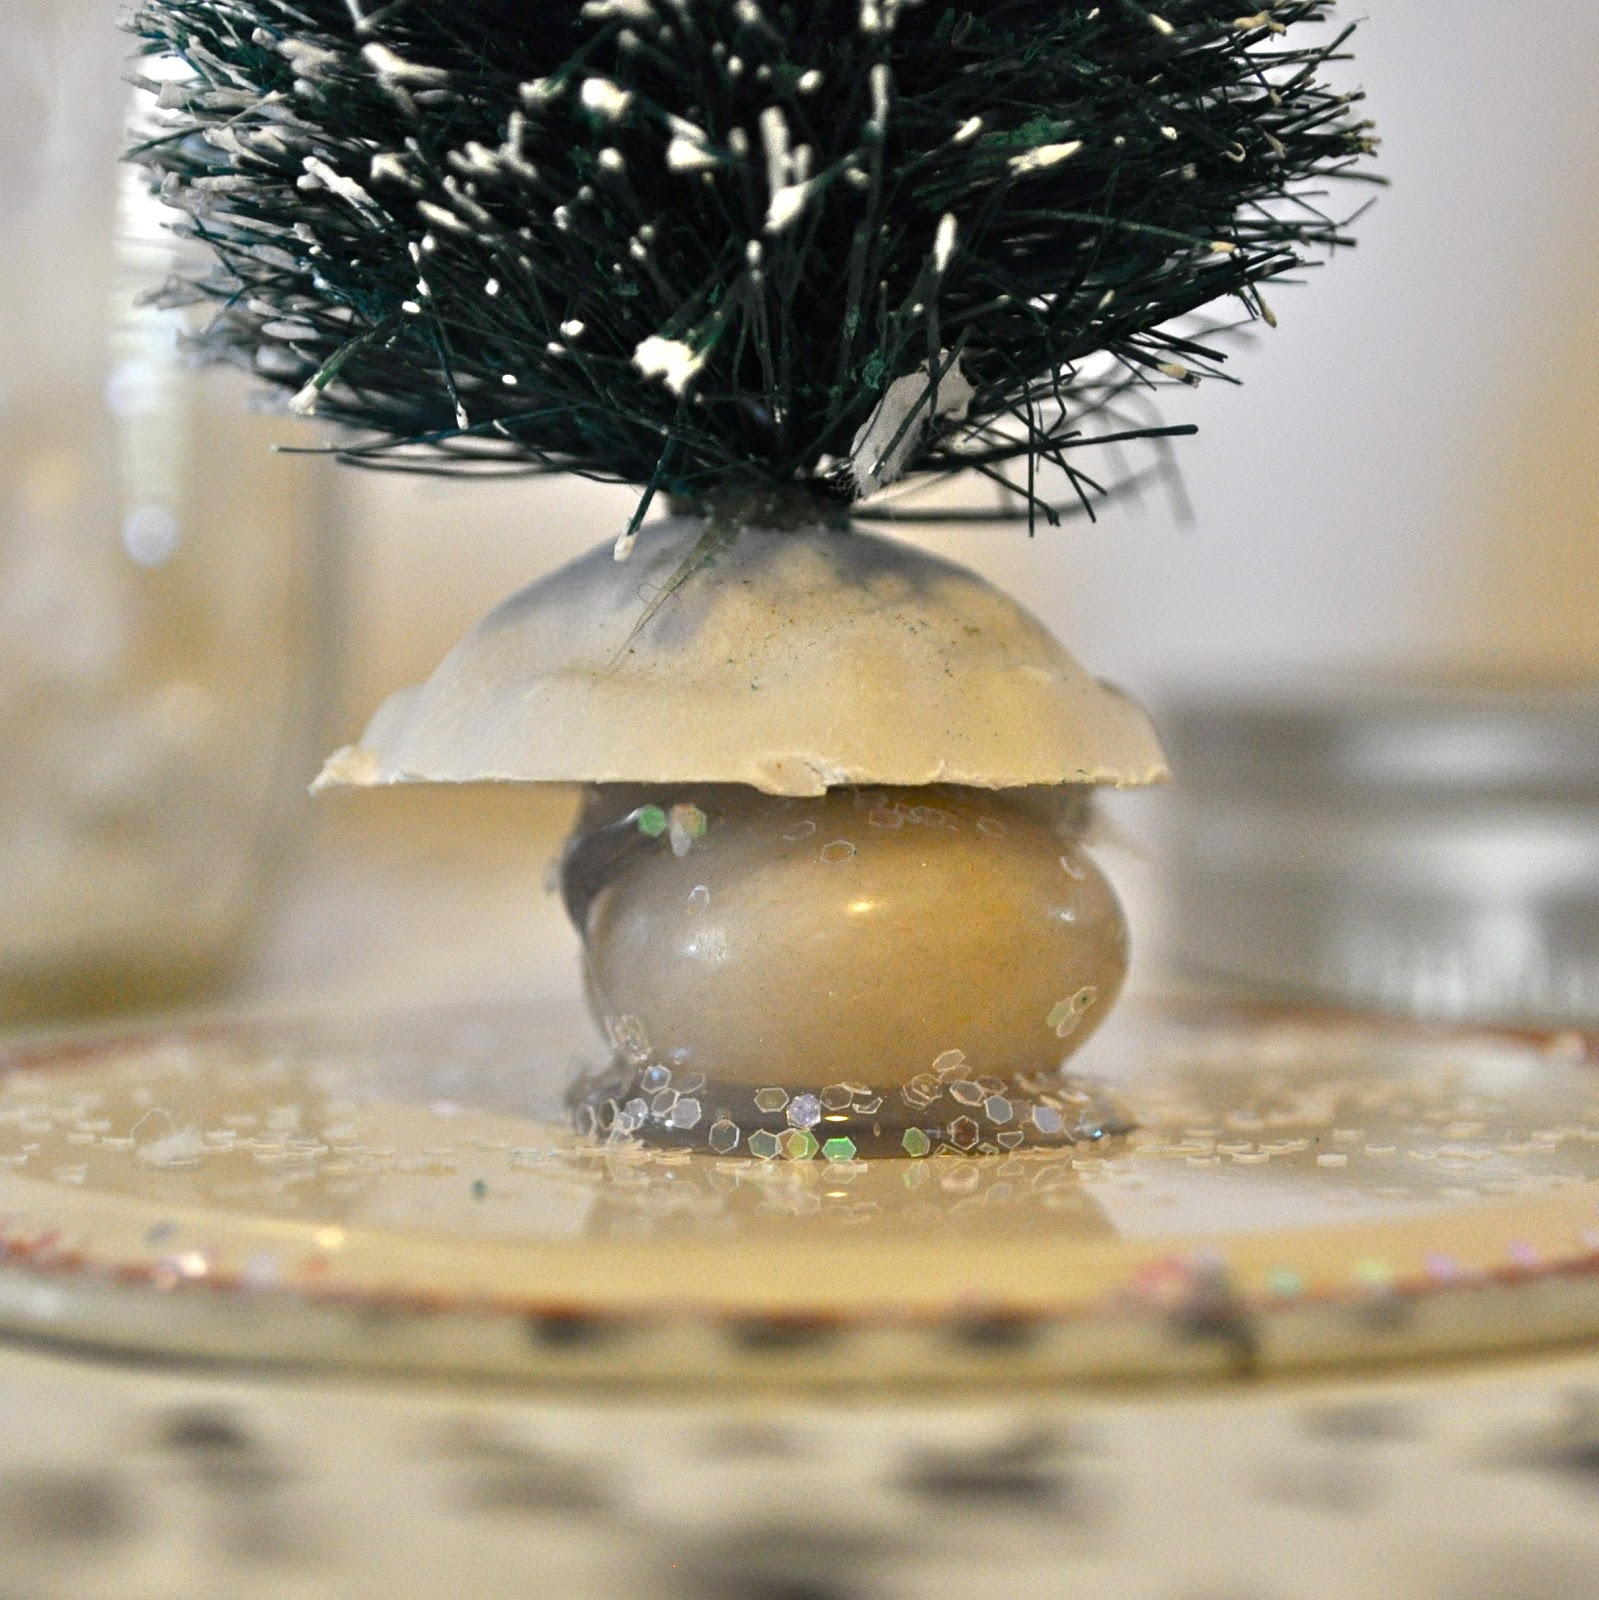
Step 2.  Add as much snow and glitter as you would like to the jar, with the opening up top.

Screw on the lid, turn the mason jar snow globe upside down, and be amazed at how beautiful your new snow globe is (and how easy it was to make).DIY Mason jar snow globe

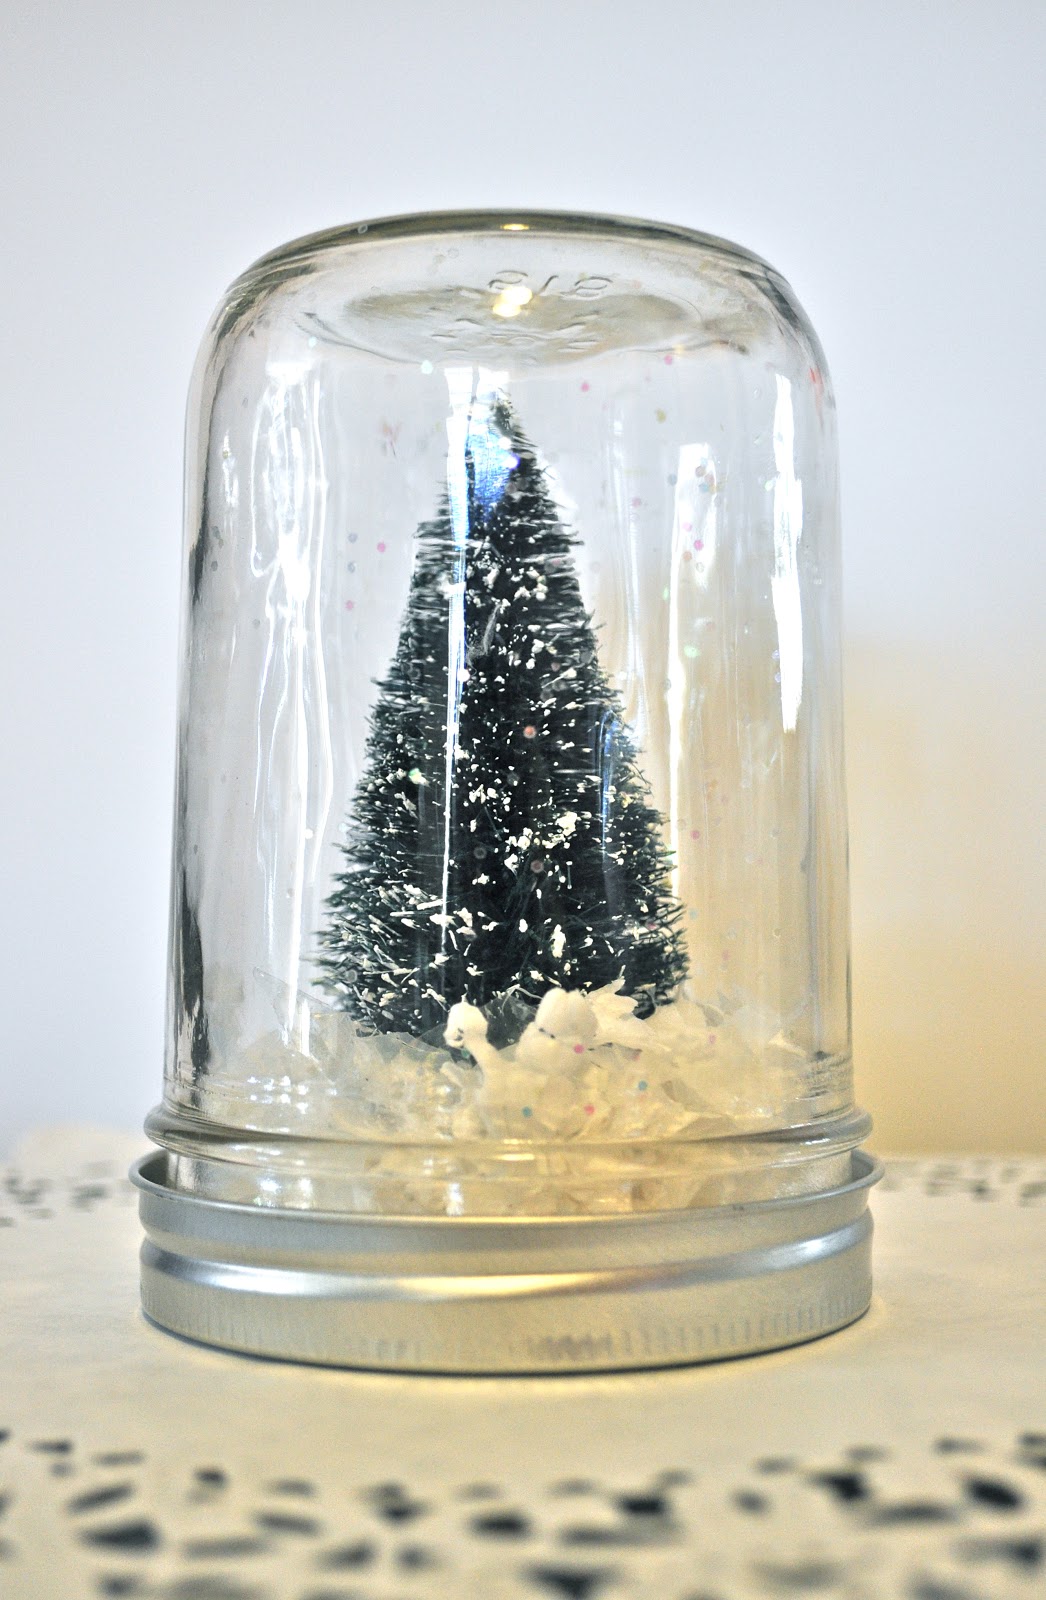
This DIY mason jar snow globe looks so pretty in my home.  A snow globe made out of a mason jar would make a thoughtful gift for friends, neighbors, and teachers.

I hope you enjoyed learning how to make a snow globe in a mason jar. They really are cheap, fast, and easy, which is the best kind of DIY project, right?

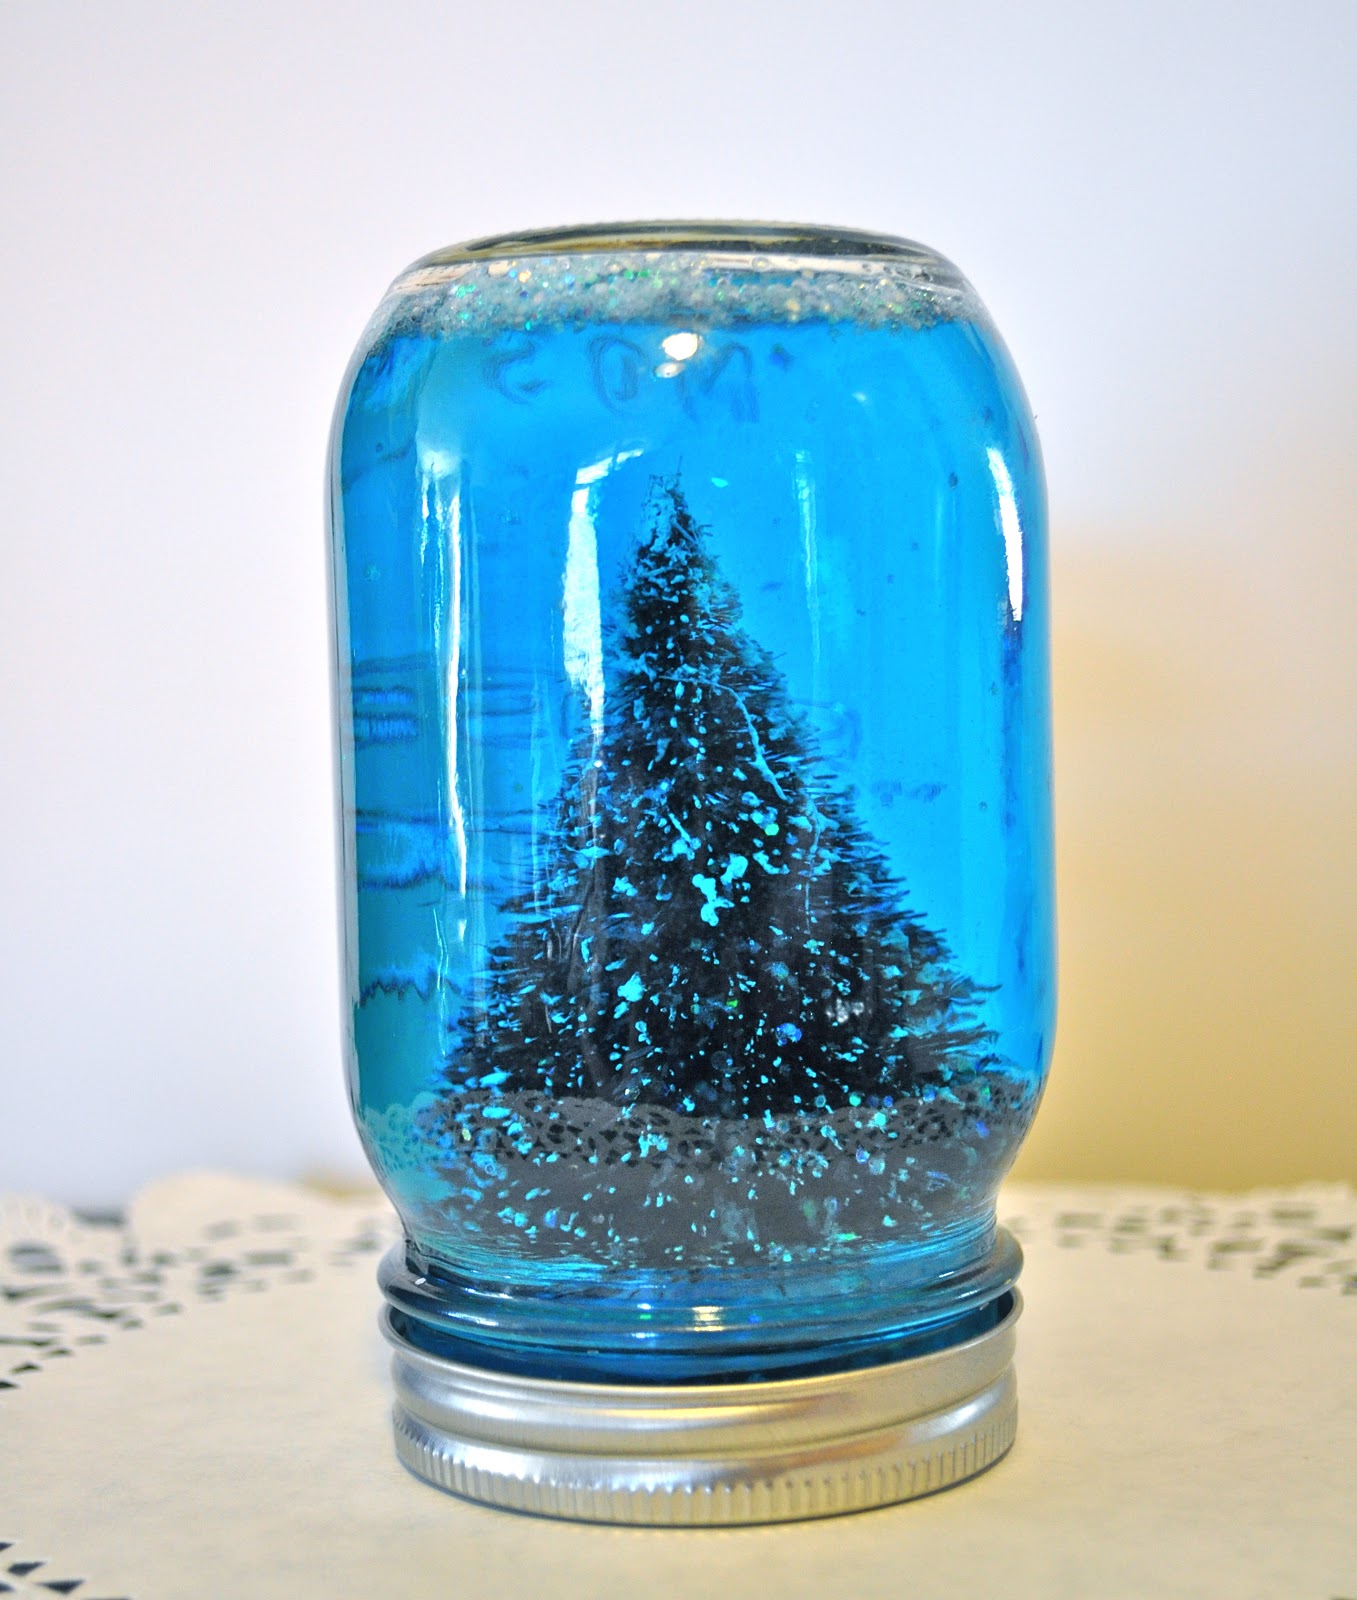
P.S.  If you were thinking about adding water and glycerin to this version, DON’T, unless you want to have a “blue Christmas” 😉

Not that I would ever try such a silly thing…

signature
Originally posted in December 2012, recently updated.
1051shares
  • Share
  • Tweet

About Laura

Hi! I'm Laura, owner and creator of Make Life Lovely, a creative blog filled with creative craft tutorials, DIY projects, party tips, holiday ideas, home decor, and so much more! Make Life Lovely is dedicated to making everyday life more lovely, and I hope to inspire you and show you how!

Let's Be Friends!


Comments

  1. The Wilcken 7 says

    December 19, 2012 at 11:38 pm

    What a great idea, I love it! I’m totally going to do this with my kids next year! And your blue snow globe made me laugh so hard! I was grateful I didn’t have something in my mouth!

    Reply
    • Laura Russell says

      December 20, 2012 at 1:04 am

      Haha, thanks! I should have known better than to add water to this with metal and all, but was surprised that it turned blue, not green?! A Christmas mystery I suppose 🙂

      Reply
    • cuttingras says

      December 7, 2013 at 11:53 pm

      Maybe Add A Drop Of Yellow Food Coloring?

      Reply
  2. Jennifer says

    December 31, 2012 at 7:38 pm

    I actually prefer yours to the Anthro version! Thanks for sharing 🙂

    Reply
    • Laura Russell says

      January 2, 2013 at 6:41 am

      Aw, thanks for making my day Jennifer!! They are so easy and much much cheaper, even with the after Christmas sale price I just saw in the store 😉

      Reply
  3. Beatriz says

    December 1, 2013 at 9:40 pm

    what else do you think you could put in besides the tree??

    Reply
    • Laura @ Make Life Lovely says

      December 23, 2013 at 5:13 pm

      You could use small ornaments, little deer toys, maybe a small car or truck with a Christmas tree on top? The possibilites are endless! I would check out the holiday and toy sections of the different stores that you go into, and I’m sure you’ll find some great things to use. Good luck!

      Reply
  4. Teresa says

    December 6, 2013 at 9:31 am

    really cool – great idea for my co-workers! Thanks

    Reply
    • Laura @ Make Life Lovely says

      December 23, 2013 at 5:20 pm

      You’re welcome Teresa, they are a cinch to put together. Your co-workers will love them!

      Reply
  5. bkfonz says

    December 9, 2013 at 5:07 am

    Thinking of making these for Christmas gifts from our 3rd graders.

    Reply
  6. bkfonz says

    December 13, 2013 at 6:55 am

    I made one just to see how easy it would be for our 3rd graders….turned out great!! I followed the instruction but I wanted it to have more sparkle…I added some buffalo snow, the flakes are more irredescent and I Love It…..

    Reply
    • Laura @ Make Life Lovely says

      December 23, 2013 at 5:15 pm

      Great idea adding the buffalo now! I bet it looked beautiful. Yes, this is a great project for kids, I hope they had fun making them! Thanks for letting me know how they turned out 🙂

      Reply
  7. Betty says

    December 16, 2013 at 11:51 pm

    I still have the snow globe my 34 year old made in grade school. It was made with a glass baby food jar. Why do you say NOT to use glycerin?

    Reply
    • Laura @ Make Life Lovely says

      December 23, 2013 at 5:19 pm

      You definitely could use glyecerin if you add water to it. I didn’t end up using water in mine, because I tried it, and the trees I bought turned the water blue. The Anthro version didn’t have water, either, so I figured it was okay without. If you do add water, I would make sure to test whether or not the trees or objects you bought for your jar will turn the water colors. Maybe if you sealed the tree with some kind of sealer the water wouldn’t change colors? I haven’t experimented with that yet, but if anyone does, I’d love to hear about it! If you use plastic deer or other plastic items, I don’t think that the color would be a problem. That’s very cool that you still have a snow globe that your child made you that long ago!

      Reply
  8. Tammy C says

    December 22, 2013 at 6:50 pm

    Please add more info on what liquid to use in the supply list. From the article and comments my understanding is that we need to add glycerin, not glycerin and water. Where are the most likely places to get glycerin?

    Reply
  9. Marta says

    November 23, 2014 at 11:36 am

    Hi! This is awesome! I want to do it but do I need a glue gun or can I just use superglue?

    Reply
    • Laura says

      November 24, 2014 at 12:01 pm

      Superglue, or any other strong glue, is just fine! We had so much fun making these… enjoy!

      Reply

Leave a Reply Cancel reply

Your email address will not be published. Required fields are marked *


[footer_backtotop]

Copyright © 2021 · Genesis Framework · Design by Key Lime Digital Designs · Log in

Privacy Policy