Summer is a busy time for us with three birthdays in our family. I try to get creative with each of our birthday cakes, and one of my favorite ways of doing this is buying a store-bought cake and personalizing it for the birthday boy or girl. One clever way to do this is with a chocolate cake topper!

A chocolate cake topper is edible, simple to make, and looks great on top of a cake! Plus, you can personalize it with any color of chocolate and any shapes and colors of sprinkles that you want. Today I’m sharing this simple chocolate cake topper tutorial with you!
Chocolate Cake Topper Tutorial
Supplies:
- Chocolate melts or chocolate bark (in any color you want)
- Sprinkles
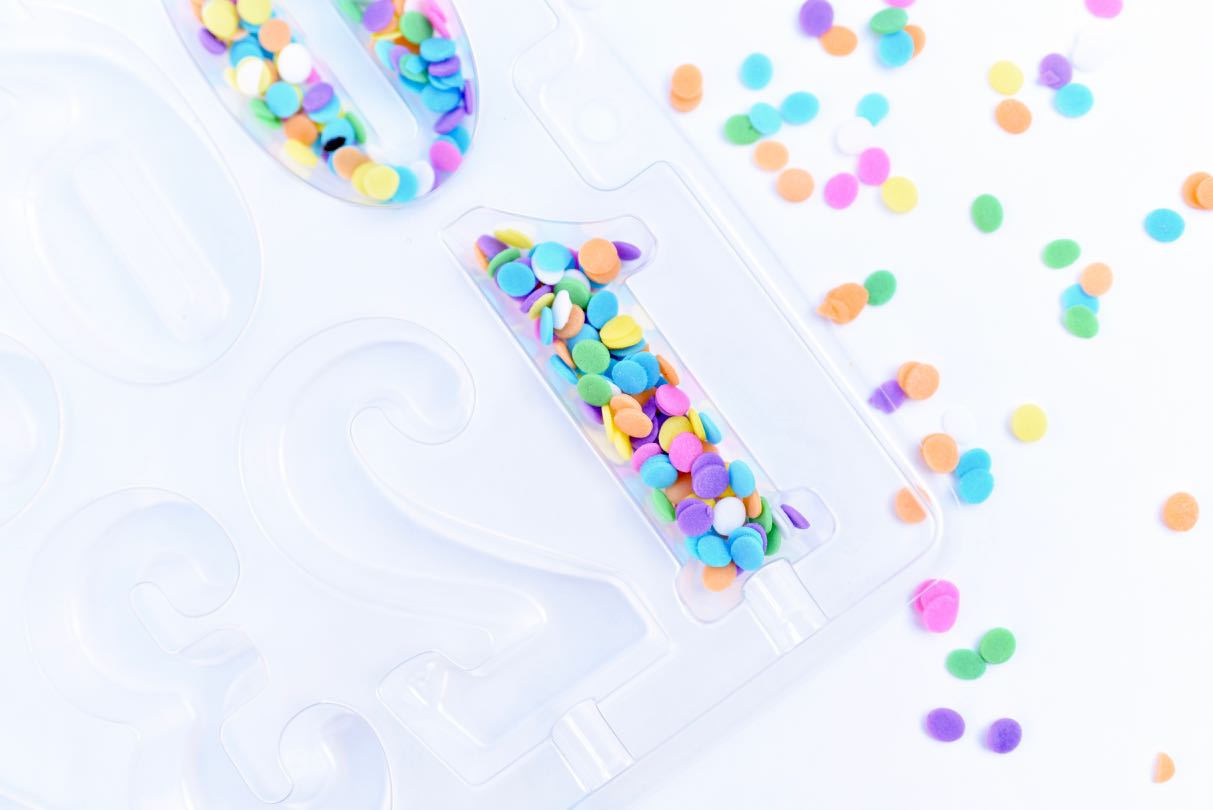
- Plastic number sucker mold
- Lollipop sticks
Melting the Chocolate
Melt the chocolate according to the directions on the back of the packaging. Stir occasionally until all of the chocolate has melted.
I like to use my chocolate melter for this part because it keeps my chocolate consistently warm.
Making the Cake Topper
Pour some sprinkles into the bottom of your preferred number in the sucker mold.

Use a spoon to carefully drop the melted chocolate on top of the sprinkles in the mold. Fill the number to the top with the melted chocolate. Place in the refrigerator until the entire number has cooled and hardened. Wiggle the mold a bit to remove the chocolate number.
Adding the Cake Topper to the Cake
Hold up the number topper to the cake and decide how tall you want the numbers. I wanted mine the numbers to rest on the top of the cake, so I trimmed the sucker sticks a bit so they weren’t too tall.

Press the chocolate cake topper number into the top of the cake.

If you want to, you can also decorate around the numbers by adding sprinkles, small candies, gumballs, etc. to match the cake and party colors.

Isn’t it adorable? Everything is better with sprinkles, even an ice cream cake!

![]()
Leave a Reply