I don’t think it gets much cuter than tiny chocolate letters. They’re so irresistibly adorable, and are a breeze to make with this chocolate letters tutorial!
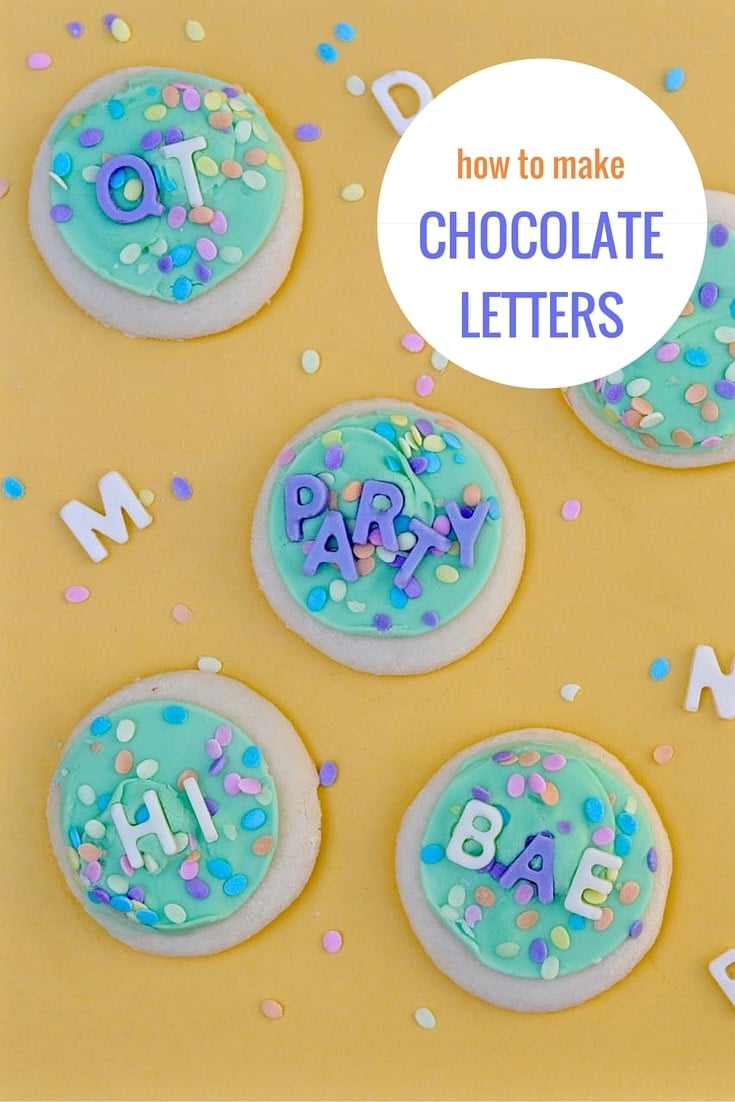
These little chocolate letters are perfect for personalizing cookies, cupcakes, cake pops, and more! You can spell out favorite words, names, ages, and more.
Many of the supplies I used came from my friends at The Baker’s Party Shop. They’re got TONS of drool-worthy baking and candy-making supplies that I just can’t get enough of!
If you’ve got a love for colorful sprinkles like I do, then you’ve got to check out their amazing supply!

Chocolate Letters Tutorial for Cookies & Cupcakes
Supplies:
- Chocolate bark or chocolate candy melts
- Silicon letter candy mold
- Oil-based candy color
Directions:
STEP 1. Melt your chocolate according to the package directions.
You can use the microwave, but I prefer to use a chocolate melter, which is basically a little electric pot that keeps your chocolate warm so that you don’t have to keep reheating it.
If you want to color your chocolate, then you have to use food color that is safe to use in chocolate (regular food coloring will make the chocolate seize up and it will get hard and won’t be good to use).
To make my white chocolate purple, I used Elaine’s candy color from Baker’s Party Shop. It’s oil-based so it won’t make your chocolate seize. It comes in lots of fun vibrant colors. A little bit goes a long way!
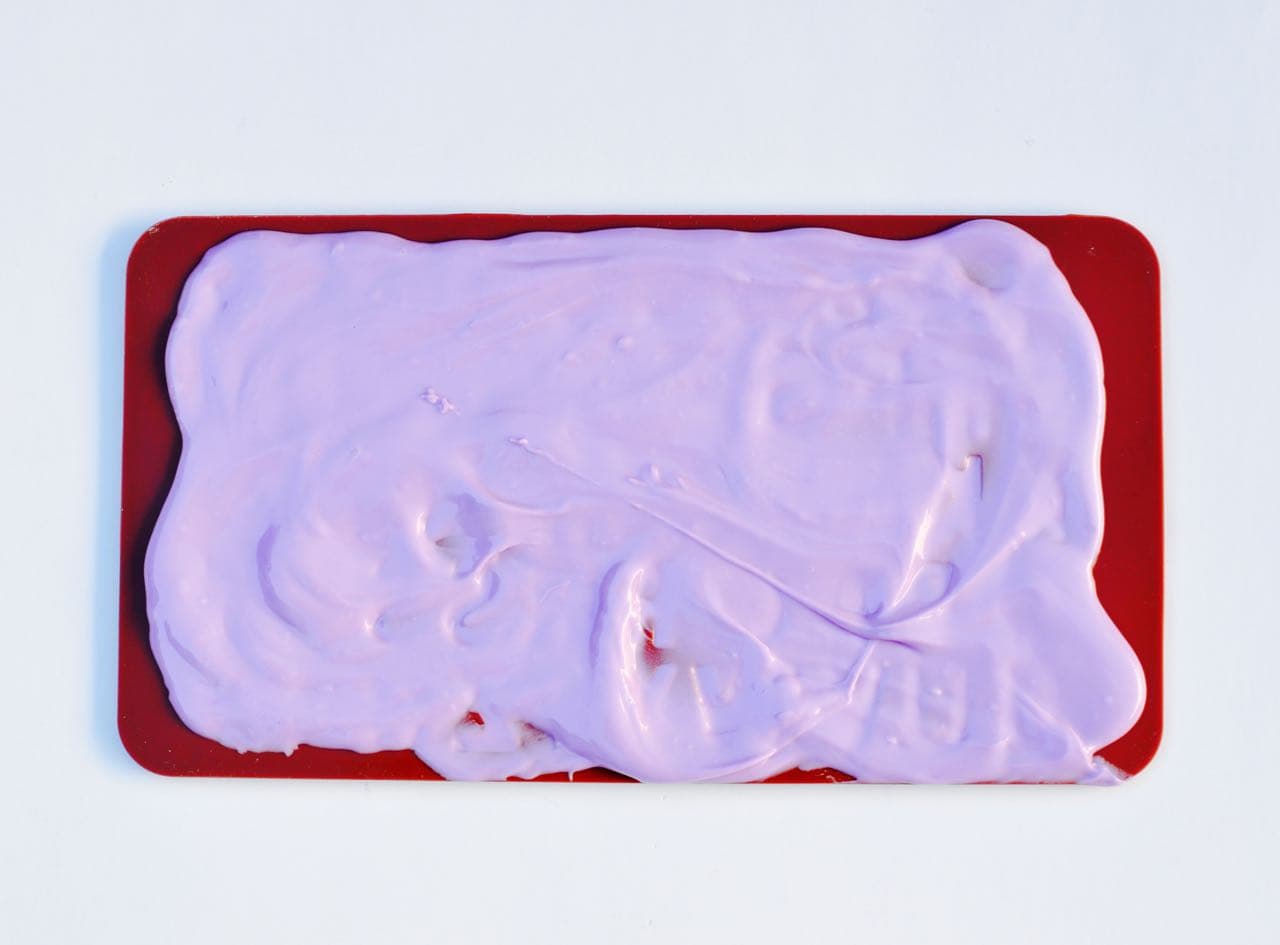
STEP 2. Use a spoon to fill up the letters that you would like to make in the silicone letter mold, or just fill up the whole mold with chocolate if you want the entire alphabet. Some letters might break, so it’s always safer to make more than you think you need.
Be sure to fill the whole letter cavity with chocolate. You can use a toothpick to get in the corners if you’d like, because it’s easy to miss a tiny spot when you are filling it up with a spoon.
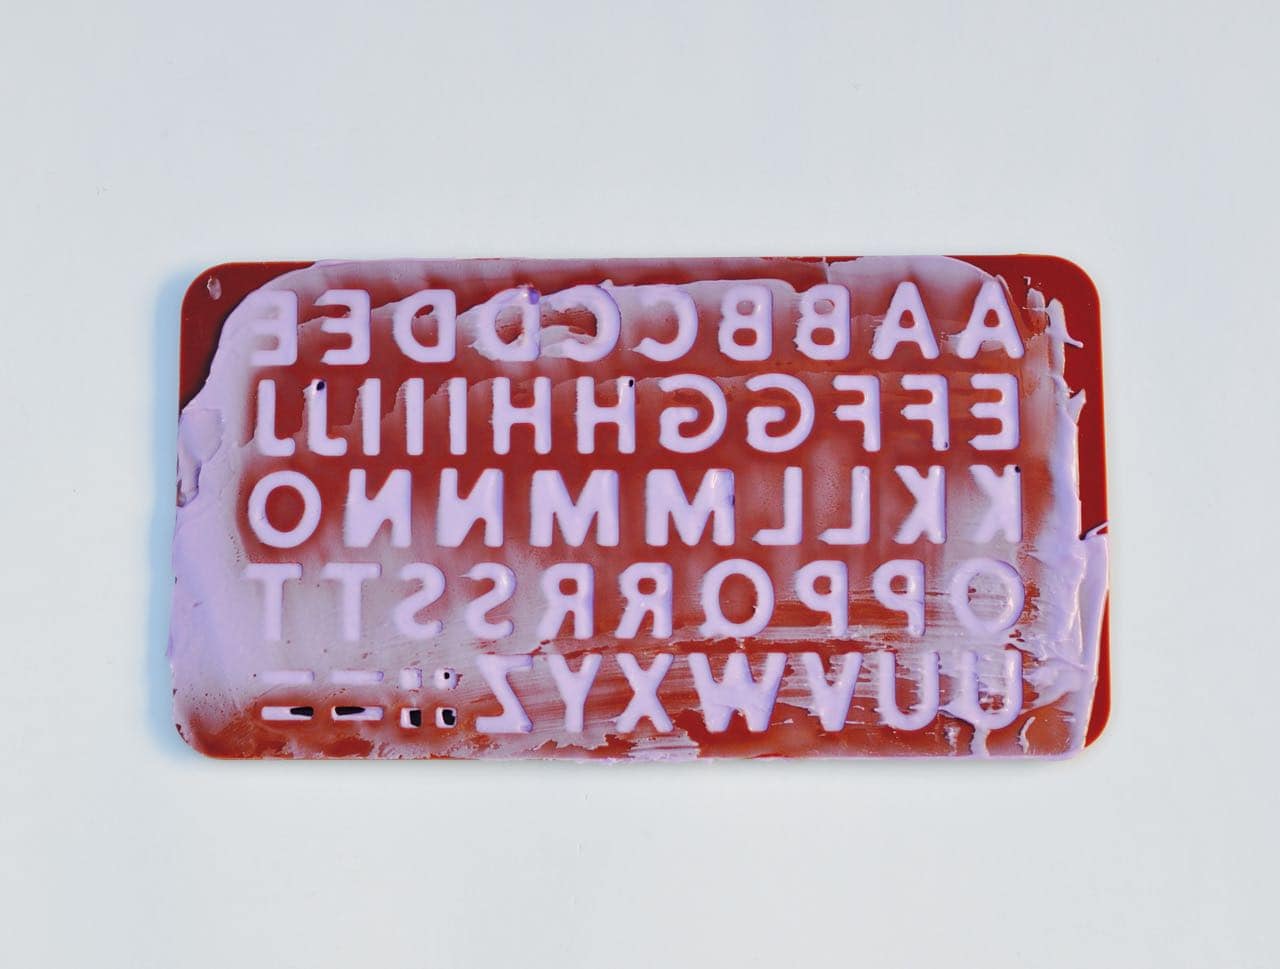
STEP 3. Smooth out the chocolate and remove the excess from the top by running the flat-edge of a knife across the top of the mold. Put the extra chocolate with the melted chocolate so you can use it.
STEP 4. You can either wait patiently or stick the filled mold in the fridge for about 5 minutes until the chocolate has hardened (don’t leave it in much longer than this). Release the letters one at a time from the mold by gently pressing up on the letters from the bottom and carefully popping them out.
If you accidentally break one, no worries. Just re-melt it with the other chocolate and you can reuse it again.
This little chocolate mold uses such a small amount of chocolate, which is great. A little bit really does go a long way!

Now your little letters are ready to top cookies, cupcakes, cake pops, and whatever else your heart desires. I love how easy it is to personalize with these little cuties.
I hope you enjoyed this chocolate letters tutorial! Be sure to head on over to Baker’s Party Shop and check out all of the amazing supplies that they have. You’ll want them all!

If you liked these, then you’ll love my favorite Chocolate No Bake Cookies, one of the my most popular posts ever!

These Mini Rainbow Cakes baked in baby food jars are so bright and colorful- and easy to make!
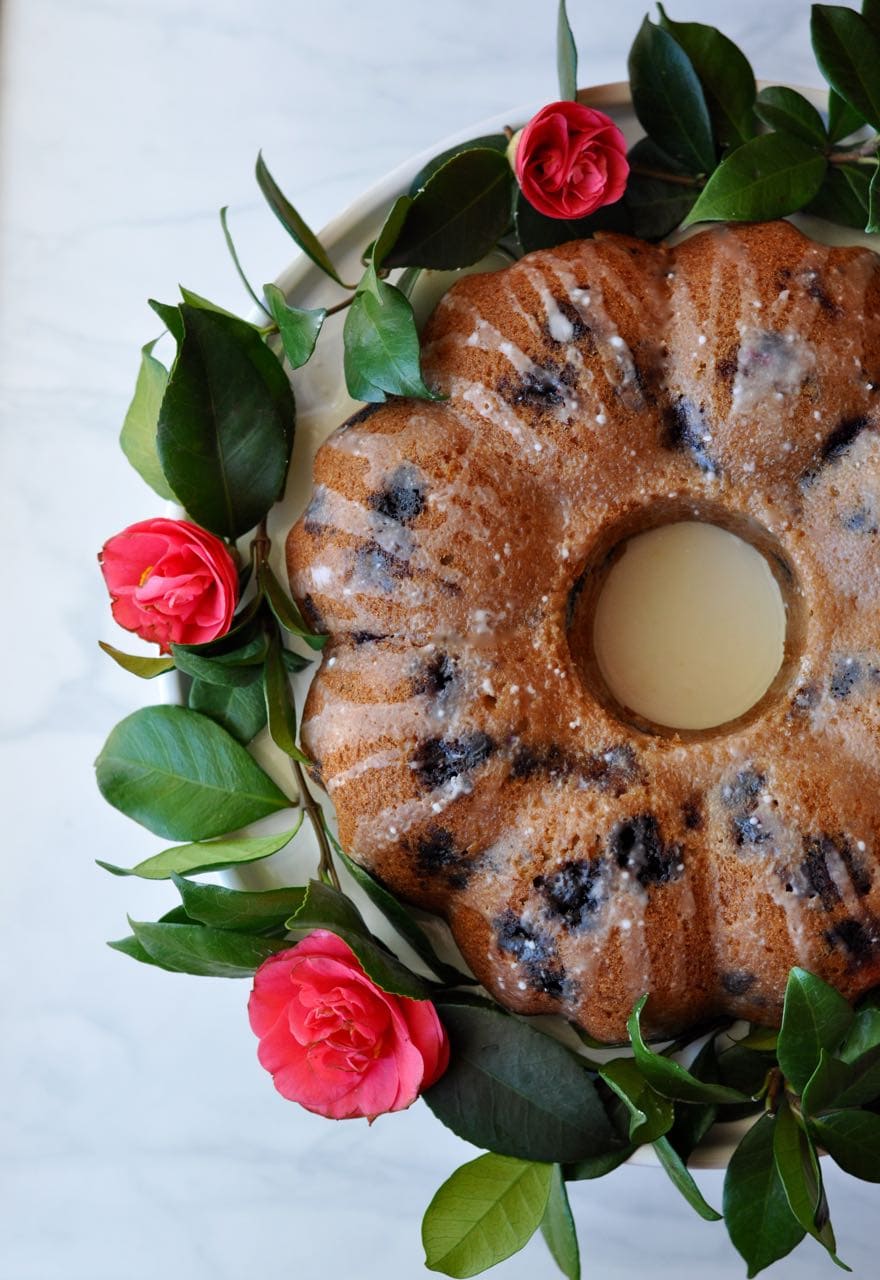
If you love coffee cake, then this Lemon Blueberry Coffee Cake will become one of your new favorites!
![]()
Leave a Reply