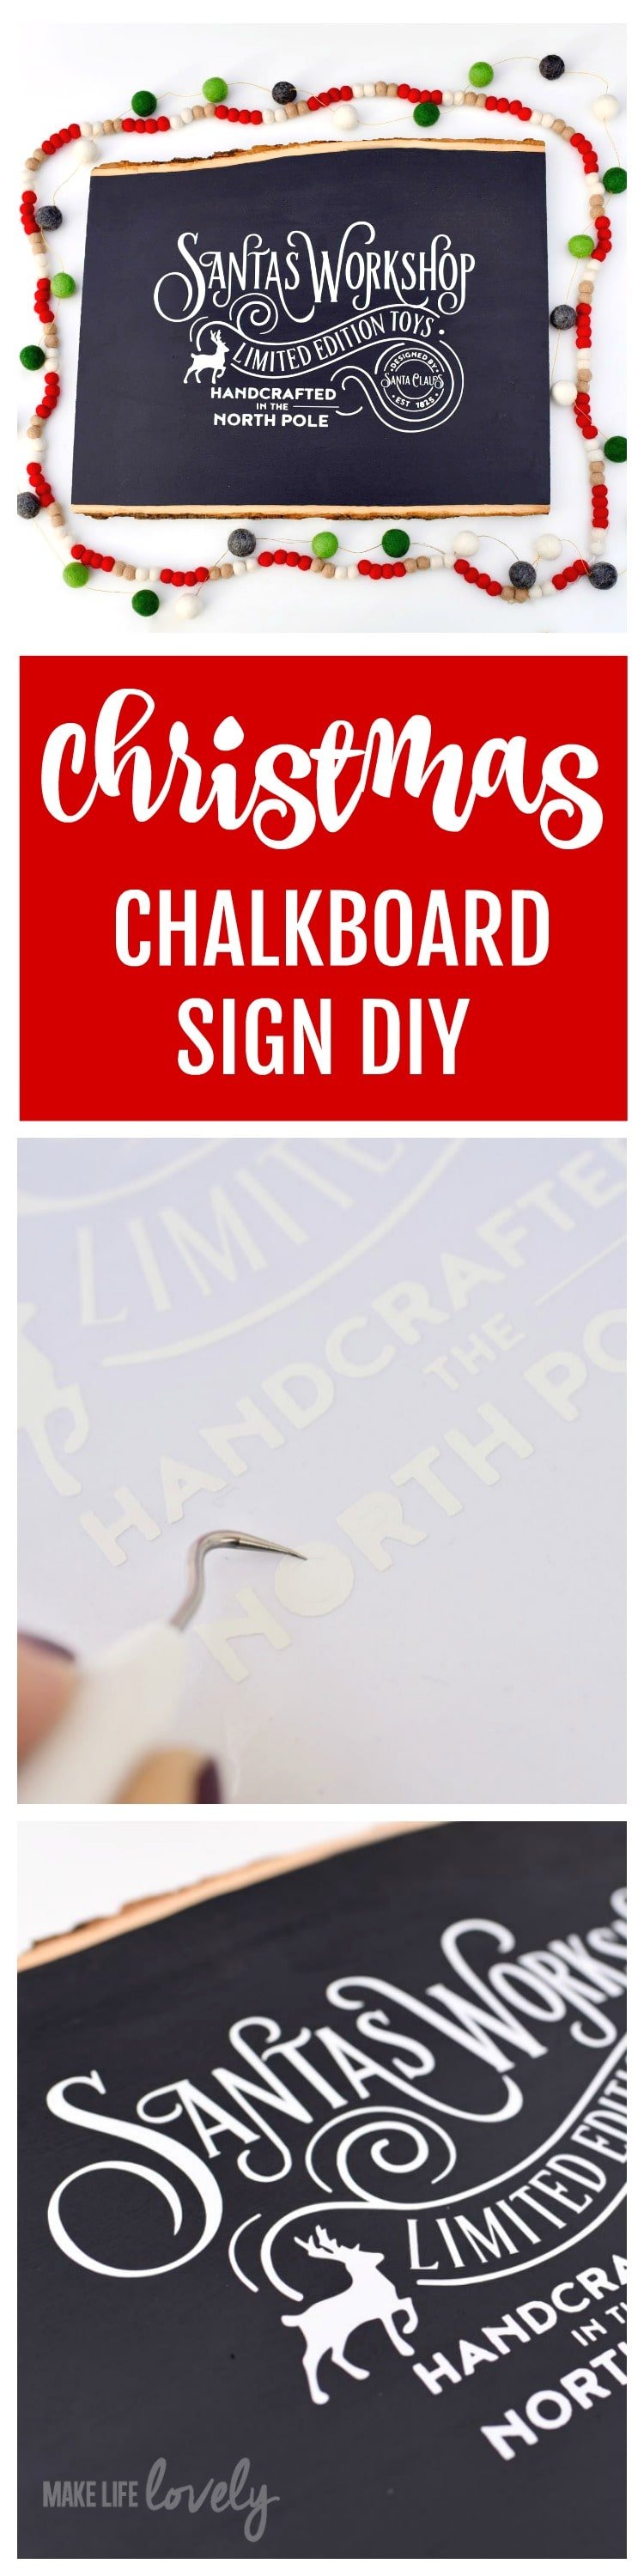
I’m really feeling the Christmas spirit this year and can’t wait to share with you this gorgeous Christmas chalkboard sign I made!
t’s so easy and quick to make, and it really brightens up a room and adds some Christmas cheer to any space in your home.

ANYONE can make this!
If you have a Cricut machine (or have access to one), this project is quite simple and quick to make.
Who wouldn’t love getting a homemade Christmas chalkboard sign for Christmas?
You could make a handful of these to give as gifts.
Just follow the simple directions below to create your own Christmas chalkboard sign.
Christmas Chalkboard Sign
(Supplies contain affiliate links which means I make a small percentage of items you purchase at no cost to you.)
Supplies:
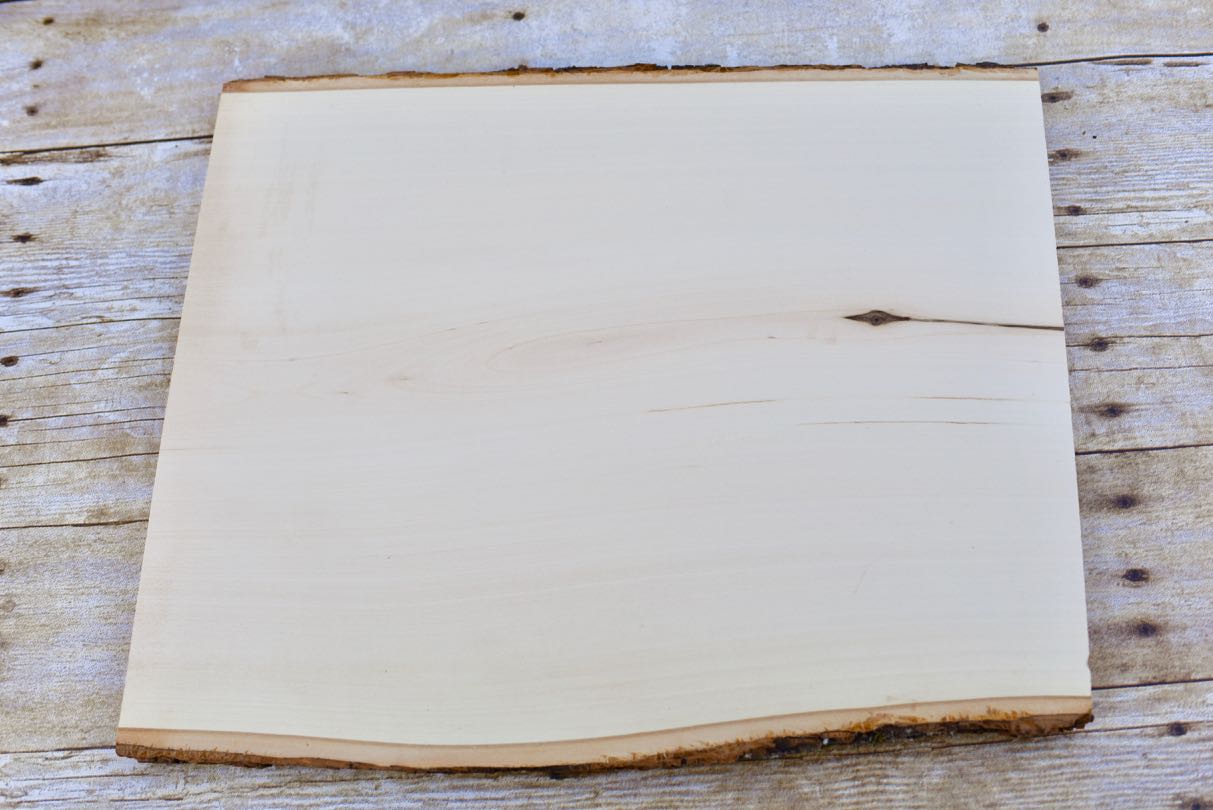
- Large basswood plank with bark
- Chalkboard paint

- Paintbrush
- White vinyl
- Cricut Explore Air 2 Machine
- Cricut weeding tool
- Cricut transfer tape
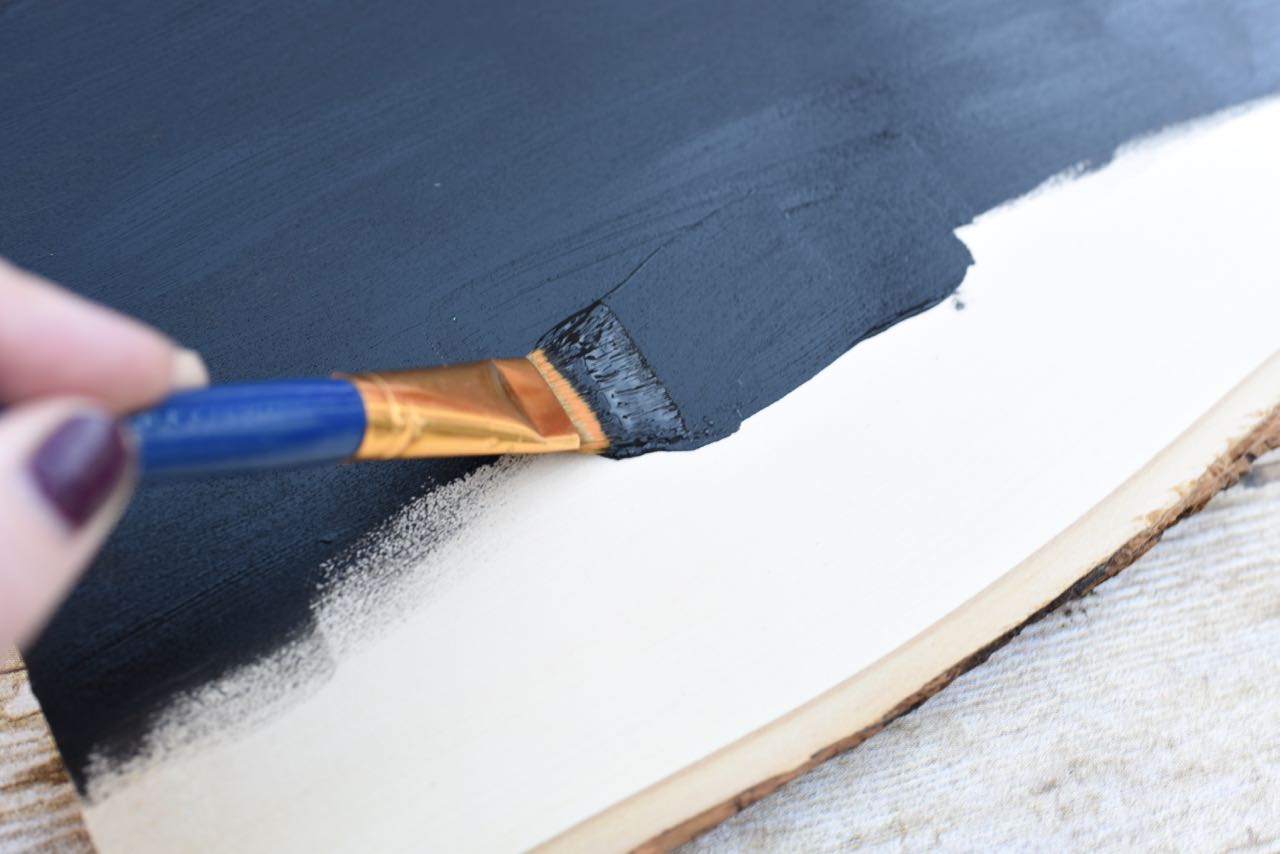
STEP 1. Use a paintbrush and some chalkboard paint to paint two coats onto the front of the wood plank. Let dry completely.
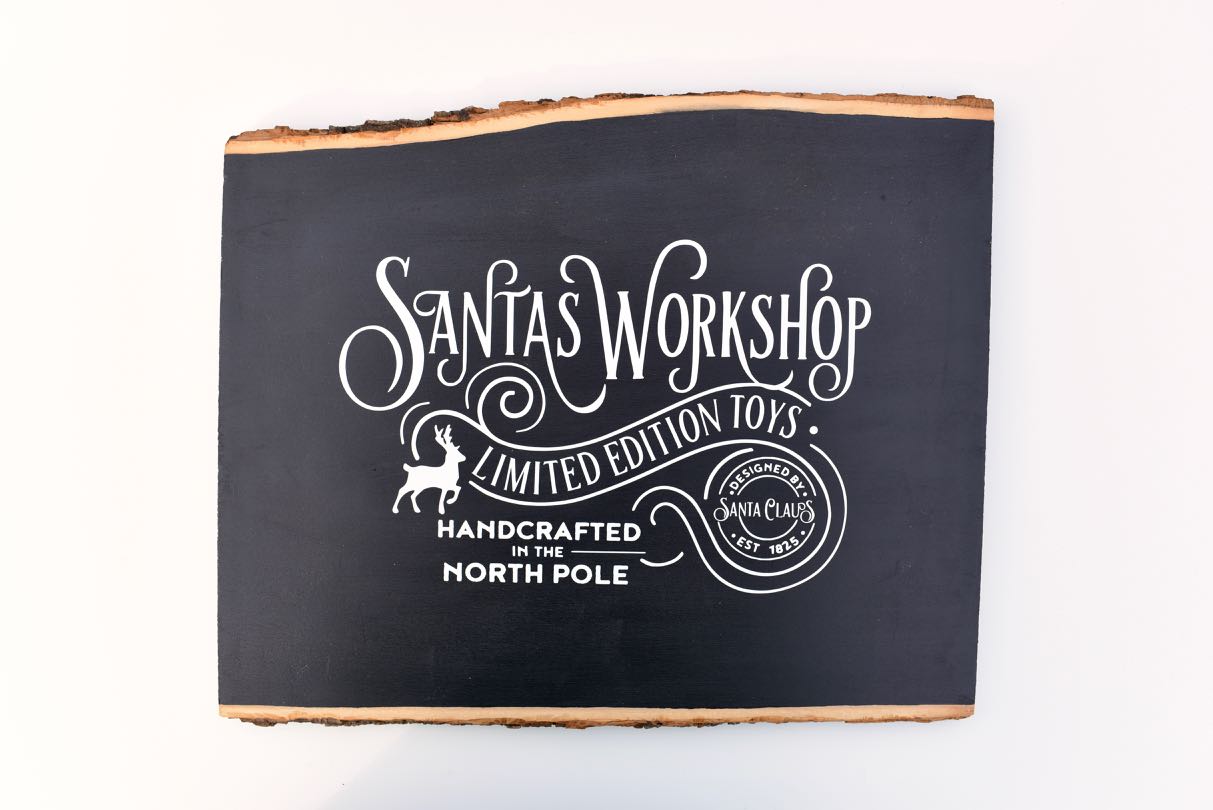
STEP 2. You can either create your own chalkboard design in Cricut Design Space or you can download a premade design.
The Santa’s Workshop design I used is made by the talented Fynes Designs and can be purchased from her Etsy shop for a great price.
She is an amazing designer and I LOVE her work!
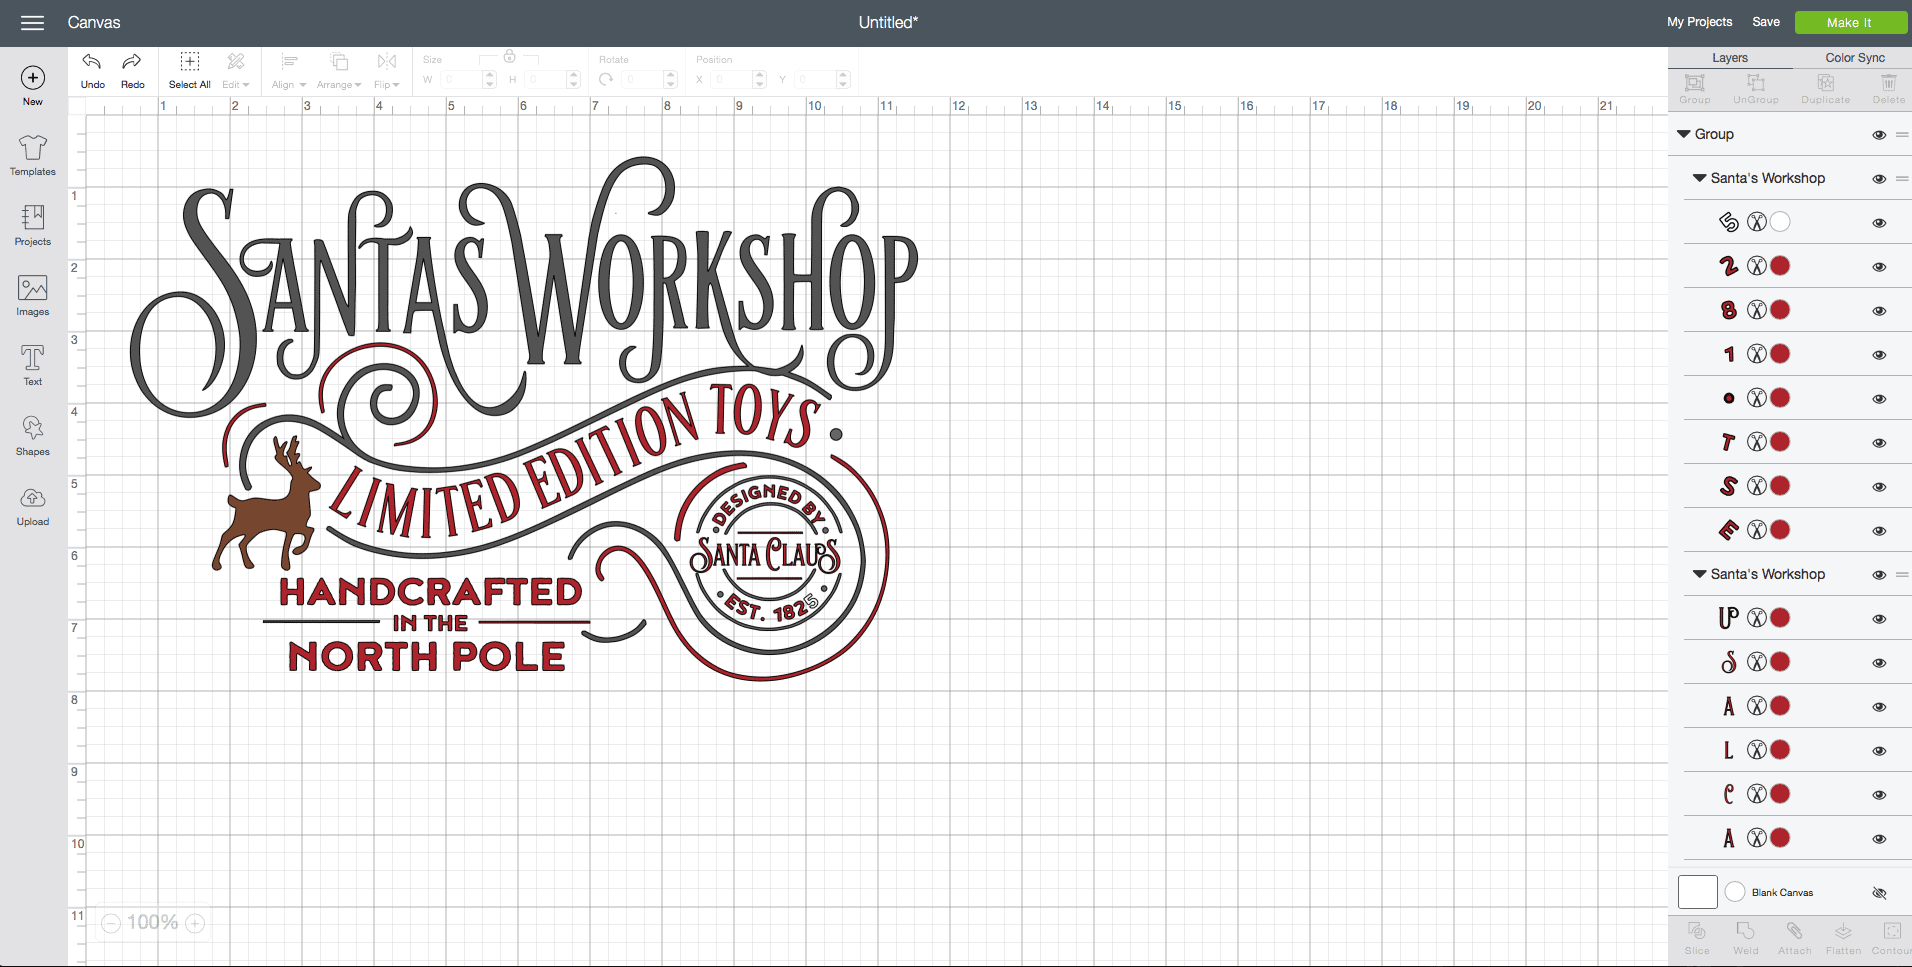
Once you have your design, make sure to resize it to fit your wood piece.
I sized mine to be 11″ wide so that I could make it as big as possible to fit onto the wood plank.
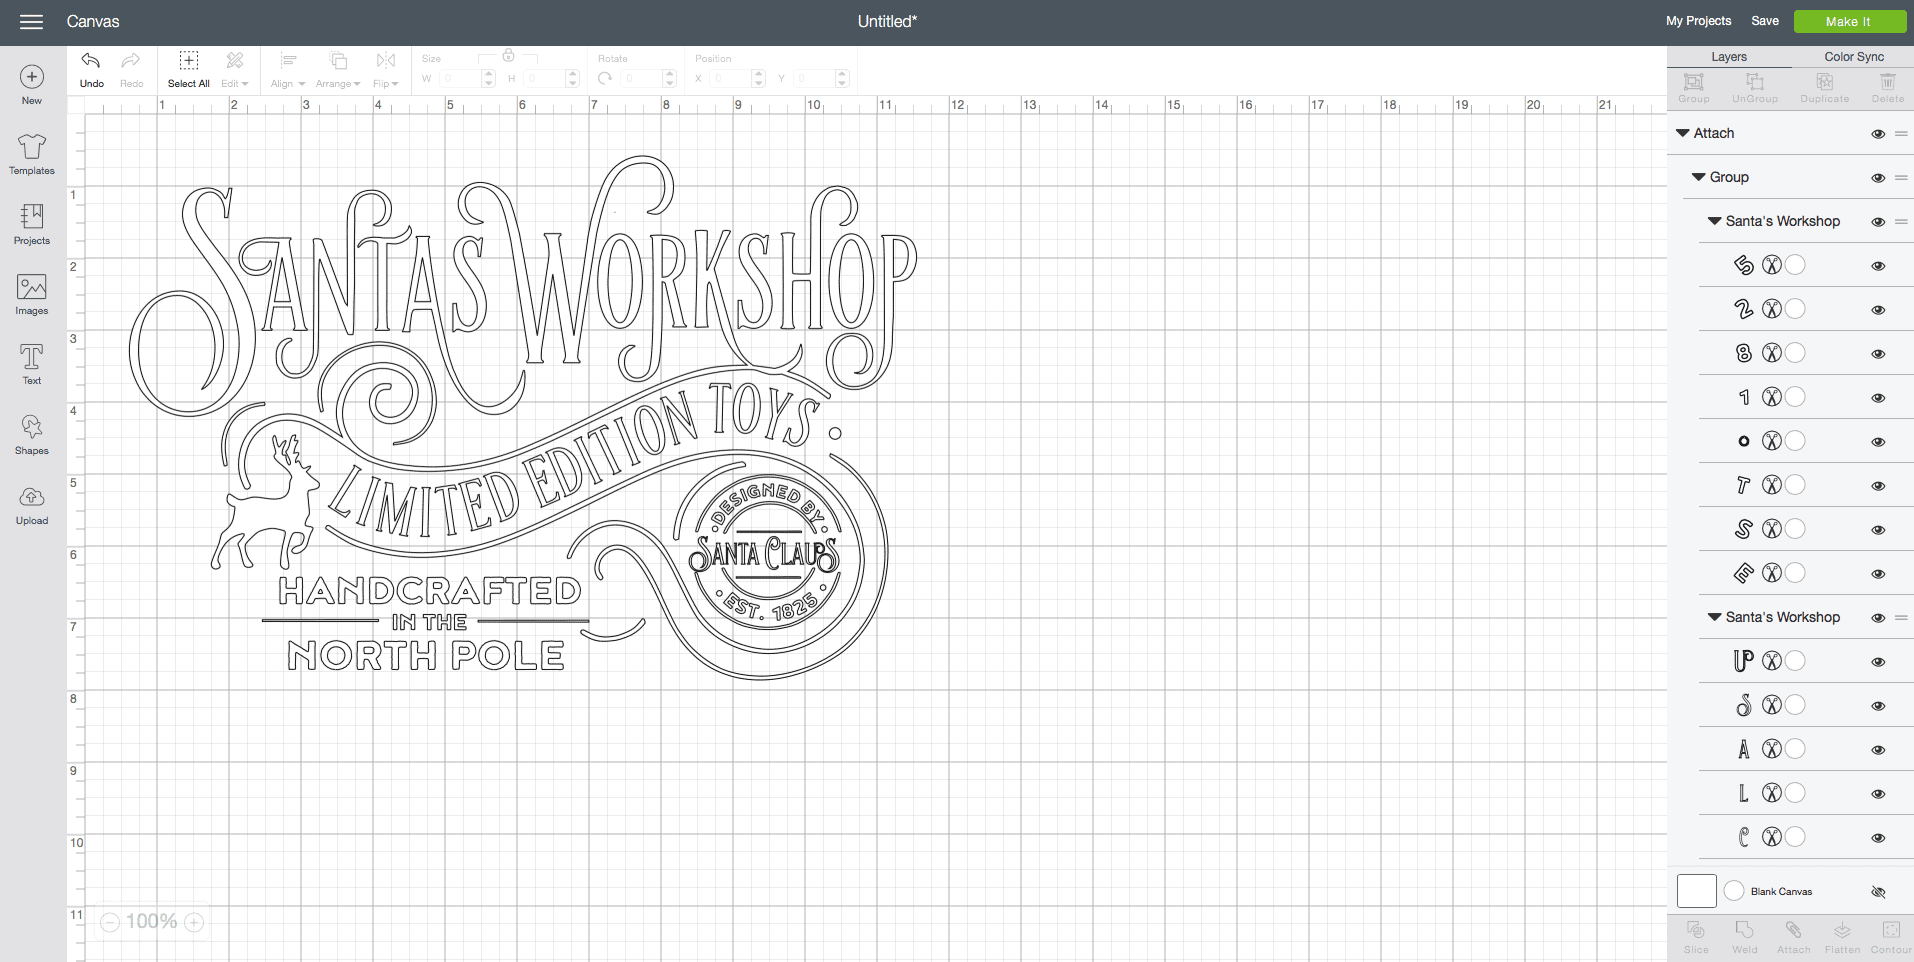
STEP 3. I changed the design color to white so that it all cut onto one mat and I used the attach button to make the whole design stay together for cutting.
Once your design is ready, follow the prompts to load your white vinyl onto a green cutting mat and cut out the design.
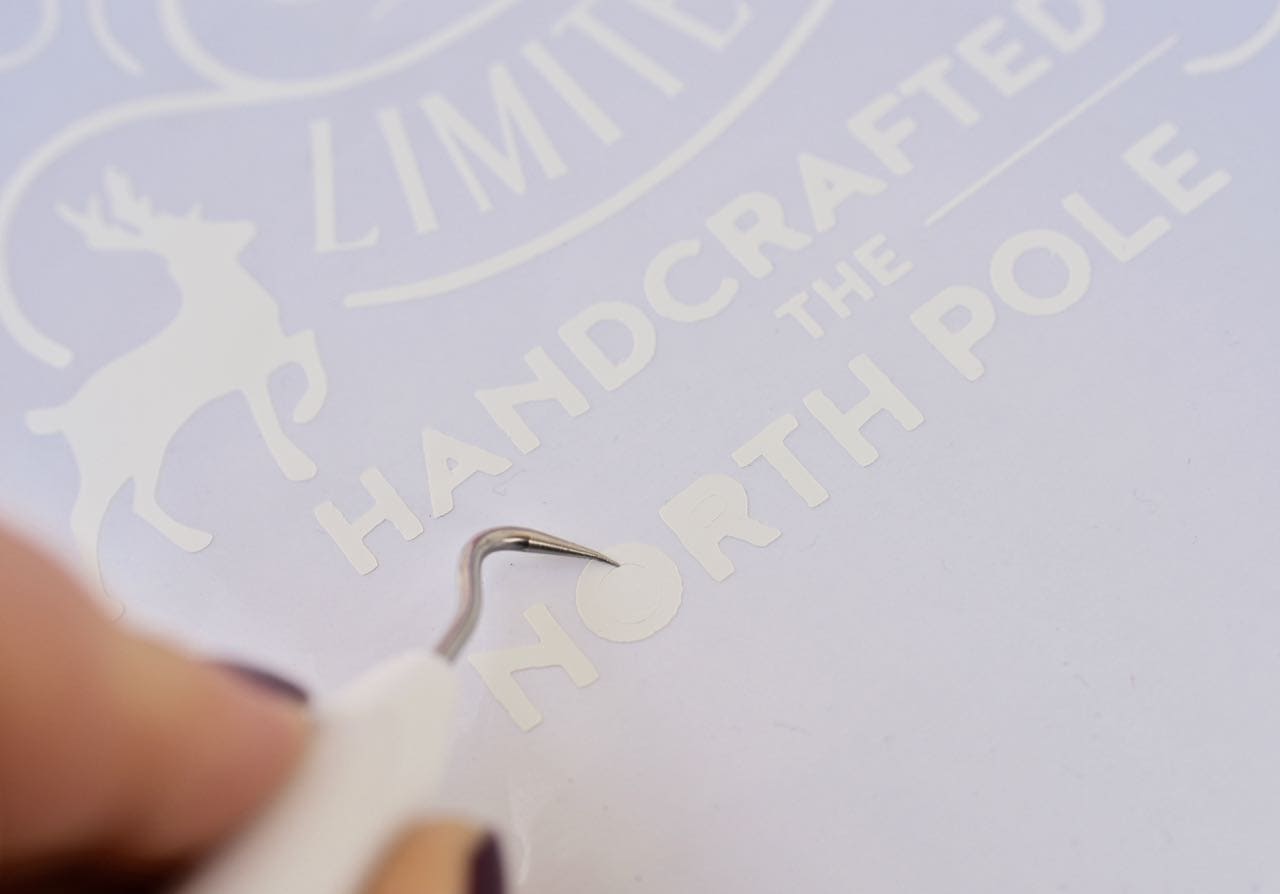
STEP 4. Once your design is cut, you need to remove the excess vinyl from the design.
Peel off the negative space vinyl, leaving the design on the backing sheet.
Make sure to use the weeding tool to remove any small bits of vinyl inside the letters and in other spaces that you don’t need.
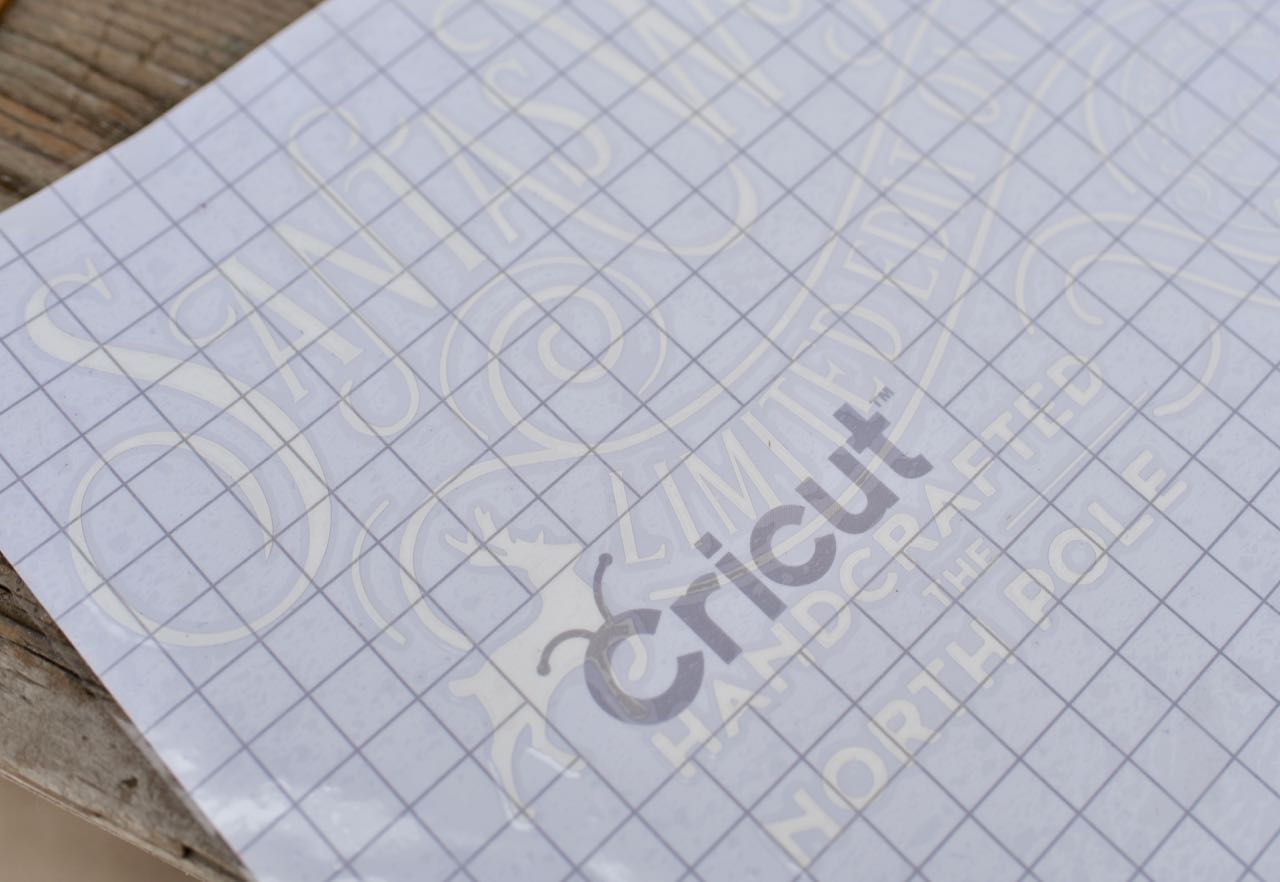
STEP 5. Remove the transfer tape liner and gently place on your design with the sticky side down.
Start in the center and move to out to the edges to avoid prevent bubbles.
Using a craft stick or burnish tool to rub the tape onto the design will help.

STEP 6. Peel away the vinyl at a 45 degree angle, then place the transfer tape with the vinyl onto the wood where you would like it to go.
Use a craft stick or scraper to press the vinyl onto the wood.
Carefully peel the transfer tape from the vinyl.
If the vinyl sticks to the transfer tape, just burnish the vinyl onto the wood again, then peel the transfer tape away.
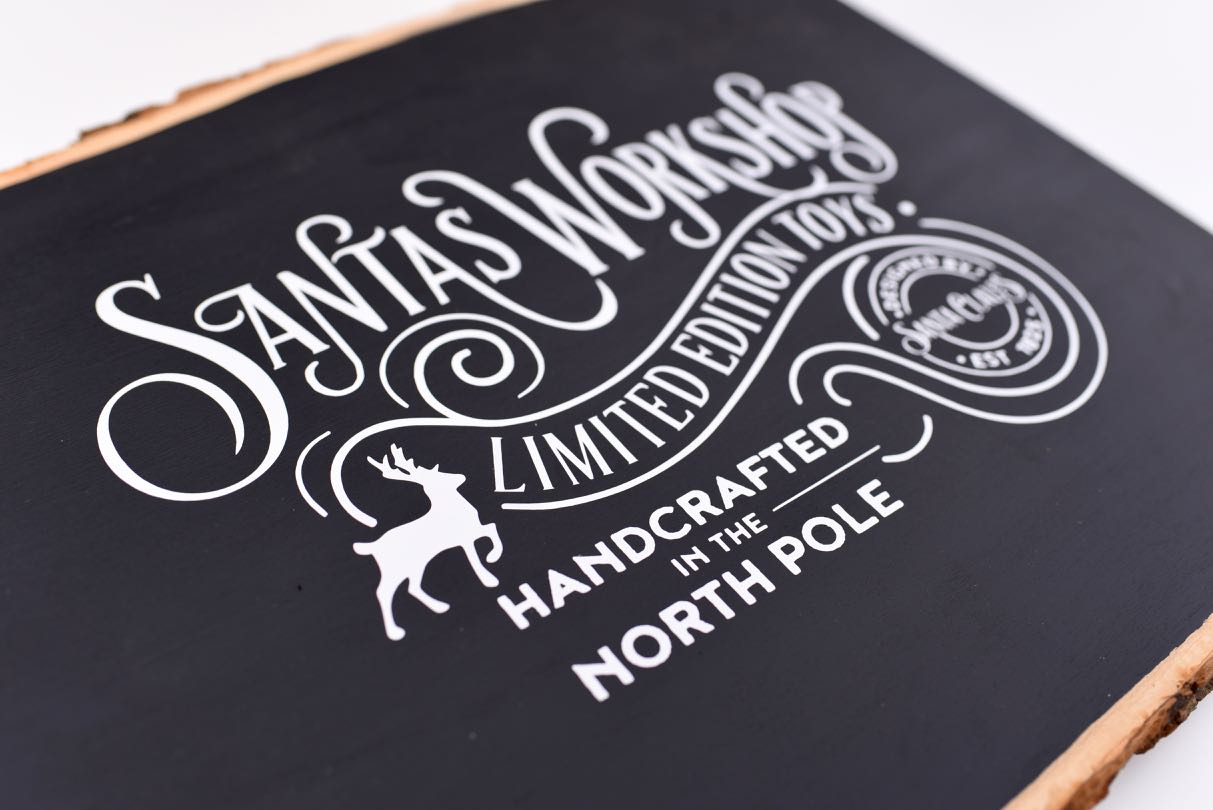
Isn’t it gorgeous?!
I love the classic, traditional look when decorating for Christmas, and this sign fits perfectly with that!
I’m already planning out my next sign. 😉

Here are more of my favorite Christmas crafts, parties, and recipes. Enjoy!

DIY Personalized Christmas Sack

Hot Cocoa Gift Basket Tutorial with Cricut

Orange Cranberry Bundt Cake for the Holidays


3 Ingredient Egg Nog Pudding Recipe


Free Printable Scripture Cards Advent Calendar for Christmas
![]()