Thank you Finish®, Target, and Collective Bias, Inc. for sponsoring this DIY Gold Dipped Vases tutorial. All ideas and opinions are always 100% my own. #showmetheshine #CollectiveBias
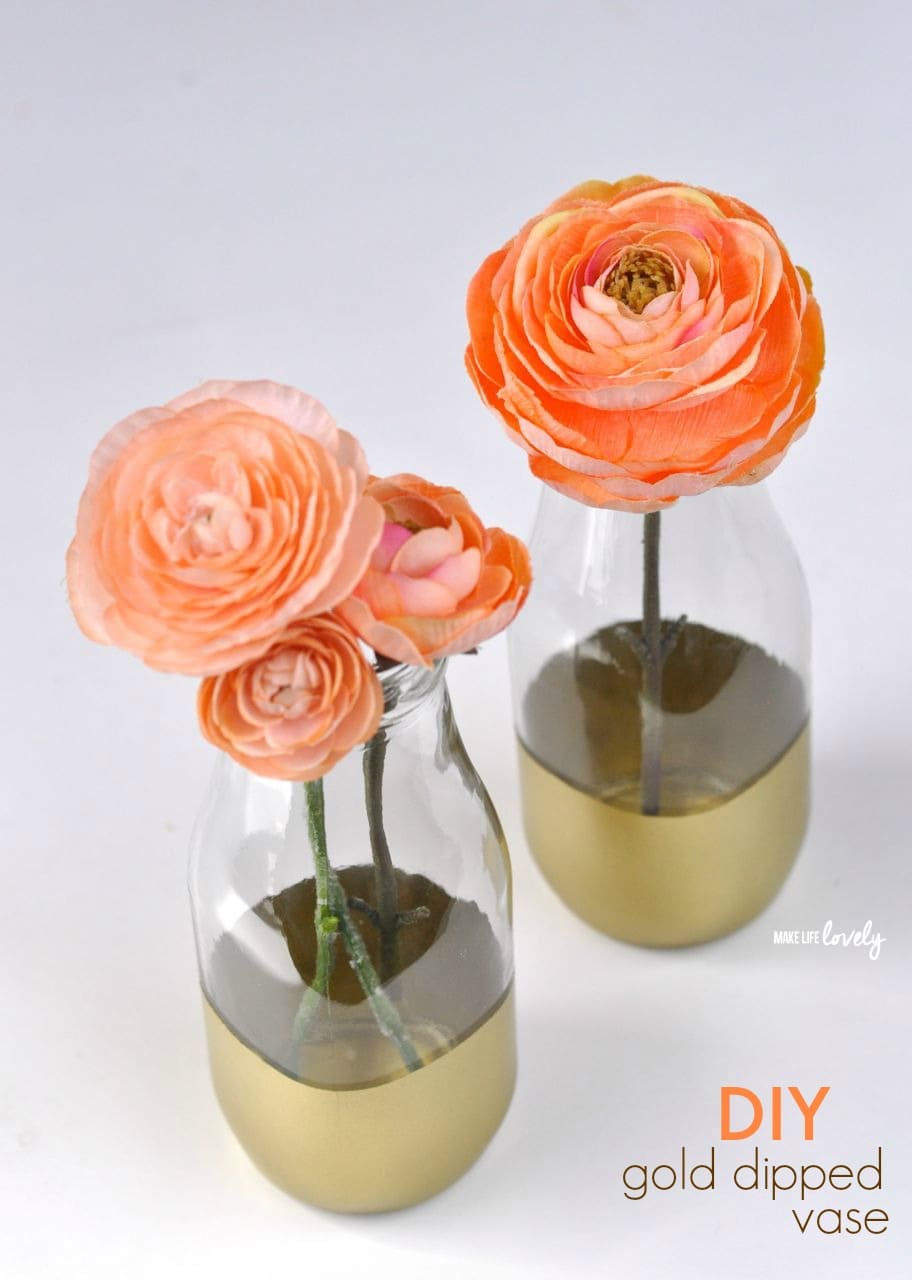
I just can’t get enough of the gold trend in jewelry, home decor, clothing, and everywhere else. Gold is here to stay, and I couldn’t be happier! I wanted to add a touch of gold into my spring decor at home, so I made some gorgeous gold-dipped vases that were a breeze to make, yet look very sophisticated.
Today I’m going to share the pretty DIY with you so you can make some for yourself, plus a fantastic giveaway too!
DIY Gold Dipped Vases
Supplies:
- Glass vase or vases (I used two glass milk bottle bases)
- Gold spray paint
- Blue painter’s tape
- Foil or newspaper
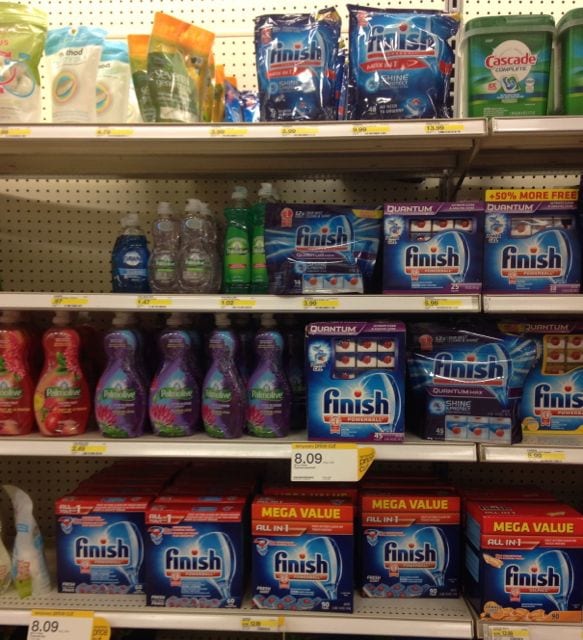
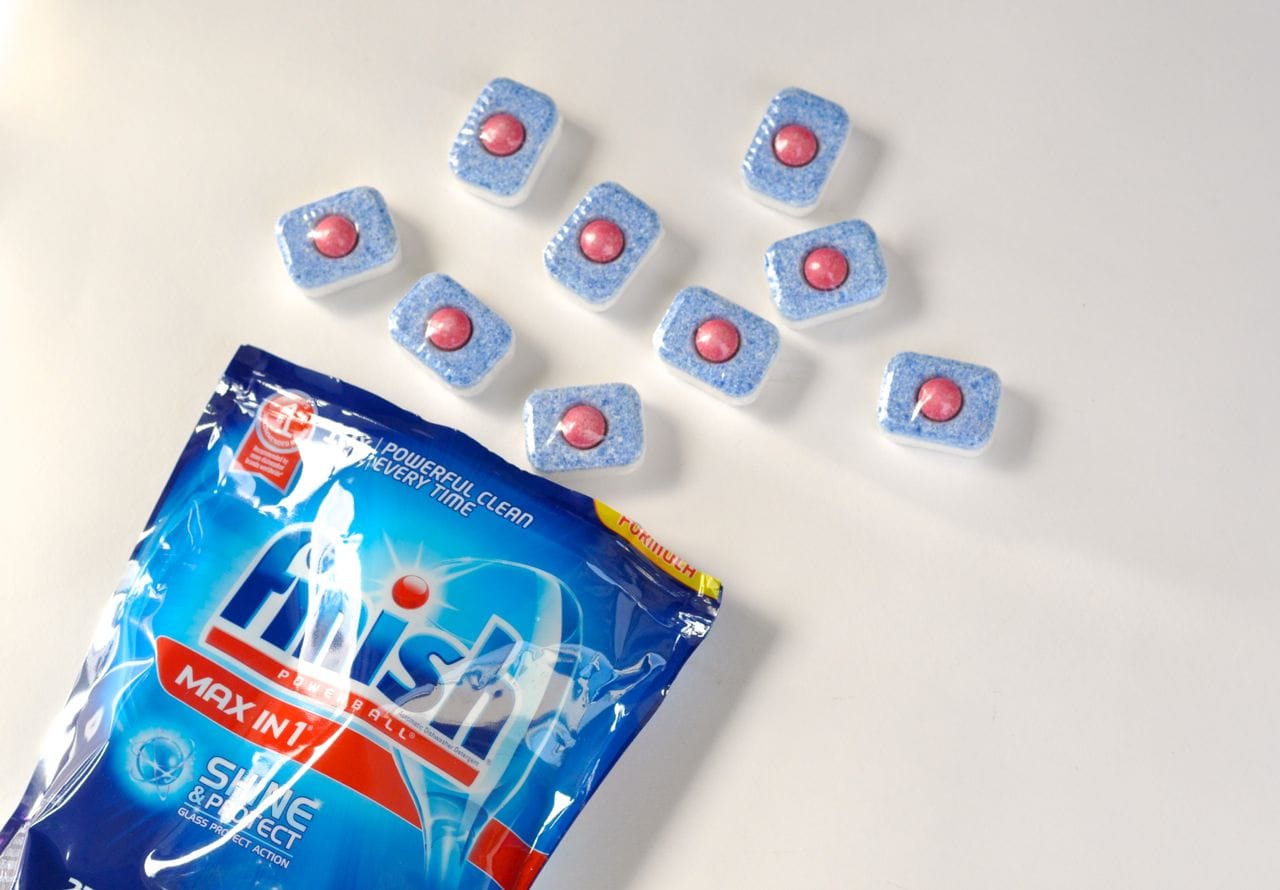
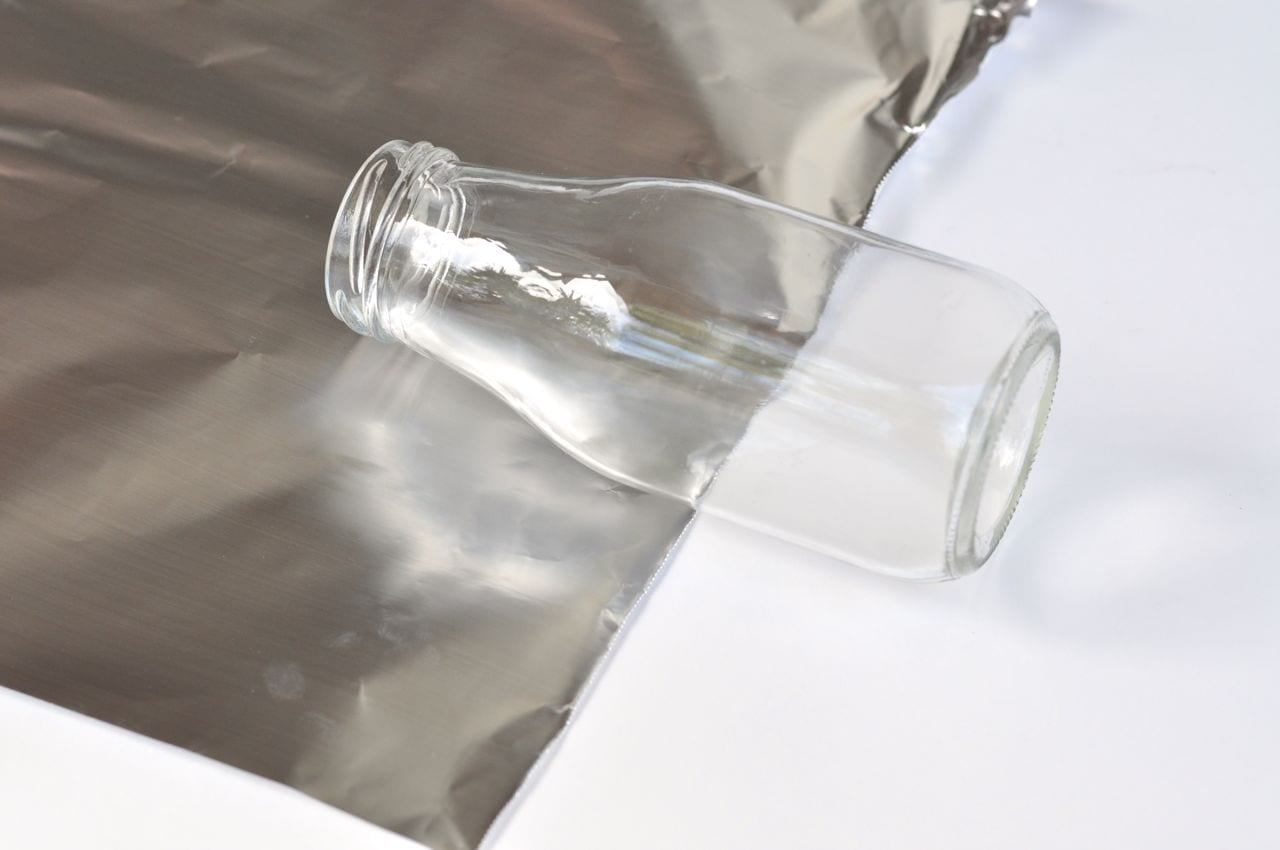
Step 1. In order to spray paint the glass, you need to start with a very clean surface. I put my glass milk bottles in the dishwasher with some Finish® Max in One™ tablets that I bought at Target. I have been using Finish® dishwasher soap for a while now, after asking my mom what her secret was to her sparkling dishes. I had been very frustrated since my glassware always came out of the dishwasher with water spots and residue. Yuck!
Now my dishes come out sparkling clean with a clean that I can see and feel, which is why my glass bottles were ready to paint after going in the dishwasher with Finish® Max in One™ tablets.
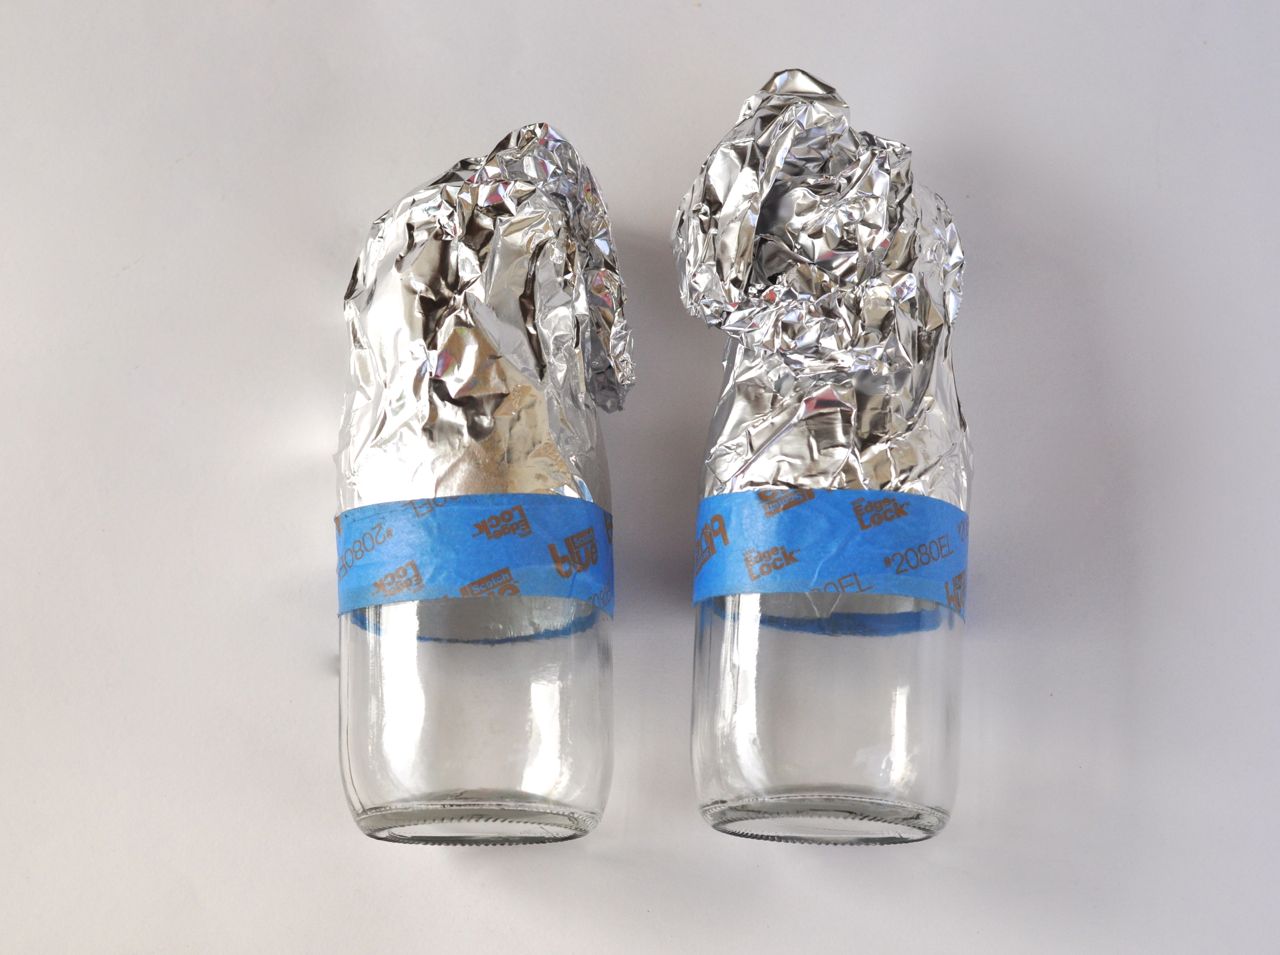
Step 2. Decide how far up the vase or bottle that you want your gold line to go. Take a medium-sized piece of foil or newspaper, and wrap it around the glass just above where you want the gold to stop. Twist the top of the foil and press it up against the glass so that it will cover the glass that you don’t want any paint on so that it will remain clear. Place a piece of painter’s tape at the base of the foil, making sure to place the tape in a very straight line so your gold line will be nice and neat.
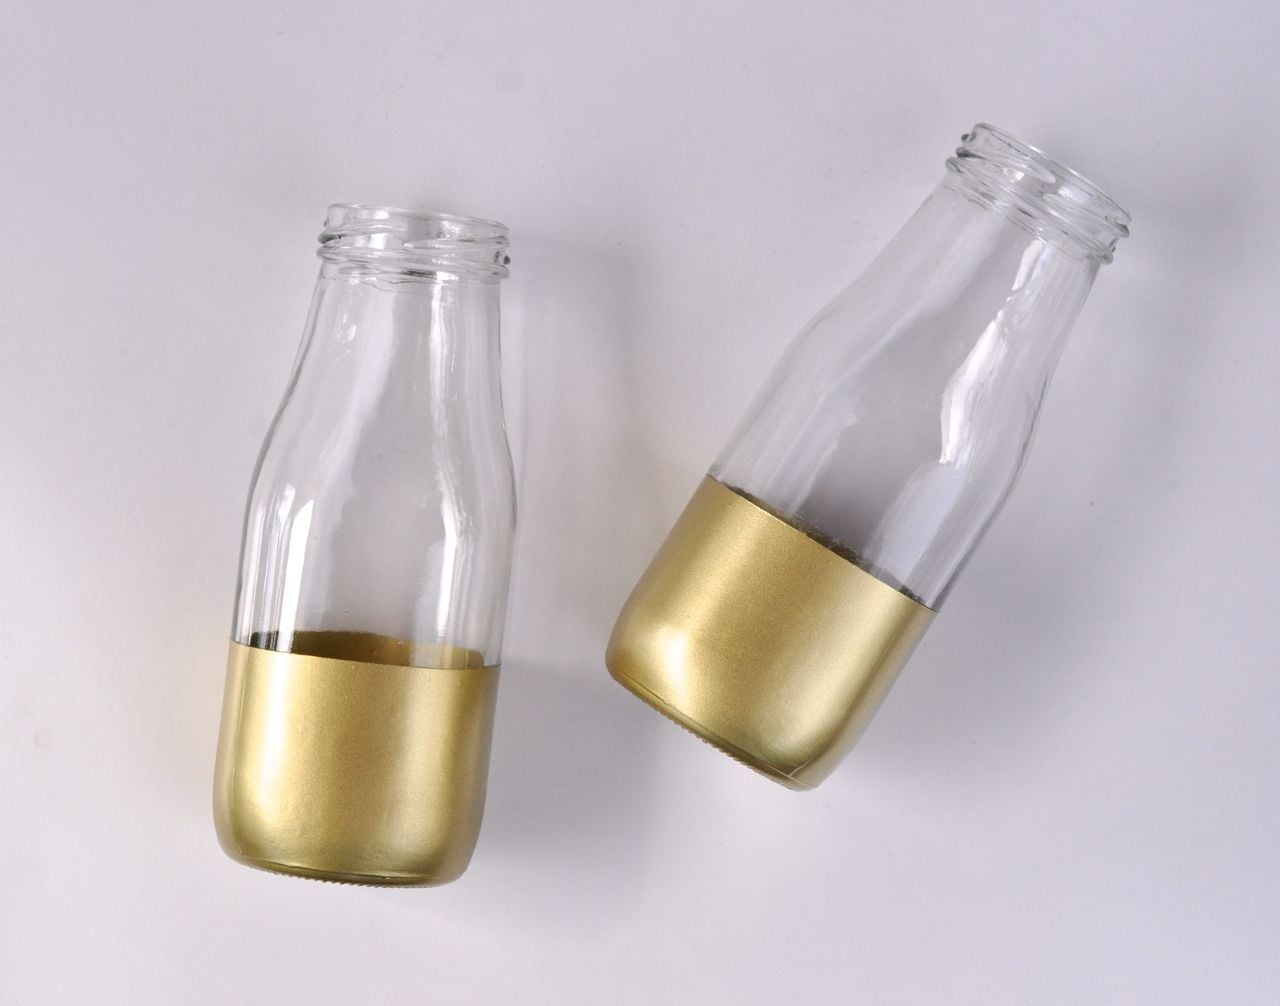
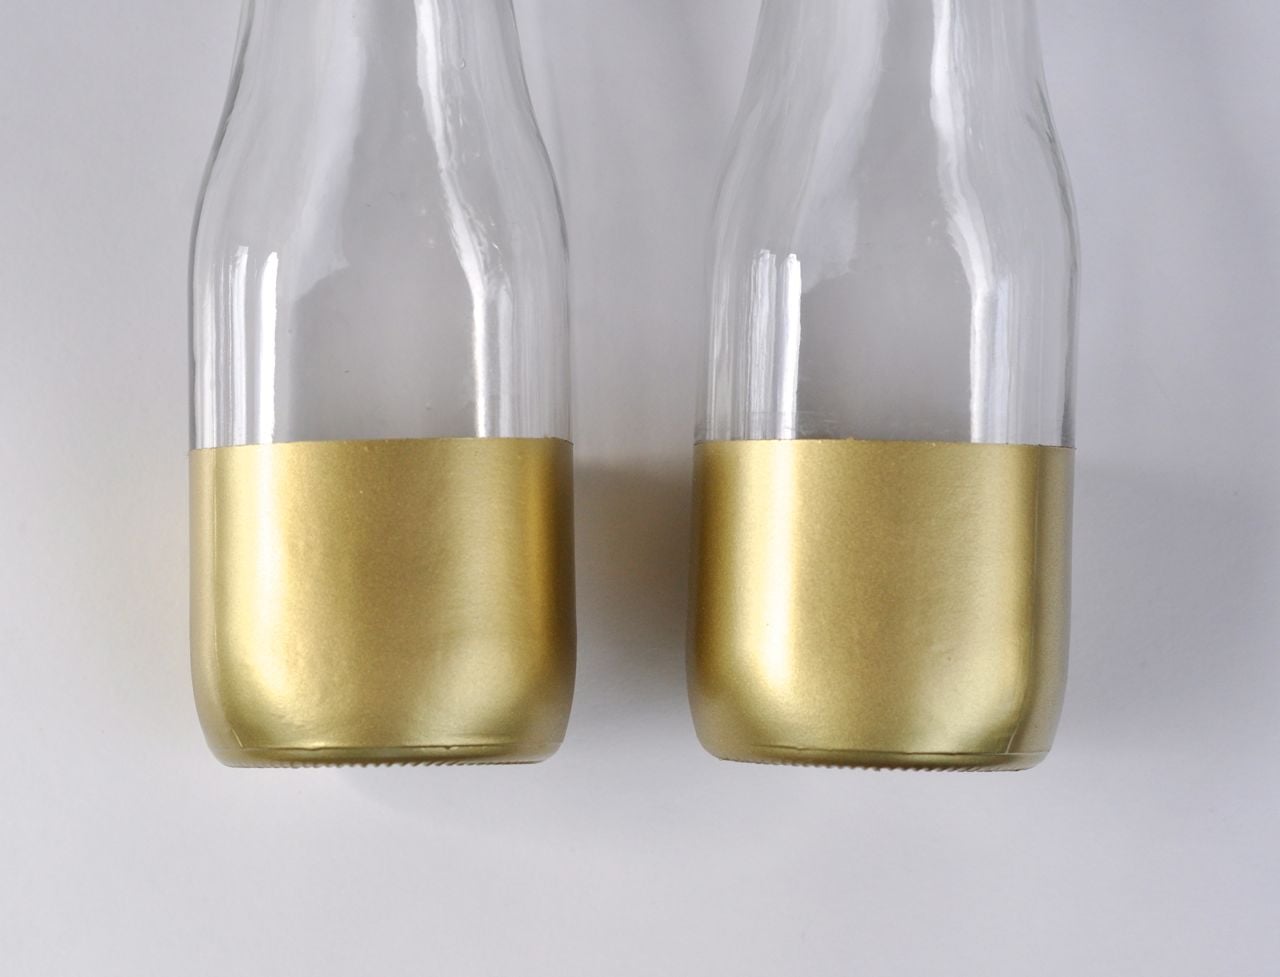
Step 3. Now for the fun part- spray painting!! There’s just something that I love about spraying an item gold. When spray painting, always use a light hand and paint multiple light coats rather than one or two heavy coats (as tempting as it may be). This will ensure nice even coverage and no drips, which you definitely don’t want.
Now for the hardest part… waiting…. You want to be sure that the gold paint is dry completely after painting multiple coats of spray paint, so leave the tape on until you’re absolutely sure that the paint is dry. Then you can peel up the blue tape and check out your amazing work!
It’s hard to believe that these glamorous gold bottles started out as plain old milk bottles, isn’t it? I’m sure that this technique could make any jar look pretty amazing.
You can save 5% on NEW Max in ONE & Quantum Max Small Size at Target from 3/29-4/25 with the Cartwheel app.
I’ve got a fun giveaway too! You will definitely want to enter to win some gorgeous glassware + a Target gift card to purchase Finish® at Target to clean your glassware with. Winners must be 18+ years old.
The Grand Prize winner will receive a Riedel Swirl Decanter and Wine Glasses ($51.99 value) + a $100 Target gift card.
Prize 2 is Libbey Bar In a Box ($39.99 value) + a $75 Target gift card.
Prize 3 is Riedel Champagne Flutes ($39.99 value) + a $50 Target gift card.
Prize 4 is Libbey Frosted Glass 20 Piece Dinnerware Set ($29.99 value) + a $25 Target gift card.
Finish #ShineAndProtect Giveaway!
Good luck!!
If you liked this post, I’d love for you to follow me on Facebook, Pinterest, and Instagram. Thanks for following!
Check out these other creative and simple projects-

Rainbow Cakes (baked in baby food jars)

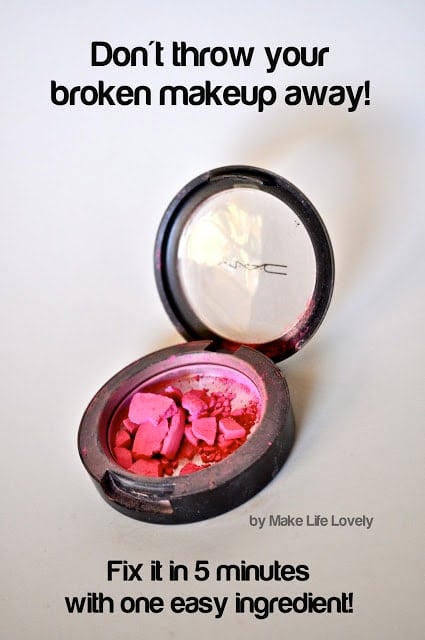
How to Fix Any Broken Powder Makeup
![]()