I am so excited to finally share the directions for how I created my own DIY iPad case, and how you can make one for yourself! The best part of this project is that I made it for FREE out of a cardboard box and my daughter’s old skirt that she had outgrown!! I spent about $50 on my previous case, so this is definitely a cheaper, and prettier, option.
My iPad case design that I am going to share with you recently won a design contest on Earth 911, who asked us contestants to create an iPad or iPhone case out of recycled and upcycled materials.

This DIY iPad case is not only functional, but beautiful and unique as well. The case opens and closes like a book, and the iPad is securely held in place inside. The cover closes with two ties made from the skirt when not in use.

You can use any fabric that you like to make this case match your own personal style. Men can use one of these, too, just use a piece of fabric and some velcro to close the case instead of the ties. You will feel good about making this iPad case, knowing that not only will you have made your own unique piece of art that no one else has, you will also be reusing and recycling items that otherwise would have gone in the trash!
 Supplies:
- An article of clothing (I used a skirt that was too small for my daughter- you could also use clothing that is stained, too small or too big, or one that Sewing is no longer in style rather than throwing it out) or fabric that you have on hand
- Cardboard box (mine was a box from Costco)Sewing machine, scissors, pins, and a ruler
- Spray mount (optional)
- Needle and thread (or glue gun)
- 2 8″ pieces of ribbon (in matching color)
- 2 13″ pieces of ribbon (in matching color)
- Elastic headband (optional)
Directions:

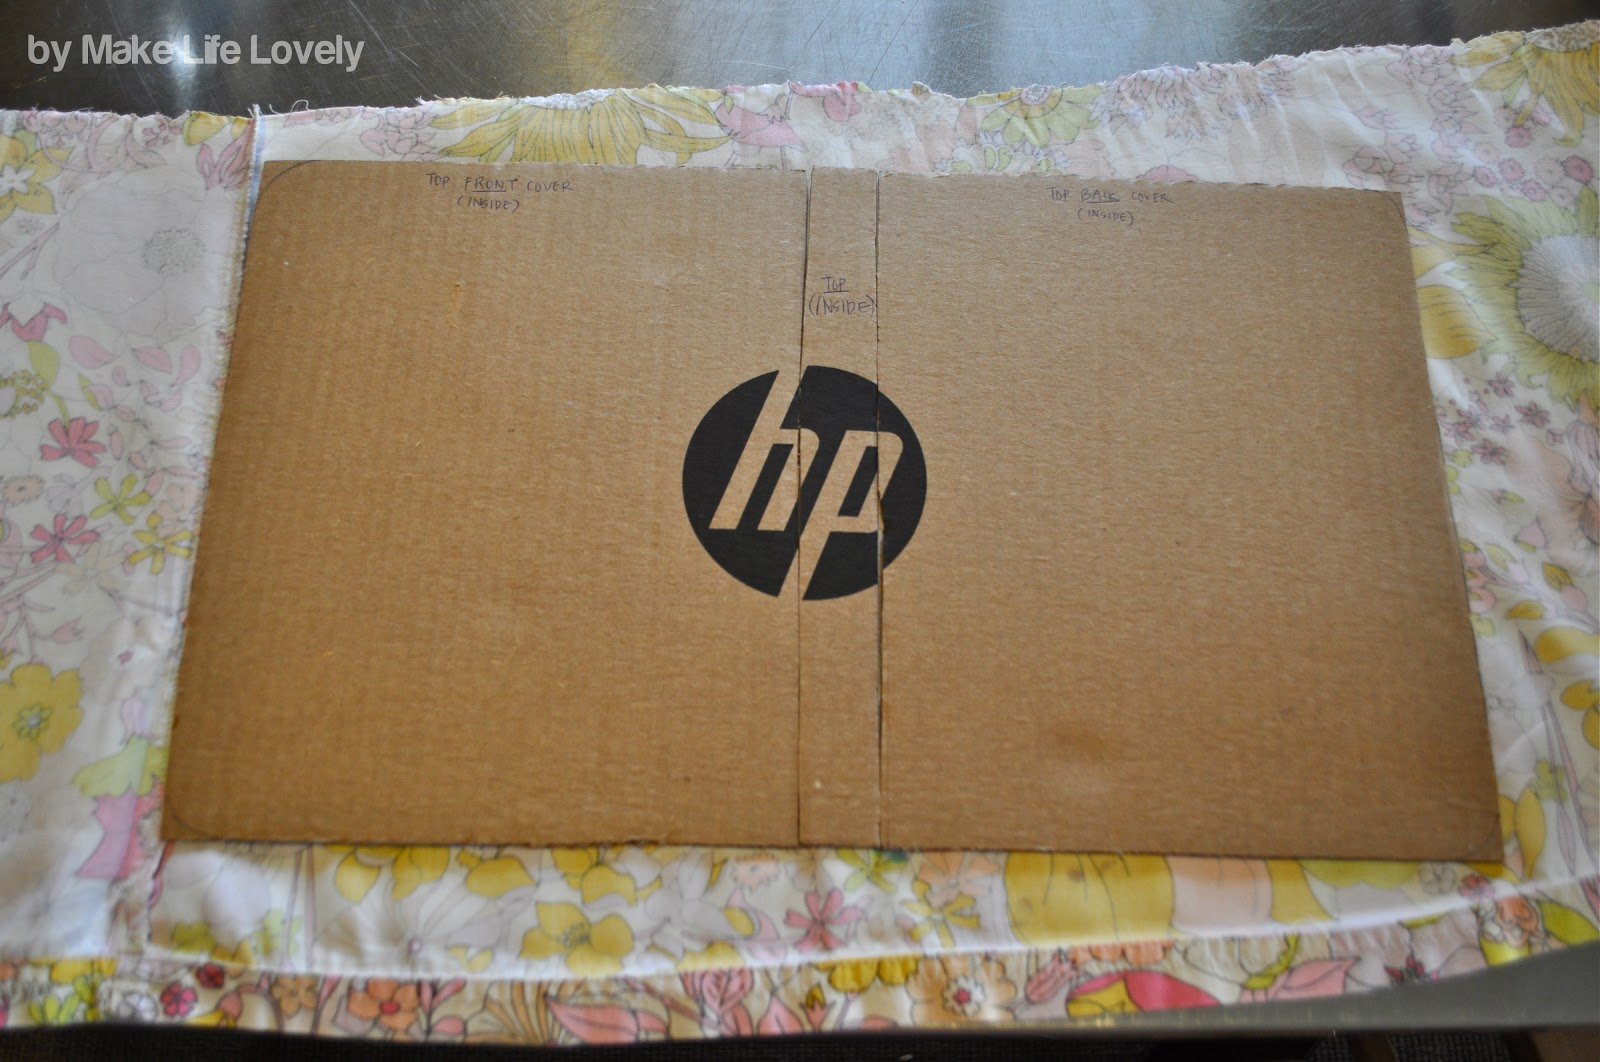
1. Cut out two pieces of cardboard that are 8″x10,” and one thin piece that is 1″x10.” Line up the cardboard as pictured, so that it looks like an open book. Label all of the pieces- I labeled mine “Top front cover (inside),” “Top inside,” and “Top back cover (inside).” And on the back “Top front cover (outside),” “Top outside,” and “Top back cover (outside).” It really helped to have these labeled, so don’t skip this step!
You want the outside corners of your case to be rounded, just like the iPad corners, so trace the edges of your iPad onto the two outside corners of the 8″x10″ pieces of cardboard, just like in the photo. Now cut along the lines you traced to get the round edges.
You want the outside corners of your case to be rounded, just like the iPad corners, so trace the edges of your iPad onto the two outside corners of the 8″x10″ pieces of cardboard, just like in the photo. Now cut along the lines you traced to get the round edges.
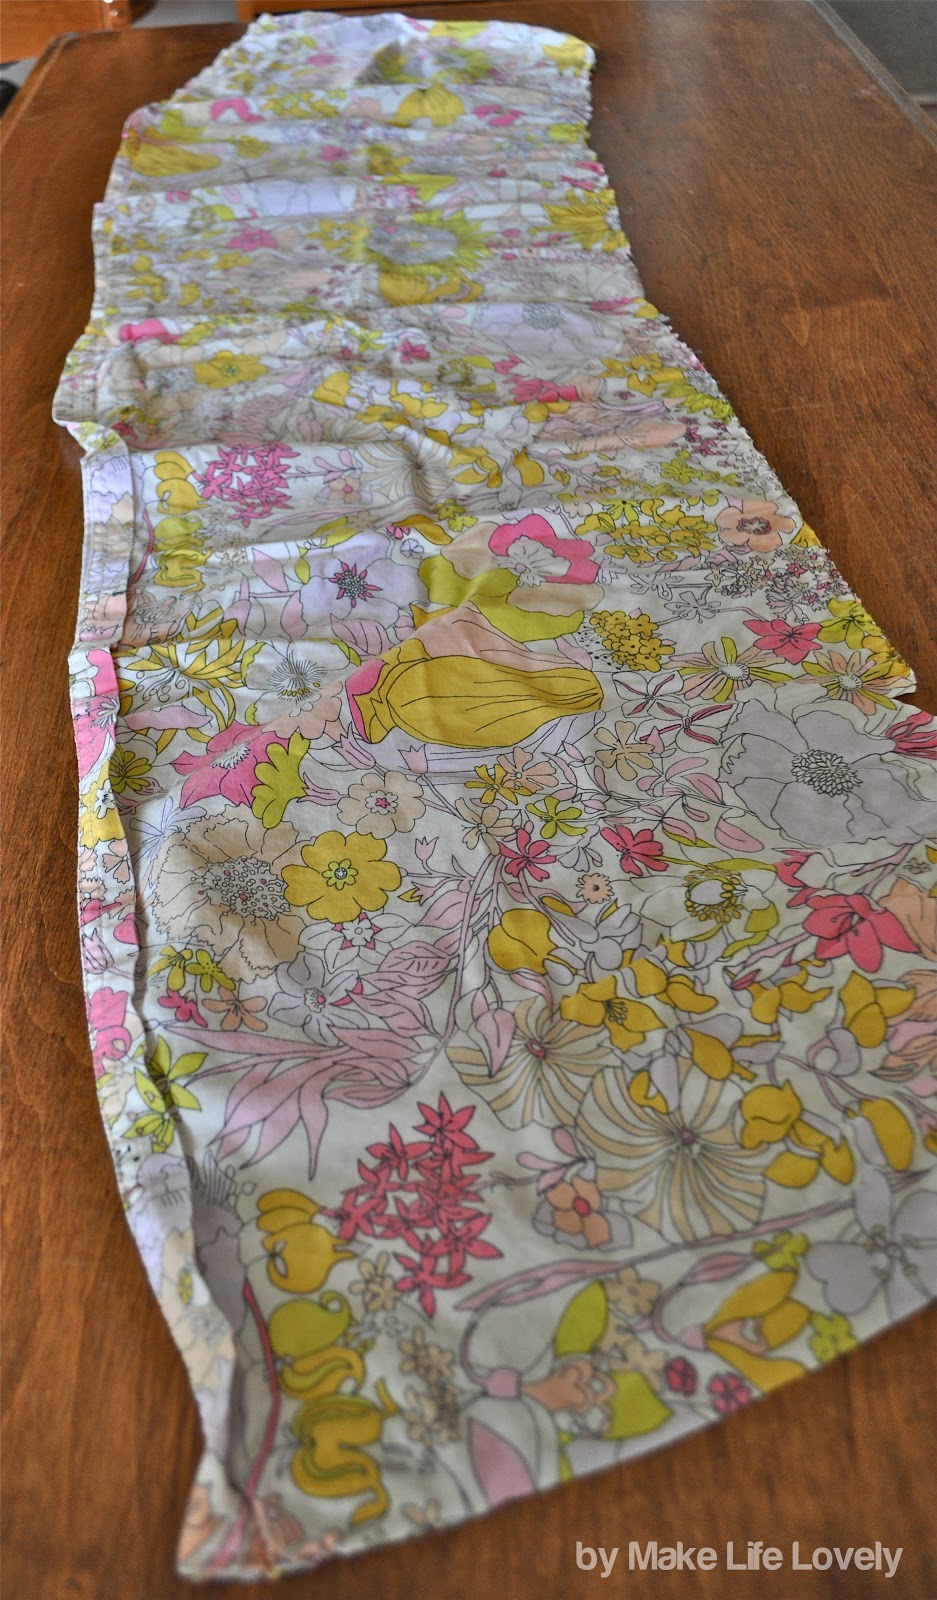
2. Make a cut along the side seam of your clothing, so that it is one long continuous piece of fabric. (Since I used a skirt that was pleated along the top, I also had to make a cut along the top to open up the pleats). Iron the fabric.
3. Find one of the side seams on your fabric. Line up the cardboard like before (like an open book) onto the inside of the fabric (the ugly side), with one of the side edges of the case lined up with the seam. Trace around all 3 pieces of cardboard (put together like in the photo, like a book) on the inside of your material (the ugly side) with a pencil. Cut about an inch OUTSIDE of your outline that you traced on all 3 sides, EXCEPT the side where there is a seam. Leave that side alone and uncut.

4. To cut the rest of the fabric, pull the cardboard pieces off, and simply flip the uncut piece over the top, keeping the same side seam aligned as it was with the cardboard. Now cut along the edges of those same 3 sides you already cut, this time cutting the uncut piece of fabric. Make sure you don’t cut the 4th side with the seam.

5. Now flip the fabric so that the pretty sides (the outsides) are together, with the part that you traced on the top, like in the photo. Pin the two pieces together. Sew right on the lines that you traced, leaving an opening about 8 1/2″ inches wide along the middle of the bottom. Iron.
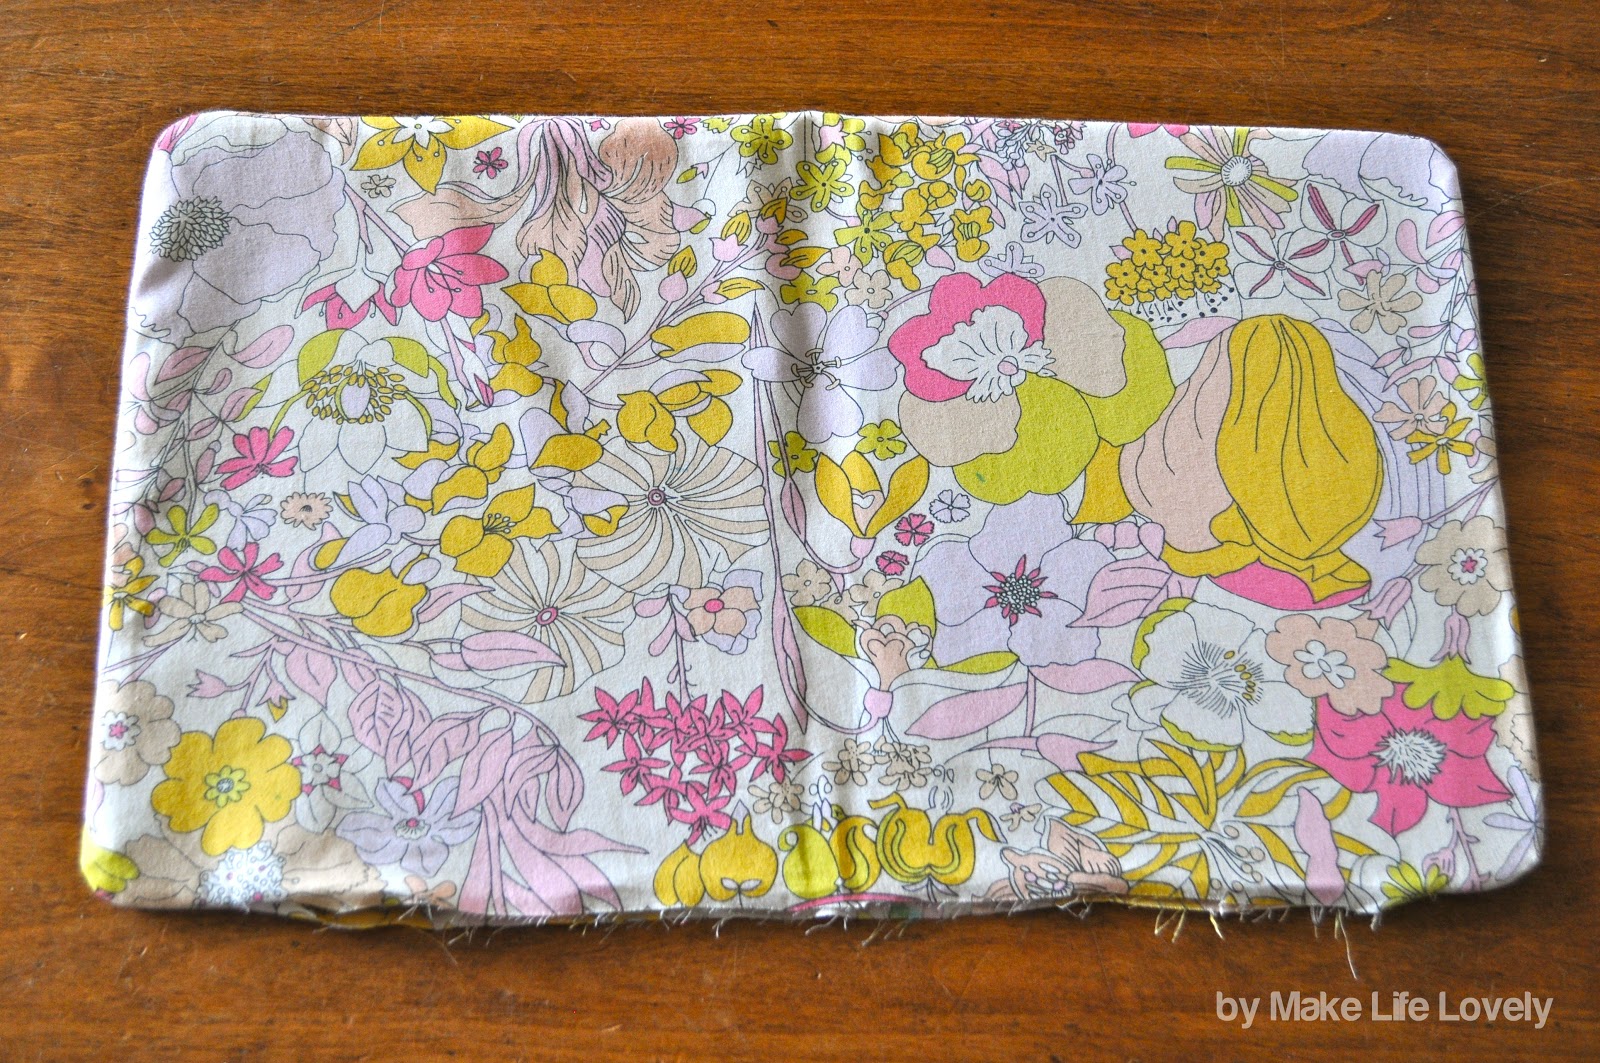
6. Flip the cover right side out through the hole that you left in your sewing. Spray both sides of one of the 8″x10″ pieces of cardboard, push it gently up and in through the hole, all the way over to one side, making sure to match up the rounded edges to the rounded edges in the fabric. Push down and rub on the cardboard and fabric so that it sticks together.
Spray the second 8″x10″ piece of cardboard into the hole and all the way over to the other side of the case. Push down and rub on it. The spray mount is optional, but it made a big difference in making the cardboard stay in place and the whole case looking nice and smooth. Throw away the small 1″x10″ piece of cardboard, you will no longer need it.
Spray the second 8″x10″ piece of cardboard into the hole and all the way over to the other side of the case. Push down and rub on it. The spray mount is optional, but it made a big difference in making the cardboard stay in place and the whole case looking nice and smooth. Throw away the small 1″x10″ piece of cardboard, you will no longer need it.
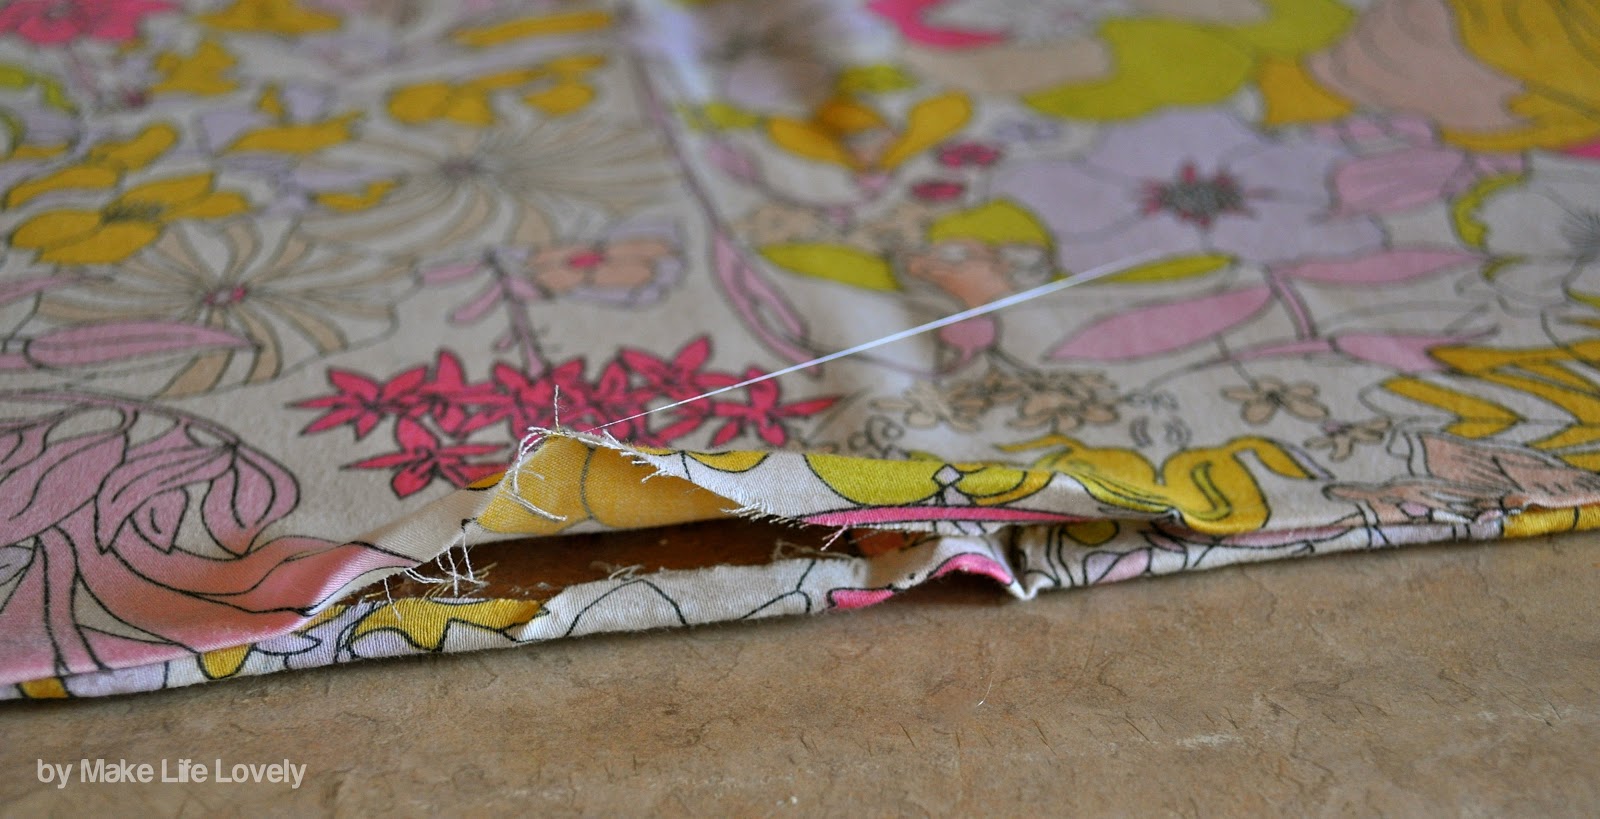
7. Now you need to finish off the bottom edge along the hole. To do this you can either fold in both edges of the fabric into the hole, and then handsew the pieces together OR you can use fold in both edges of the fabric into the hole, and then glue the pieces together using a glue gun. I was too nervous to use my new sewing machine with the cardboard, so I would not recommend using a sewing machine for this part.
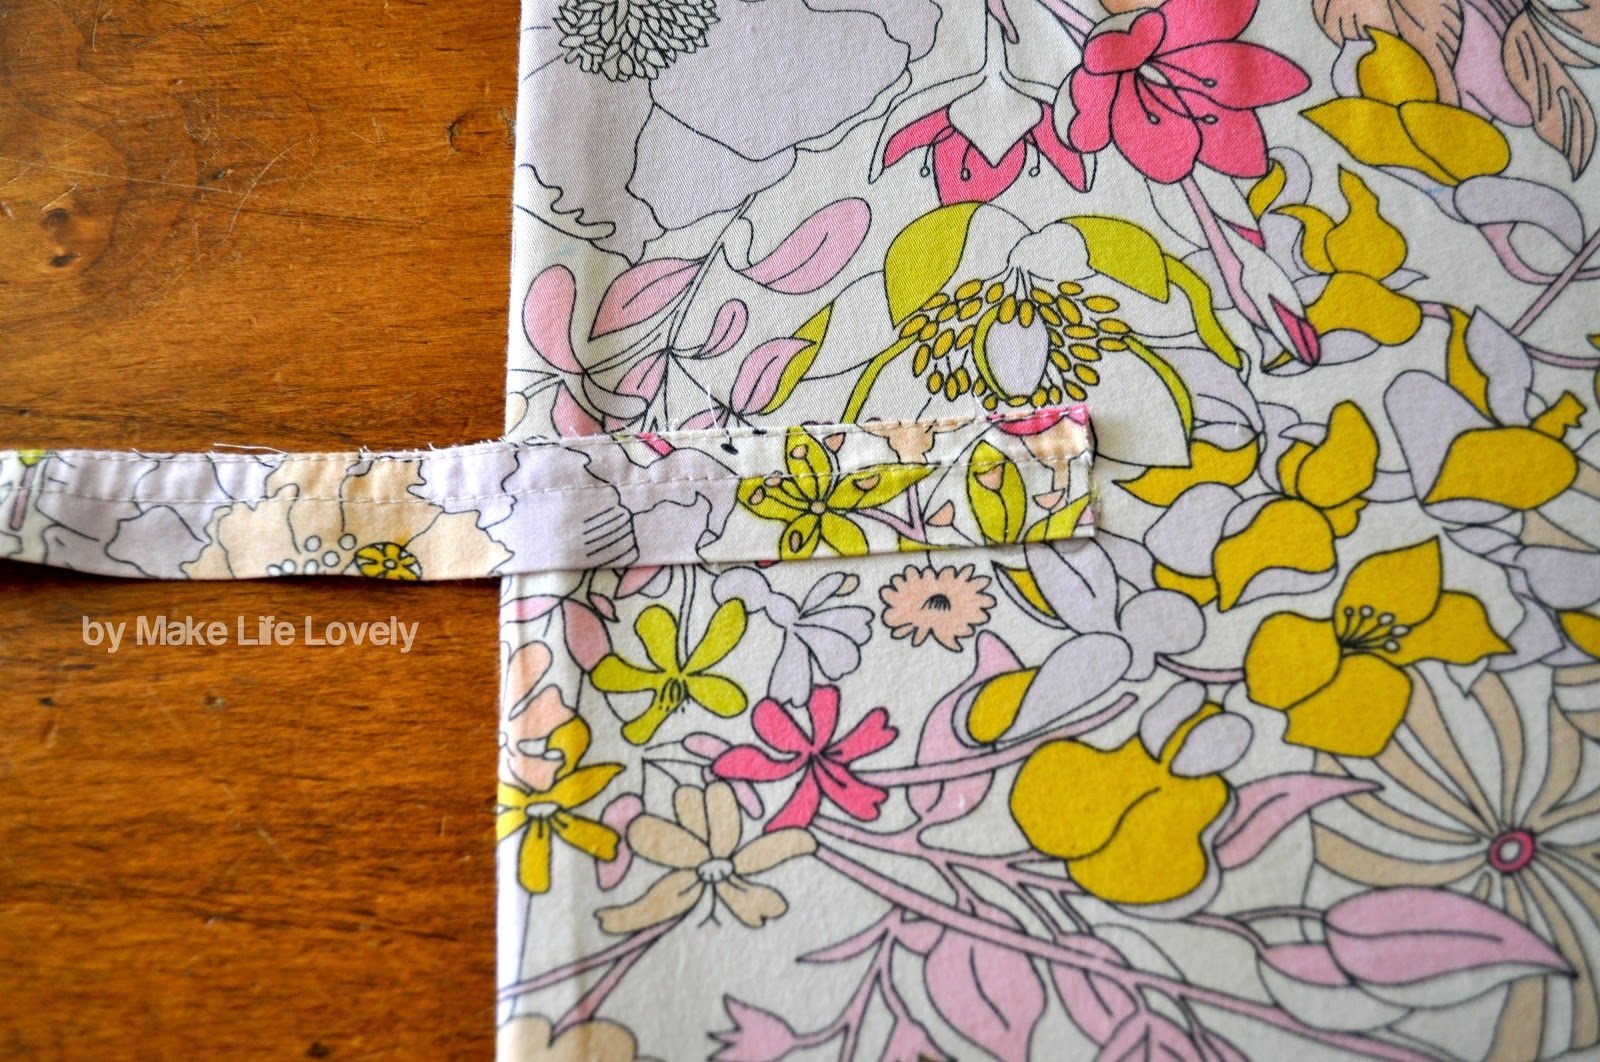
8. Now to make the ties to close the case. The skirt I used came with a long ribbon-like piece of material, that I turned into ties. You can do the same thing with a piece of ribbon that matches the fabric you used.
Use your glue gun to glue one of the 13″ pieces of ribbon onto the center inside of the front of your case, as pictured. Do the same thing with the other 13″ piece of ribbon onto the center inside of the back of your case.
Use your glue gun to glue one of the 13″ pieces of ribbon onto the center inside of the front of your case, as pictured. Do the same thing with the other 13″ piece of ribbon onto the center inside of the back of your case.
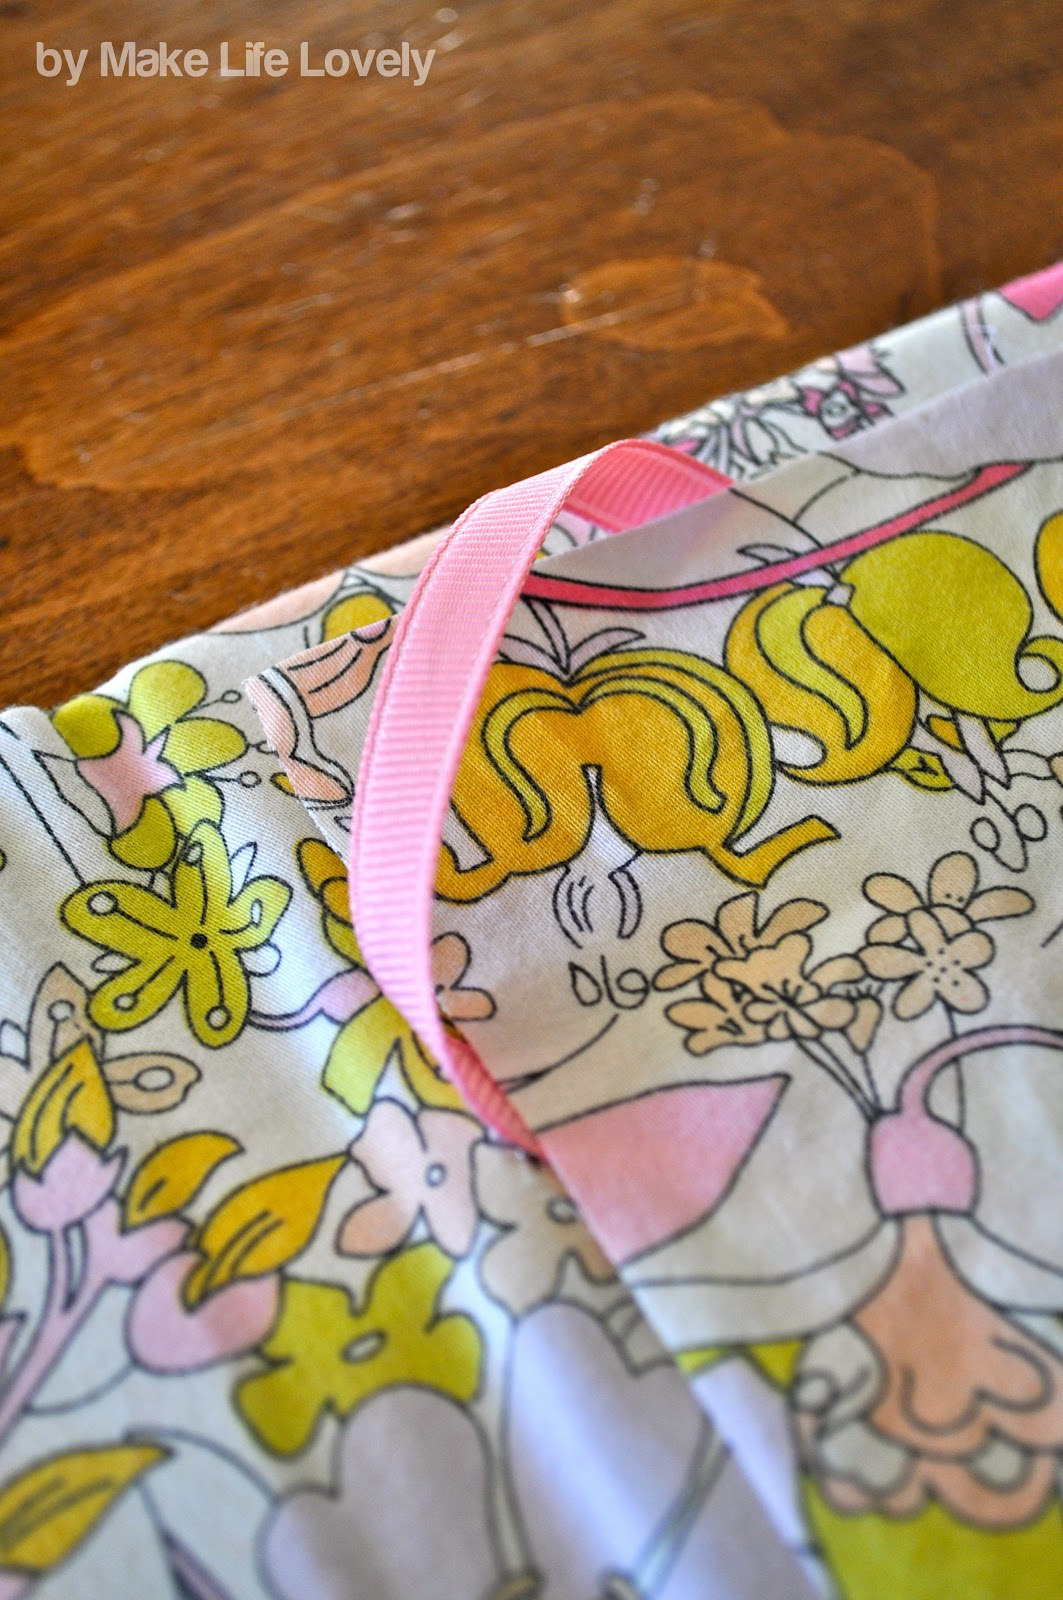

9. To hold the iPad in place inside the case, you will be using two 8″ pieces of ribbon. The first piece will be glued down in the top left corner of the inside of the case. Place your iPad centered inside the case, and place the middle of a piece of your ribbon diagonally over the corner of your iPad. Tuck the edges of the ribbon down, pull out your iPad, and glue the piece of ribbon down in that spot.
Repeat for the bottom right hand corner, measuring where you would like the ribbon to go with your iPad, and then removing your iPad and gluing. Make sure that the ribbon is tight enough to hold your iPad, but loose enough to be able to pull it in and out easily! Your iPad will cover the bottom portion of the ribbon, but if you would like to cover it, you can cut a big rectangle of material, and glue it over the bottom ends of the ribbon.

10. Your iPad will be safe and secure now inside your new case, but as an extra precaution, I used an elastic headband of my daughter’s to hold the closed case together. You can never be too safe with something you paid hundreds of dollars for, right?

And you are finished! Stand back and admire your lovely, custom, unique iPad case, and feel good knowing that you made it from recycled and upcycled materials.
