I’ve been loving the gold trend lately. I’m a firm believer that practically anything looks amazing when spray painted gold! I made some adorable DIY party hats this week that I am dying to share with you. Care to guess what color they’re painted?!
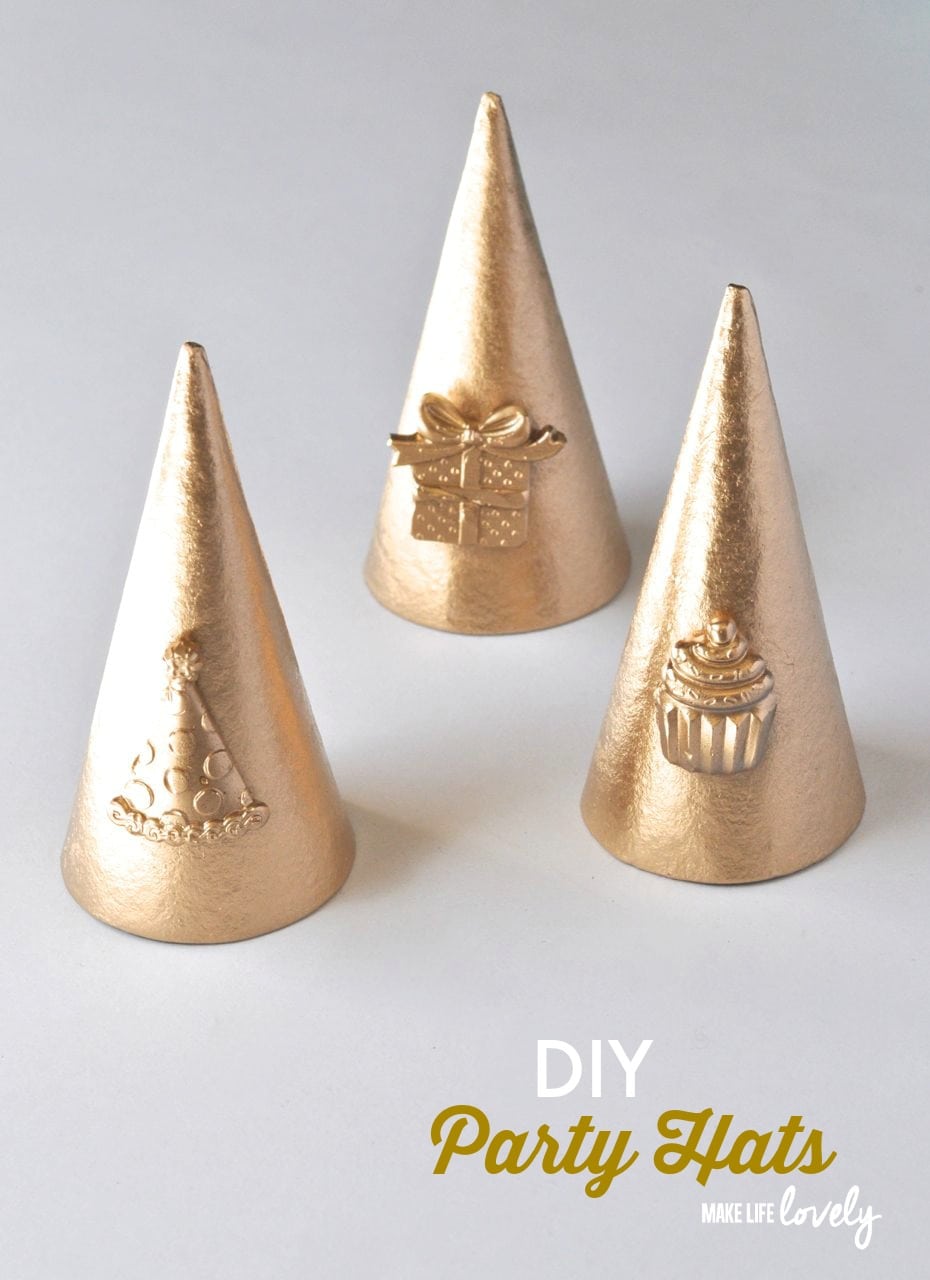
These DIY party hats are mini versions, so they’re perfect for smaller heads (or big heads that like small hats). You could also use larger cones for bigger hats if you’d like.
When I was at CHA in Anaheim in January, I was invited to an awesome breakfast and tour at the Plaid booth, where we were given a sneak peek at lots of the new amazing Plaid products coming out. We were also given a HUGE swag bag full of Plaid goodies, some of which weren’t available to the public yet, including the Mod Podge Mod Melter. Cathie and Steve themselves gave us a demonstration of this fun new tool that works with the Mod Podge Mod Melts and Molds.
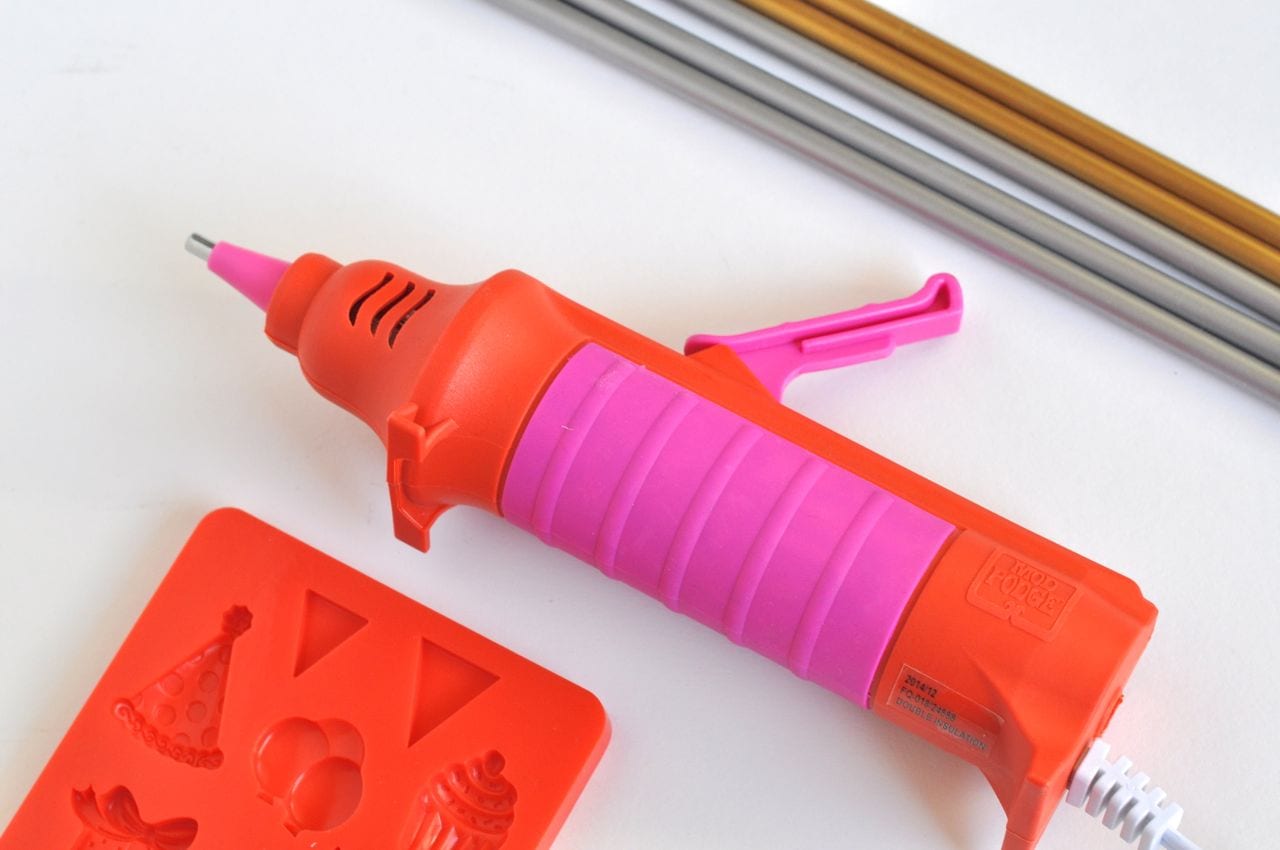
The Mod Melter is a new and improved all-purpose glue gun that improves on the design of a traditional glue gun. It has a built-in stand, which is pretty cool for those of us that misplace our glue gun stands. It also has an on/off switch, a 6 foot electrical cord, and a large trigger that makes it easy to control. You hold the Mod Melter directly above the mold, which makes it easier to see what you are doing. I had SO much fun playing with my new tool, and am excited to share these adorable DIY party hats with you!
DIY Party Hats
Supplies:
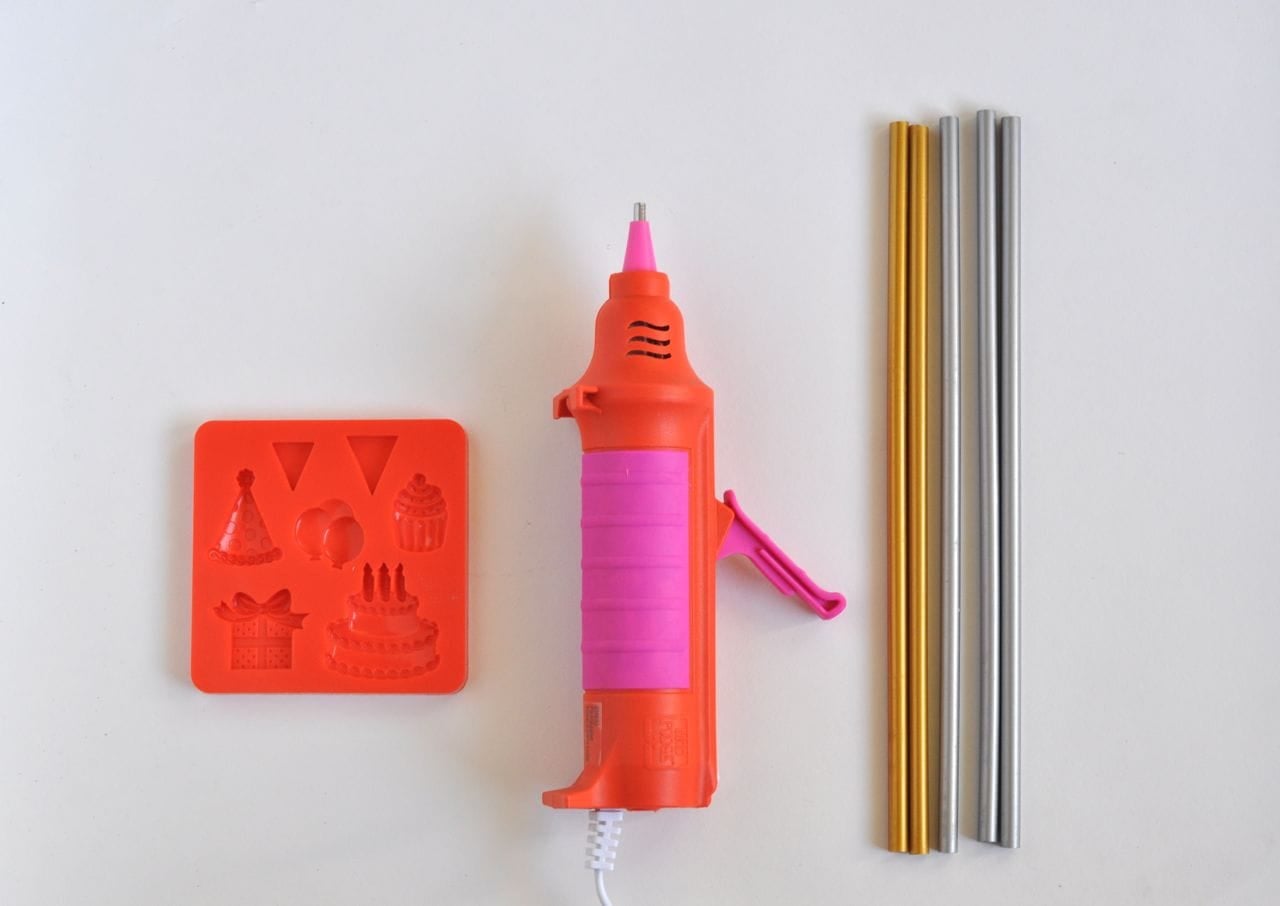
- Mod Podge Mod Melter
- Mod Podge Mod Melts (any color – I used the gold & silver metallics)
- Mod Podge Mod Mold- Celebration
- Small paper mache cones
- Gold spray paint
- Strong adhesive (Aleene’s Fast Grab Tacky Glue worked perfectly for me)
- Thin elastic
- Scissors
Directions:

Step 1. Turn on the Mod Melter and let it heat up. Place a Mod Melts stick into the Mod Melter, squeeze the trigger, and fill up each celebration mold that you want to use .
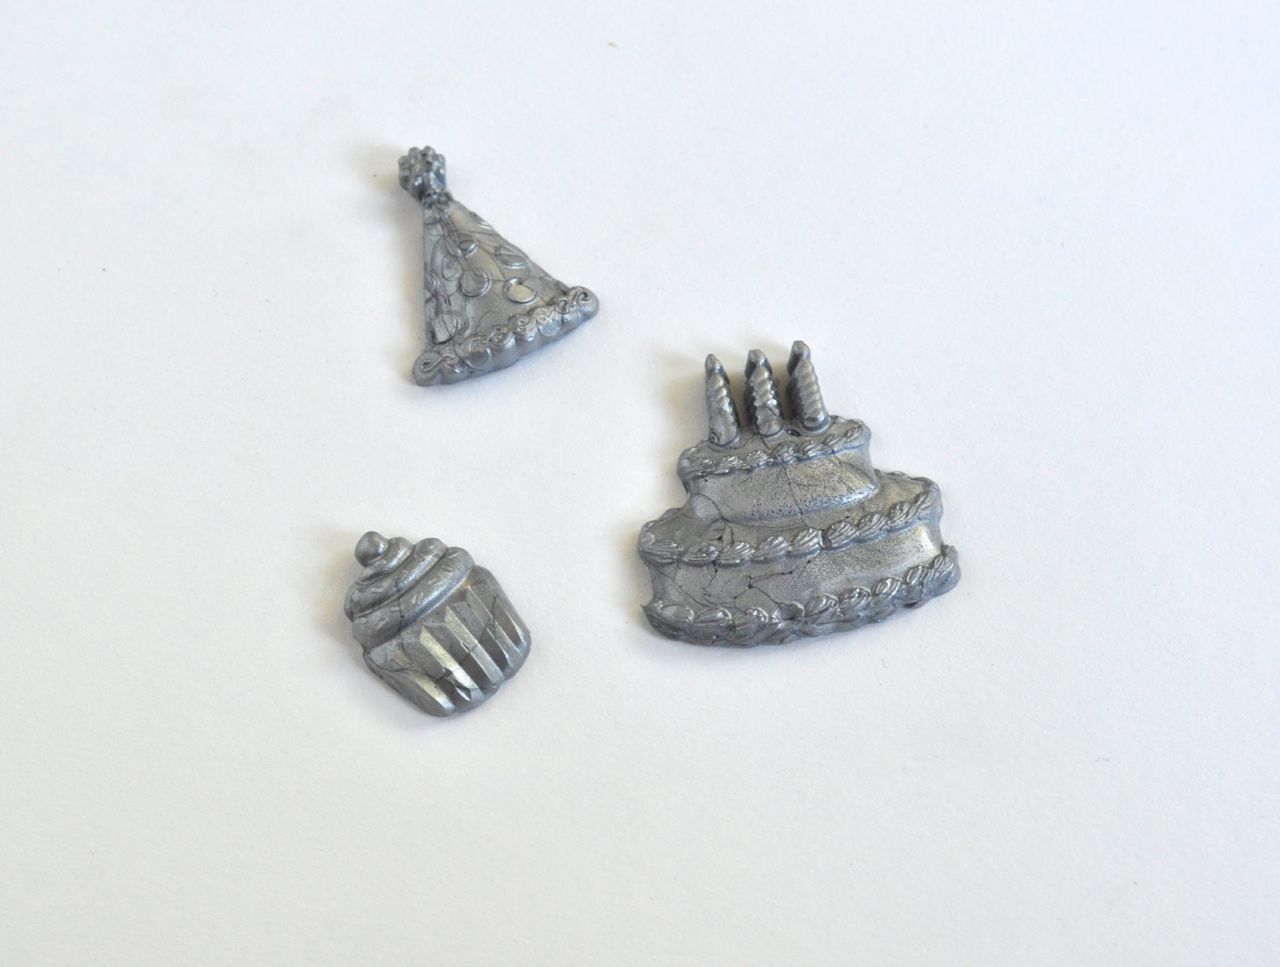
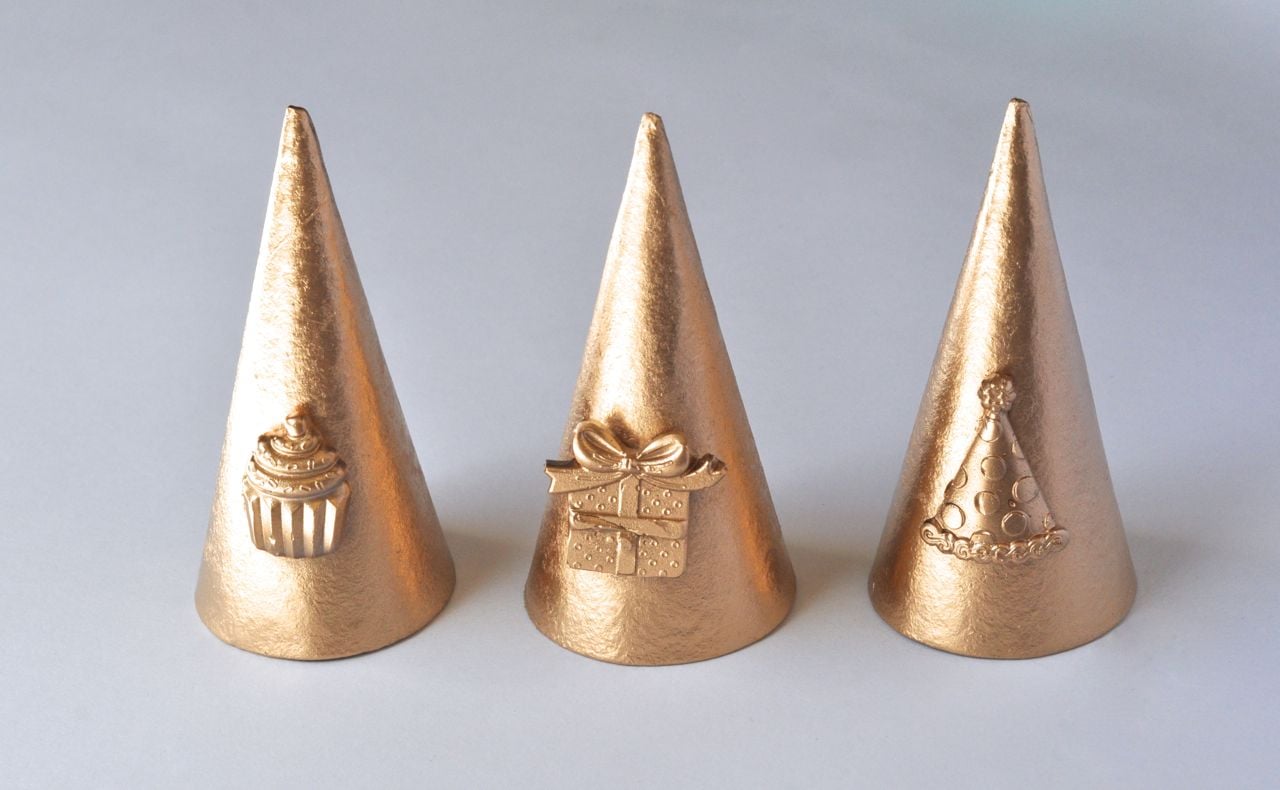
Let cool for about 10 minutes, then pop out the hardened design. I am amazed at all of the details in each piece! They look really cool! I had to make extras for my kids because they kept trying to take mine. 😉
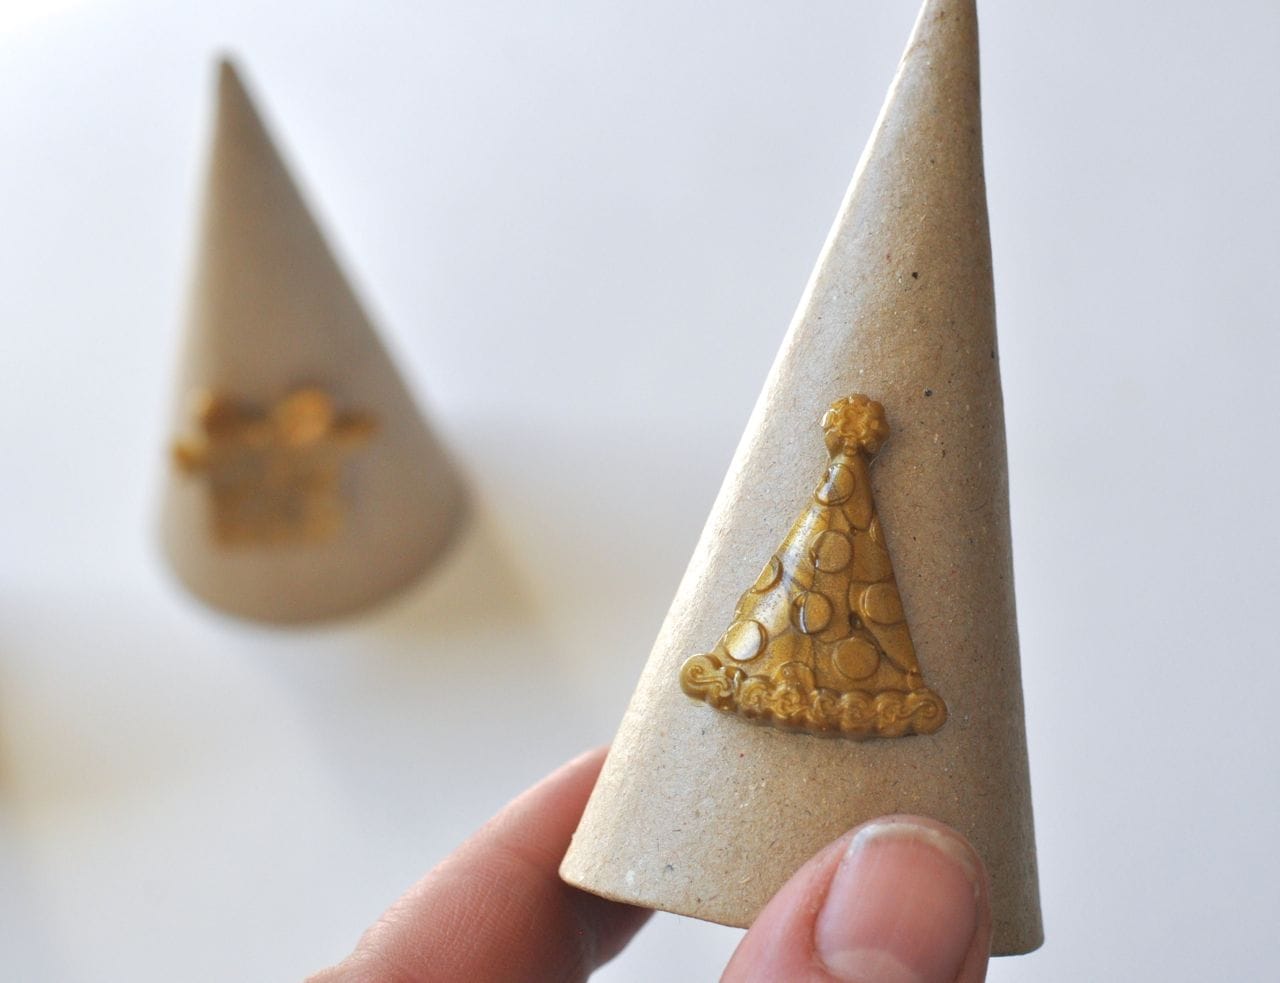
Step 2. Use a strong adhesive to add the party Mod Melts to each paper mache cone. I used my trusty Aleene’s Fast Grab Tacky Glue, which is my new favorite for gluing on hard-to-hold items almost instantly.
Step 3. After letting the glue dry for a few minutes, I spray painted each cone gold with a few light coats of gold spray paint.
Let the paint dry between each coat.
Step 4. Measure the length that you would like the elastic to be, cut, then use hot glue to glue the elastic to both sides of the inside of each hat.
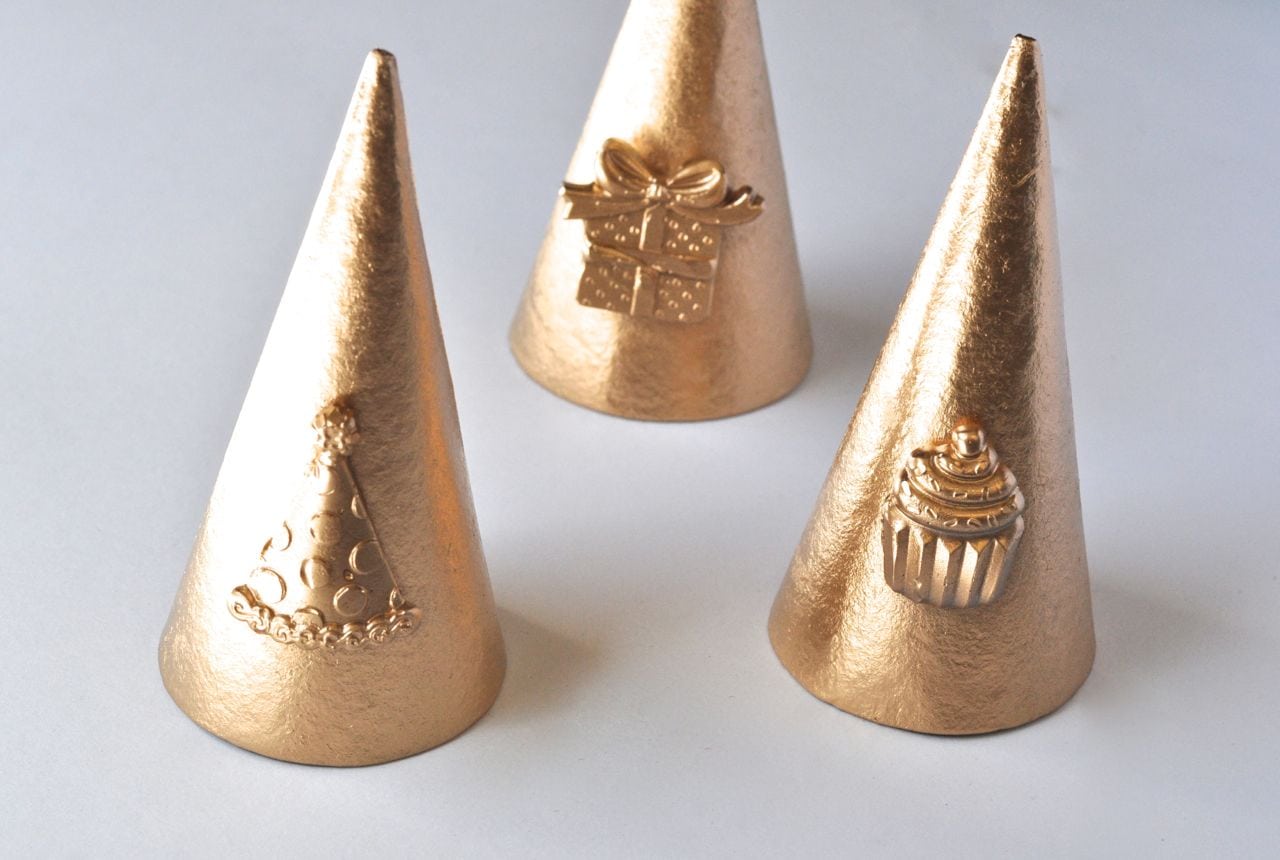
Aren’t these DIY party hats SO adorable? They look so classic and clean in the shiny gold, but you could also paint these bright colors to go with your party theme. You could also add tissue paper ruffles to the bottom, a pom poms to the top, and whatever else you would like to embellish these! I love that you can take something as simple and humble as a paper mache cone and turn it into a show-stopping party hat.
I have some good news for you! The Mod Melter will be available to the public mid-March on Plaid’s website and on Amazon, and is available to purchase on HSN.com right now. If you try crafting with the Mod Melter, I’d love to hear what you come up with!
If you liked this post, I’d love for you to follow me on Facebook, Pinterest, and Instagram. Thanks for following!
You’ll love these spring and Easter ideas-

Painted Easter bunny jars (made from baby food jars)


Rainbow cakes (bakes in baby food jars)
Happy creating!
![]()
Leave a Reply