
Make a Tooth Fairy bag in under 5 minutes with this easy and fun craft tutorial!
My daughter lost her tooth a couple weeks ago, and I really mean lost.
Twice. First, it fell out.
Then, she left it on the counter, and when she went back to get it, her tooth was gone.
She was so sad, and we ended up writing a letter to the understanding Tooth Fairy, explaining the situation.
Why a Tooth Fairy Bag?
A lost tooth is so small and tiny, it can be hard for the Tooth Fairy to find under a pillow.
So I came up with this easy solution… a cute little Tooth Fairy bag for my kids to put their lost teeth in!
I mean, the Tooth Fairy is busy enough these days to have to dig around for a tooth under a pillow with a head weighing it down.
A Tooth Fairy bag also gives her a place to put the money for the kids inside, so they don’t lose their precious change or bills.
Now my kids won’t have to worry about having their tooth fall down underneath the bed, and the Tooth Fairy won’t have to dig around underneath the pillow to find the tooth.
It’s a win-win for everyone!
This post contains Amazon affiliate links, which means I make a small percentage of any purchase made at no extra cost to you. Thank you!
How to Make a Tooth Fairy Pouch
It takes less than 5 minutes to make one of these cute little bags.
Let’s get started!
Supplies You’ll Need
- Small drawstring muslin bag
- Small piece of white felt (+ small piece of any other color you’d like)
- Glue gun (this my favorite – I use constantly!)
- 1″ white felt letter (optional)
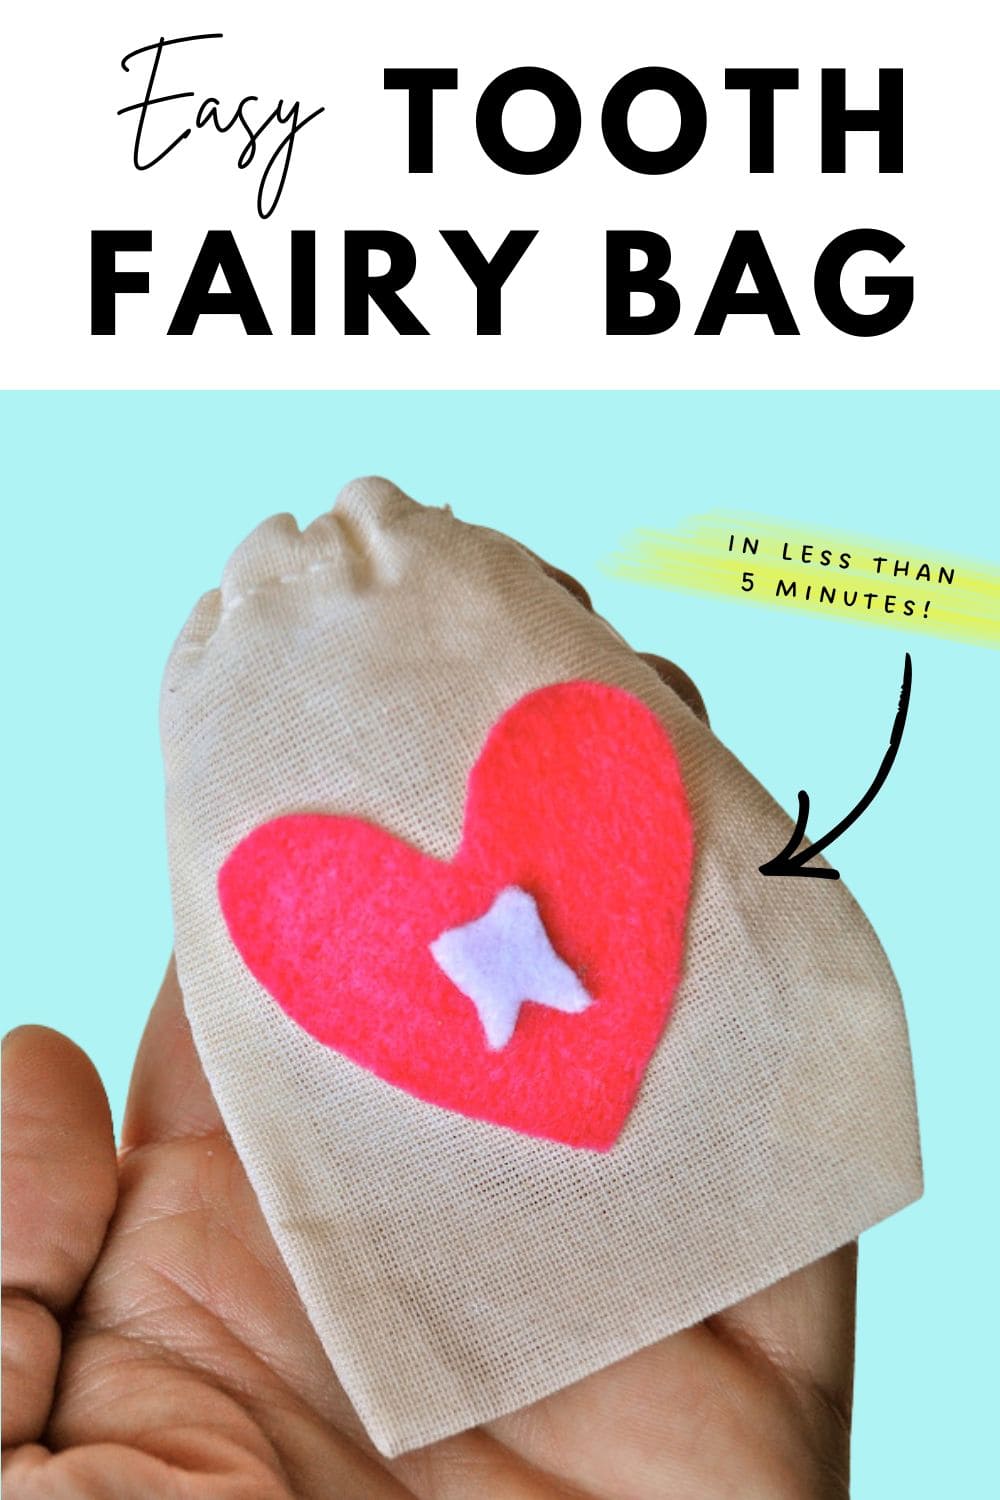
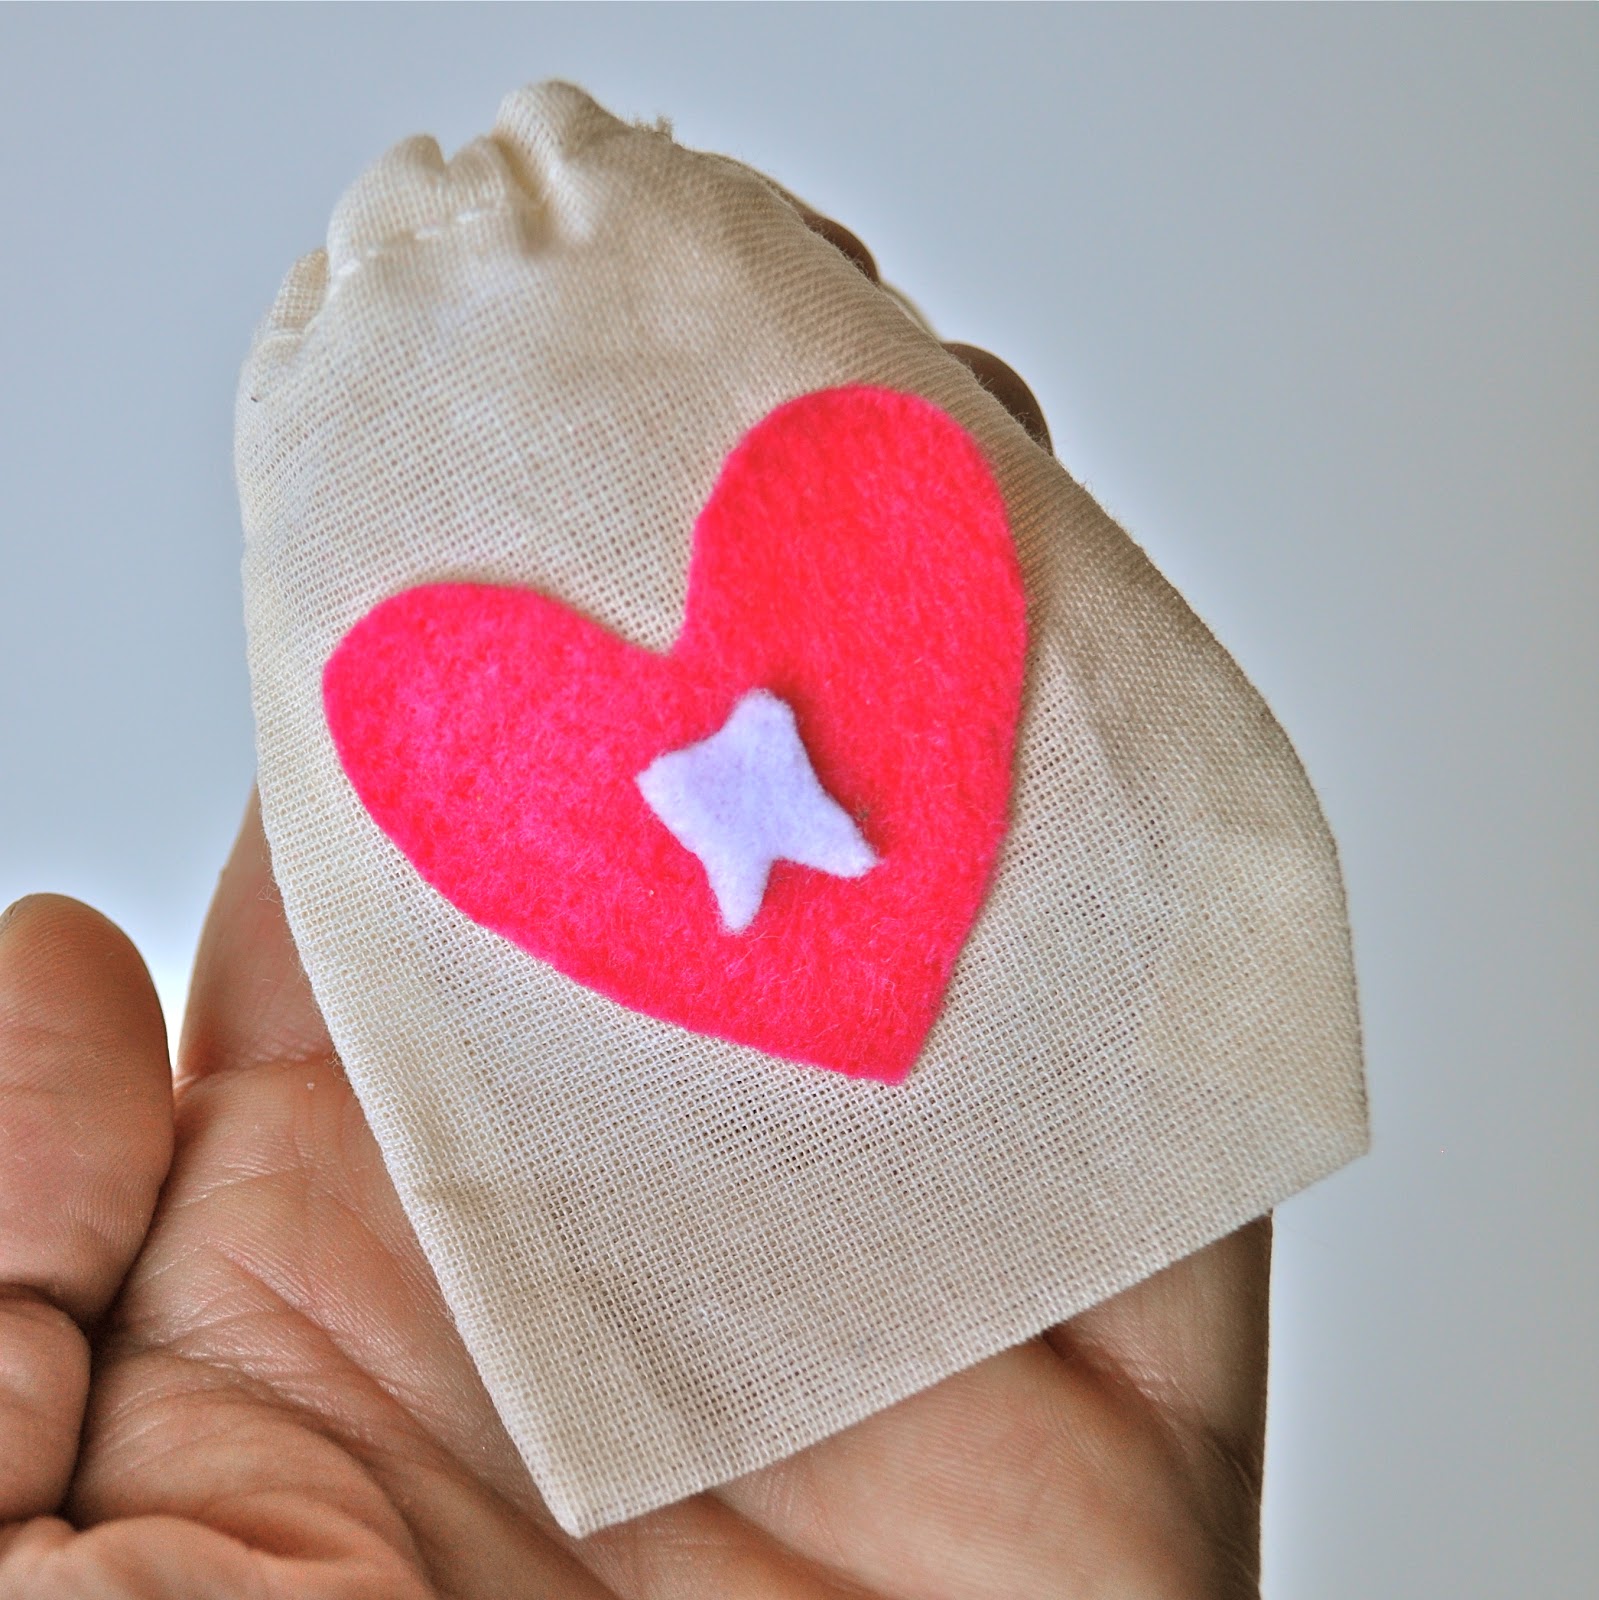
Cut Out a Heart
Cut a little heart out of a piece of colored felt.
I used bright pink and blue.
I’m fairly confident in my heart-cutting skills, but if you need a little help, use a small heart-shaped cookie cutter to trace around.
You can also print a heart shape from your computer to trace.
Cut Out a Tooth
Cut a little tooth shape out of the white felt.
You can also use a 1″ white felt letter to make the initial of your child’s first name.
I just eyeballed the tooth shape, but again, you could print out a shape from a google “tooth” search, then trace and cut.
Use your glue gun to glue the tooth or letter onto the heart, and then the heart onto the muslin pouch.
I made four bags for my four kids.
 |
Aren’t they darling?
 |
I made two Tooth Fairy bags with the white felt initials.
 |
Then, I made two Tooth Fairy pouches with the felt teeth.

I told you this fun craft was quick and easy!
Now you have an adorable Tooth Fairy bag for your child to keep their missing tooth nice and safe until the Tooth Fairy’s visit.
Your kiddos will also have a nice safe spot for their surprise from the Tooth Fairy in the morning.
I hope your kids are as excited about their bags as mine were.
This article was updated in June 2025 and was originally posted in November 2012.
Janel from NellieBellie says
this is adorable!! Great job!
Laura Russell says
Thanks Janel! Your Tooth Fairy pillow is mighty cute too 🙂 Gotta’ keep the kiddos happy, right? Thanks for visiting!