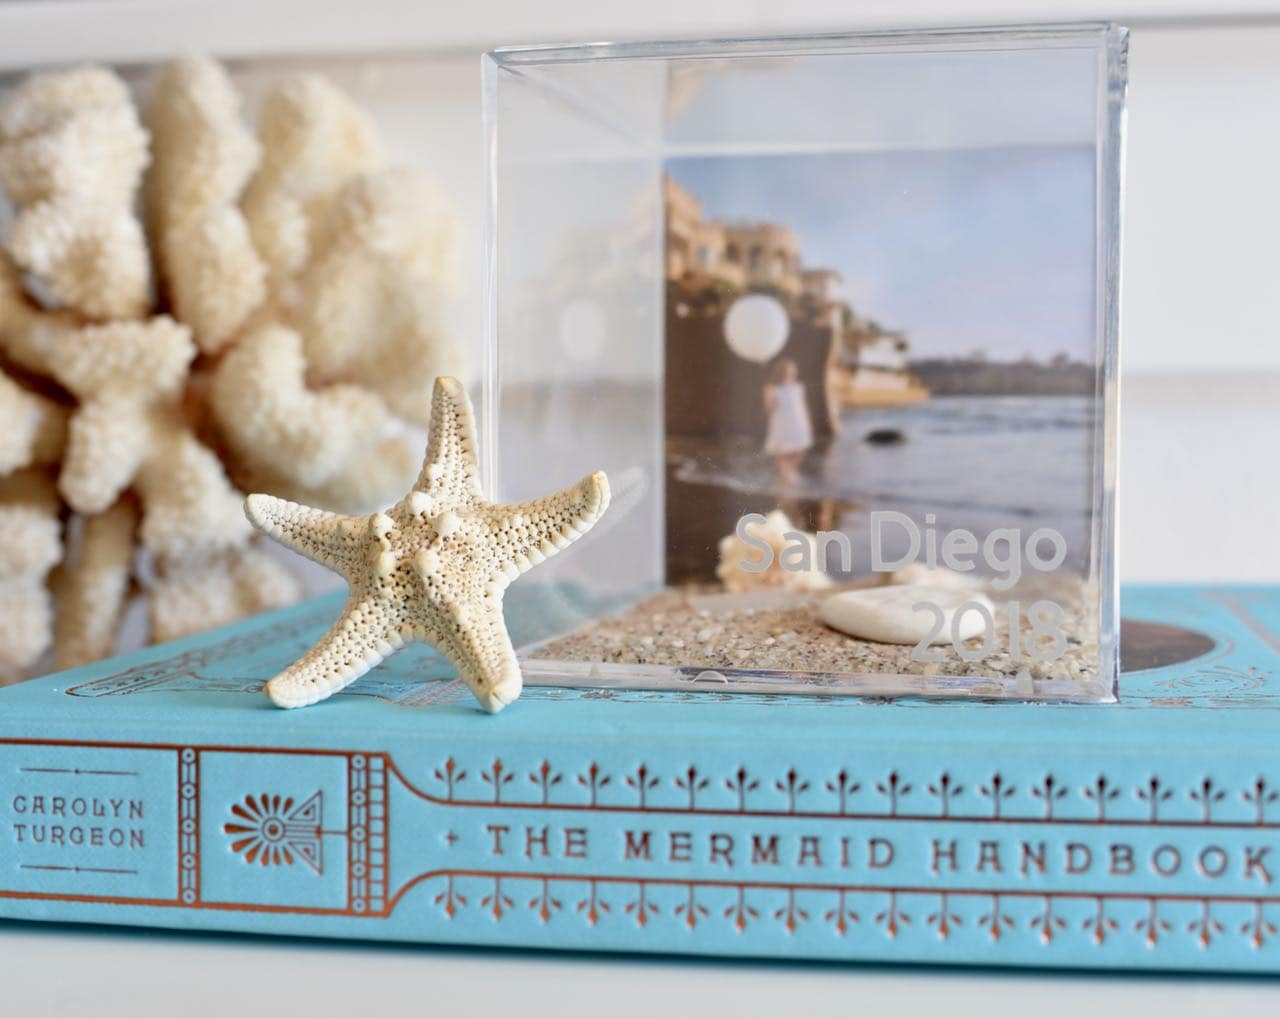
Ahhhh summer. Beach days, endless popsicles, sleeping in, and those fabulous summer vacations. Why not bring a part of your vacation home with you and display it so you can always remember the fun you had on your trip? Today I’m sharing how to make a DIY vacation memory cube that will be a daily reminder of those summer vacation trips.

This DIY memory keepsake is fairly easy to put together. One of the coolest parts of this project is the etched vacation destination name and date in the corner of the box. It looks etched, but it’s actually a really cool product called etch vinyl. No messy, stinky etching cream needed for this project.
You’ll need just a few supplies, including a Cricut machine, or a friend that has one. 😉 Be sure to save a few mementos from your next summer vacation to make one of these memory boxes!
Thank you Pro World for sponsoring this post. All ideas and opinions are always 100% my own.
DIY Vacation Memory Cube
Supplies:
- Clear acrylic cube (Mine is 3.5″ x 3.5″ and I bought it from Michaels for $2.49 with a 50% off coupon)
- Vacation mementos and trinkets (sand, shells, rocks, driftwood, miniatures, photos, tickets stubs, maps, etc.)
- Light etch vinyl
- Application tape
- Small squeegee
- Cricut machine (I used my Cricut Explore Air 2)
- Glue stick
Step 1. Go to my Design Space file and edit the wording with your own vacation destination and date in Design Space with the design file I created. Place the light etch vinyl onto a Cricut mat, then cut out your design.
I used etch vinyl, application tape, and squeegee from Pro World. They have a HUGE selection of vinyl, transfer paper, heat transfers, heat presses, and sublimation supplies. The etch vinyl is SO cool and truly looks like it’s etched onto the surface. I’m already thinking up new fun ways to use this cool product!

Step 2. Remove the excess vinyl with a weeding tool, then use a small squeegee to press the sticky side of the application tape onto the words and date. Remove the application tape with the words and date attached, and press onto the front bottom right corner of your acrylic cube.

Use the squeegee to press the design really well onto the cube, then carefully peel up the tape. Now your cube has your vacation date and destination on it and it looks like it’s been etched right on there!

Step 3. Now it’s time to add even more fun to your DIY vacation memory cube. First you’ll want to print a photo. My cube was 3.5″ x 3.5″, so I printed a photo with the same dimensions.
Open up the cube (there should be two pieces that slide apart and back together). Glue the photo onto the back of the cube. I chose to add sand, sea glass, shells, and a sand dollar to our cube.
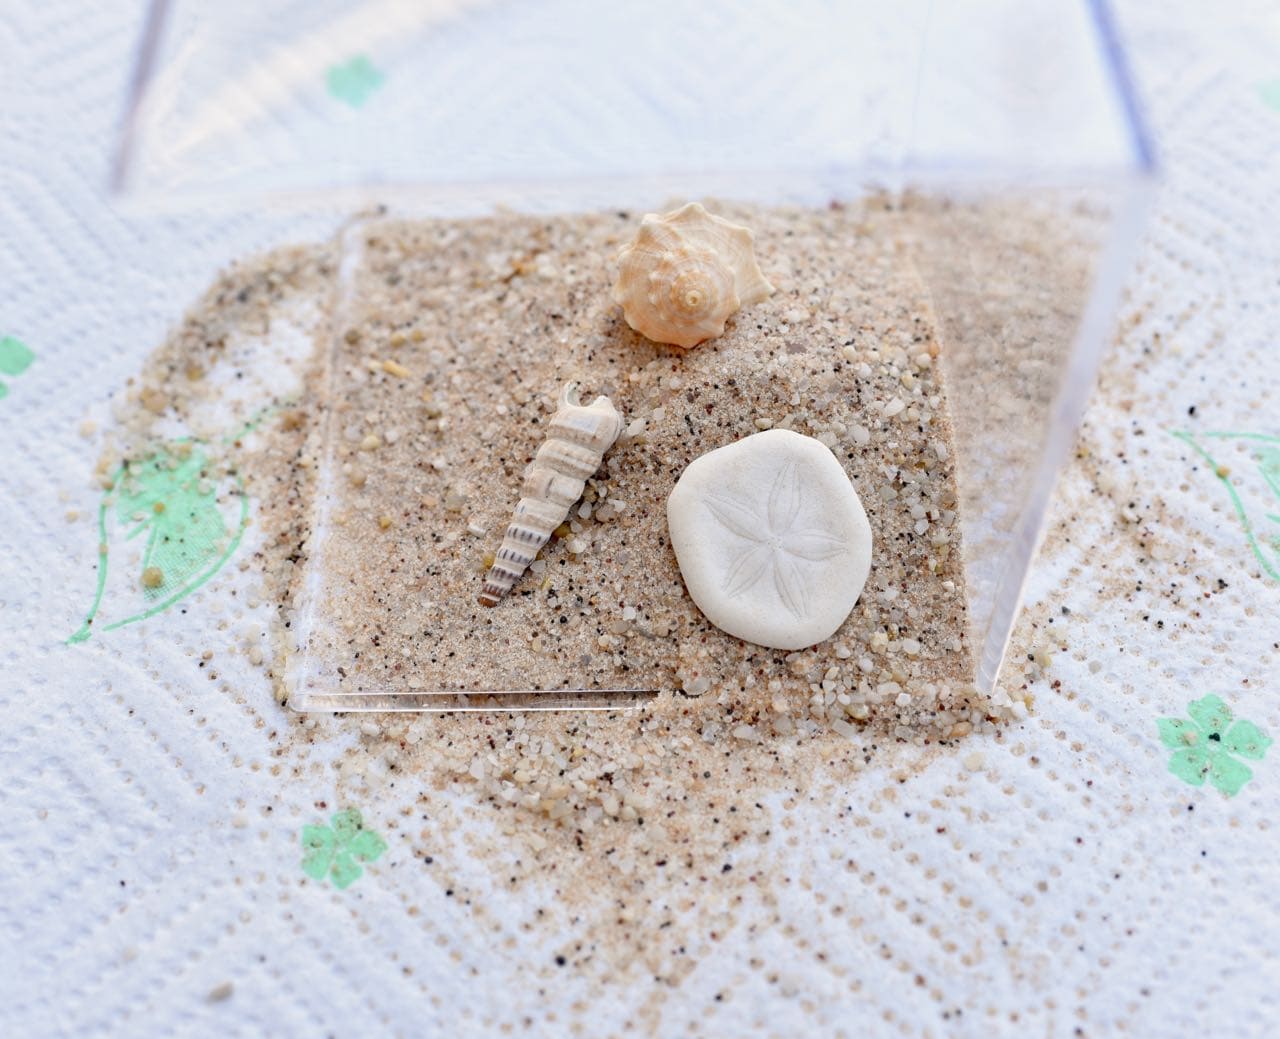
The only tricky part to this is adding the sand if you decide to use it. Be sure to place the sand in the middle of the acrylic bottom so the sand won’t get in the way of closing the cube. I added the shells on top of the sand, then closed my box.
If you’re worried about little grains of sand possibly falling out, then you can use a glue gun to add a thin line of glue across the edges to make sure no tiny grains come out. My box was going to be sitting on a dresser so I wasn’t worried about it and just left it as is.
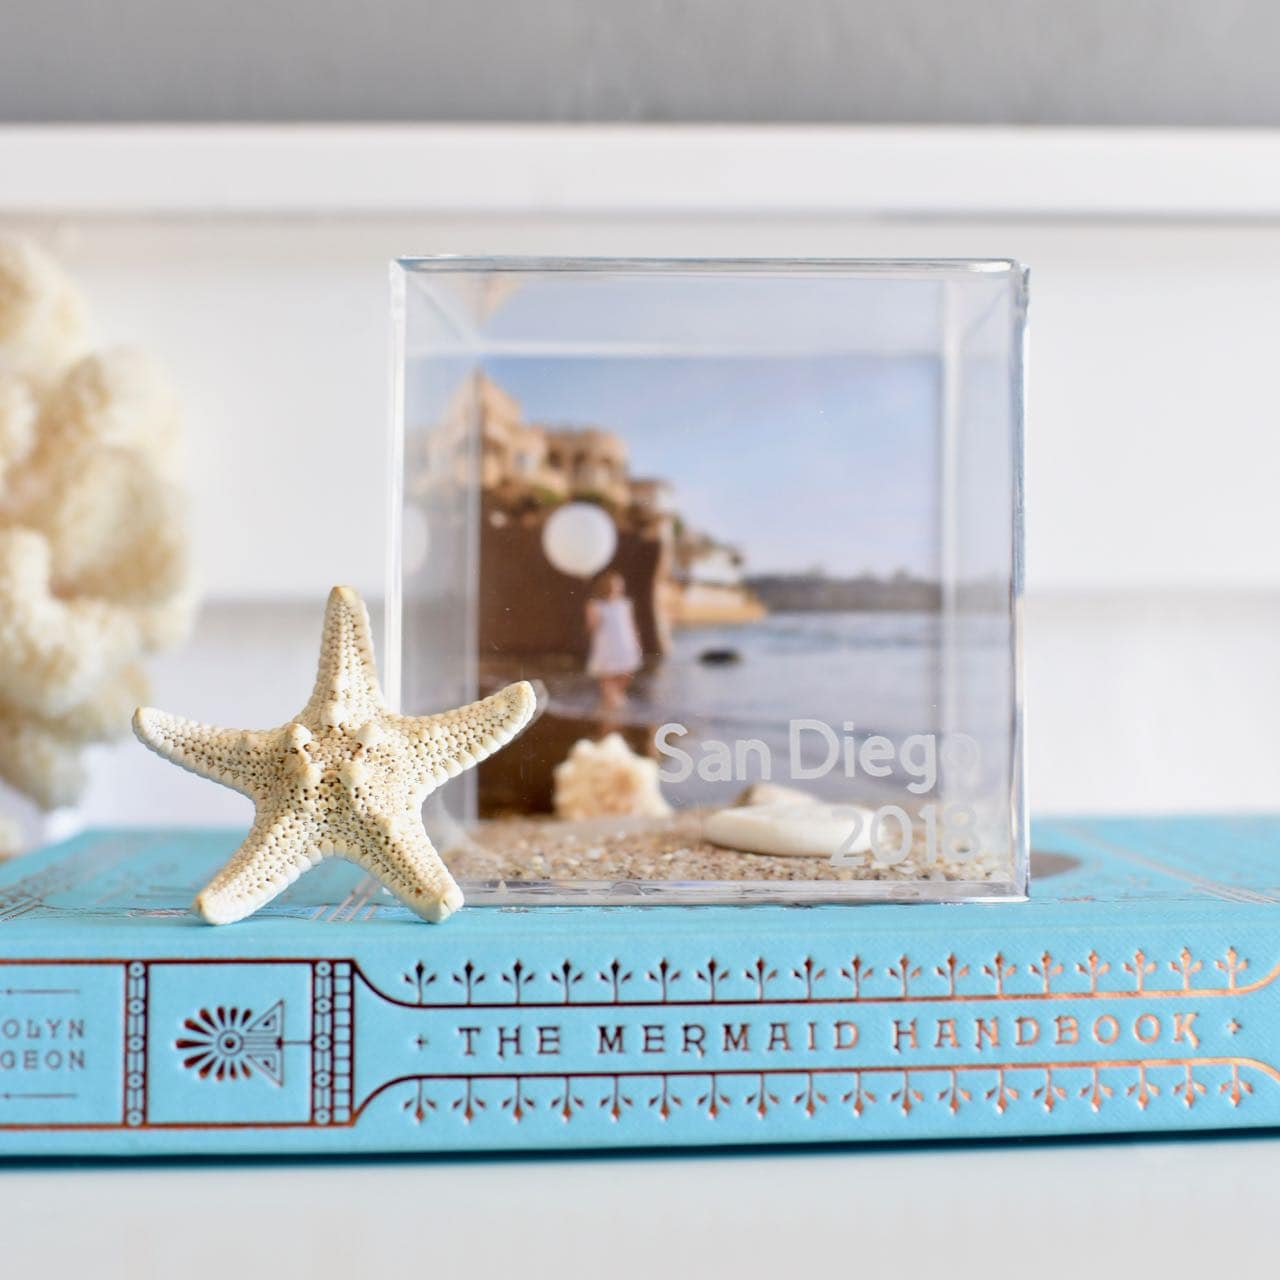
You can make one DIY vacation memory cube for a favorite vacation, or make and stack a whole set of them, one for each vacation you take!
This vacation memory keepsake would also be a great project for the kids to help with! They’ll love collecting small trinkets and items found in nature to place in the vacation memory box when they get home.
For more fab Cricut projects, you’ll love these-
How to Make Stickers Using Cricut Print then Cut

DIY Burp Cloths with Heat Transfer Vinyl and Cricut


Cricut Iron On Onesie, Leggings, and DIY Hair Bow for Baby

DIY Dinosaur Eggs + Favor Bags with Cricut

7 Reasons You Need a Cricut Maker in Your Life
Happy crafting!
![]()
Leave a Reply