Over the weekend this fall wreath was featured on Disney’s Babble (eek, one of my absolute favorites!!), so it couldn’t have been too bad for a first blog post, right?! So without further ado, here’s the original post for my DIY Fall Wreath… enjoy!
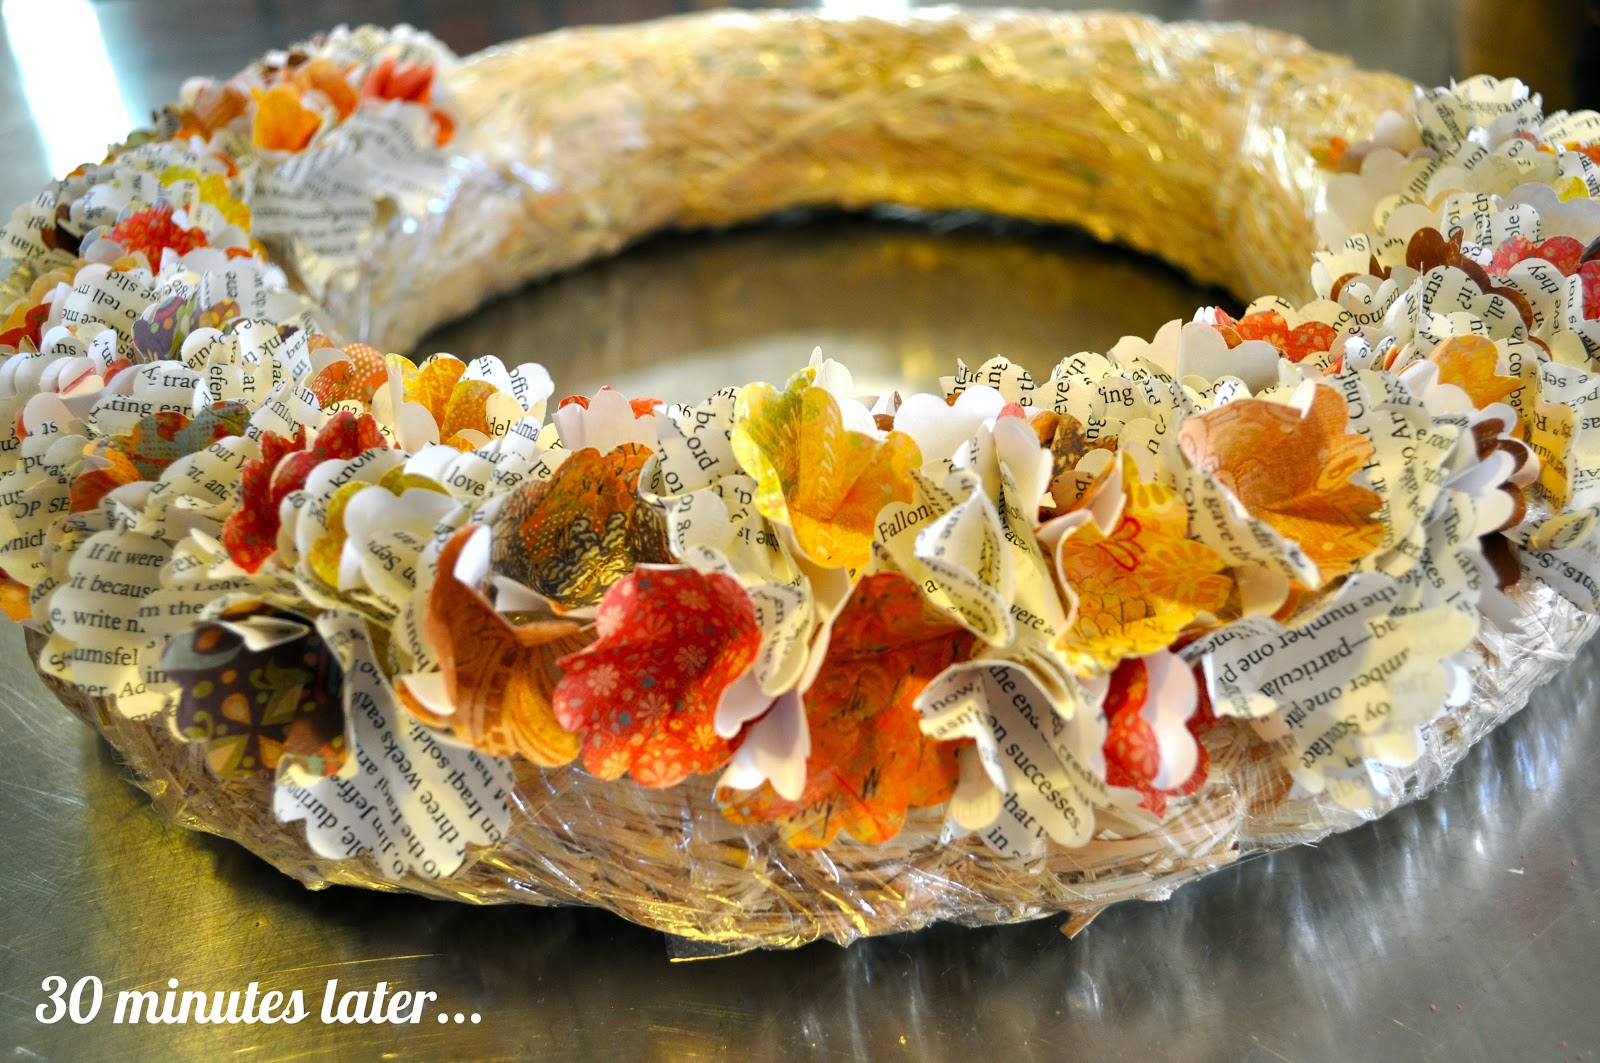
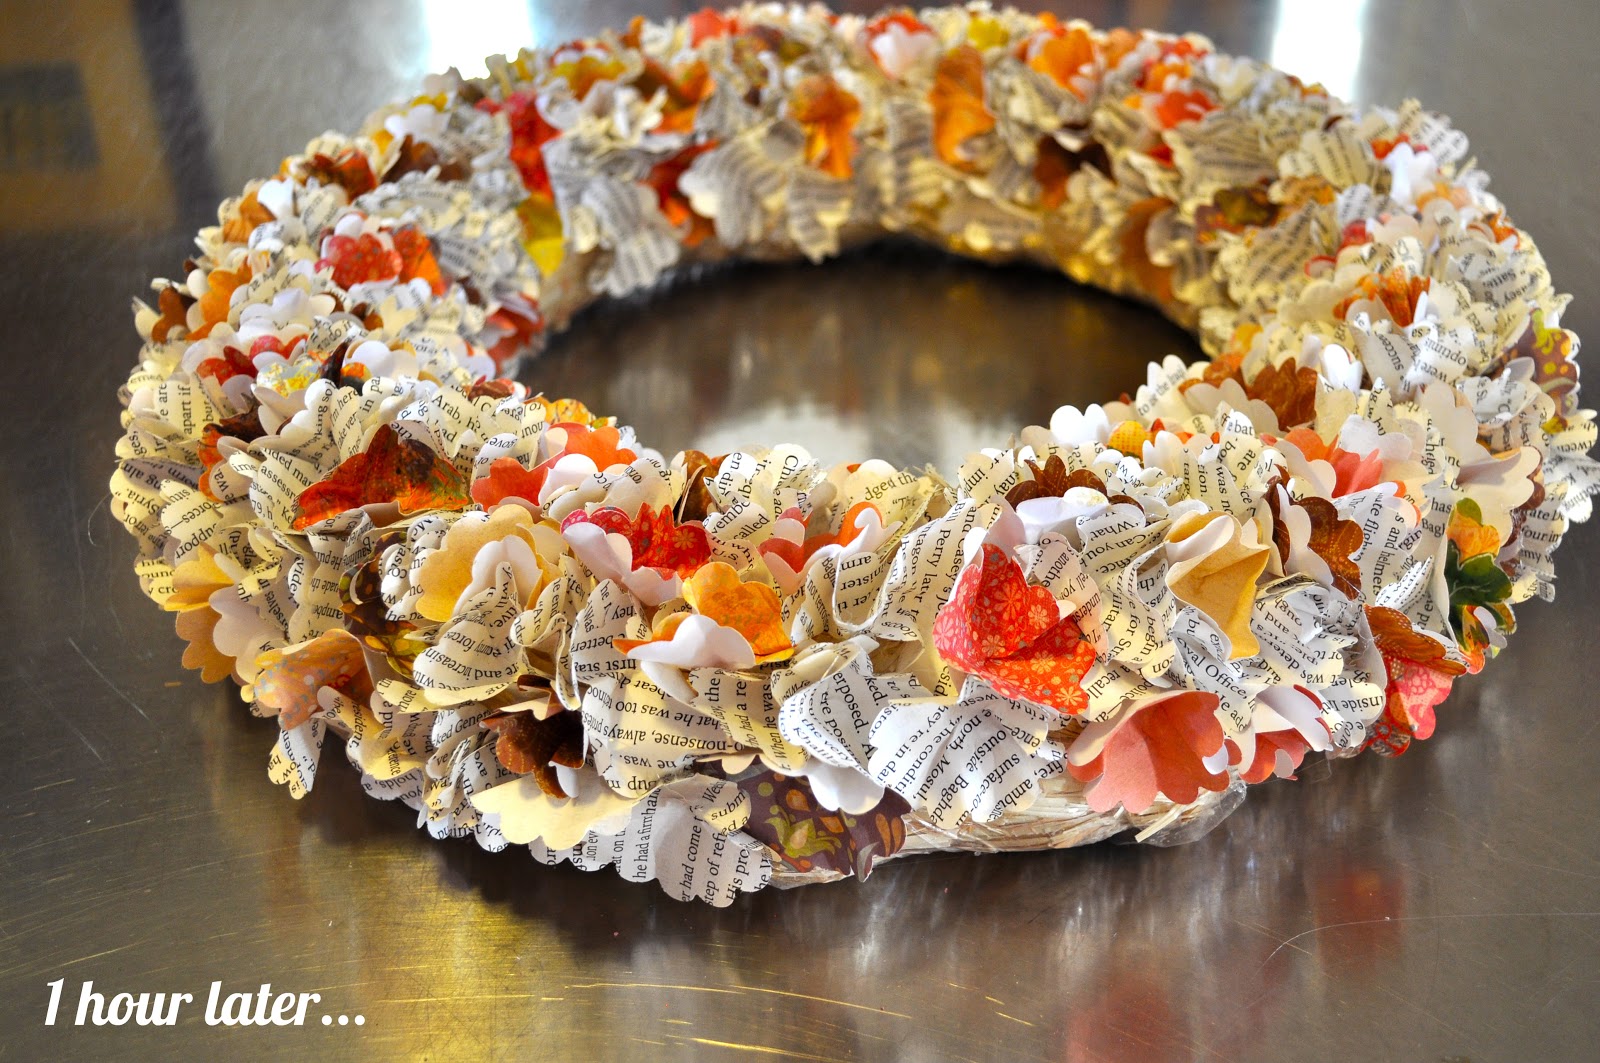
I am so excited to share with you how to make this easy DIY fall thanksgiving wreath. I whipped it up yesterday morning in under two hours from start to finish, less time than it took the kids to watch Star Wars!
It is so easy, is made from punched paper, and cost me only $2.50 to make. Let’s get started!


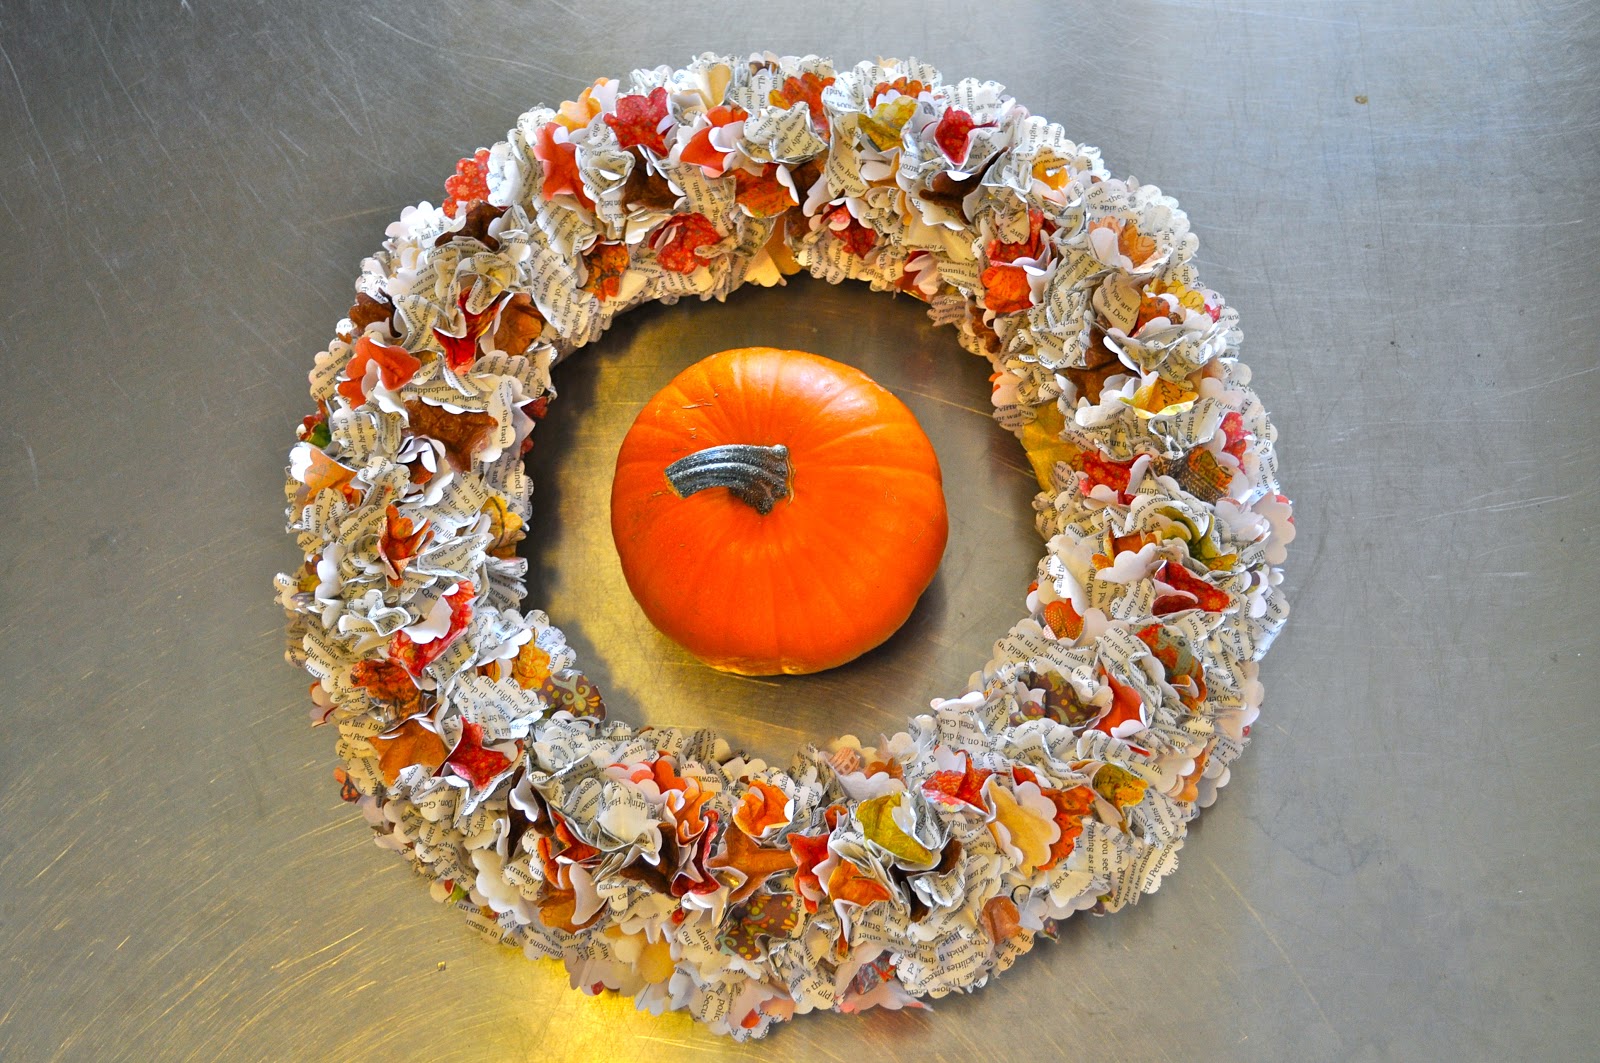
And finally…
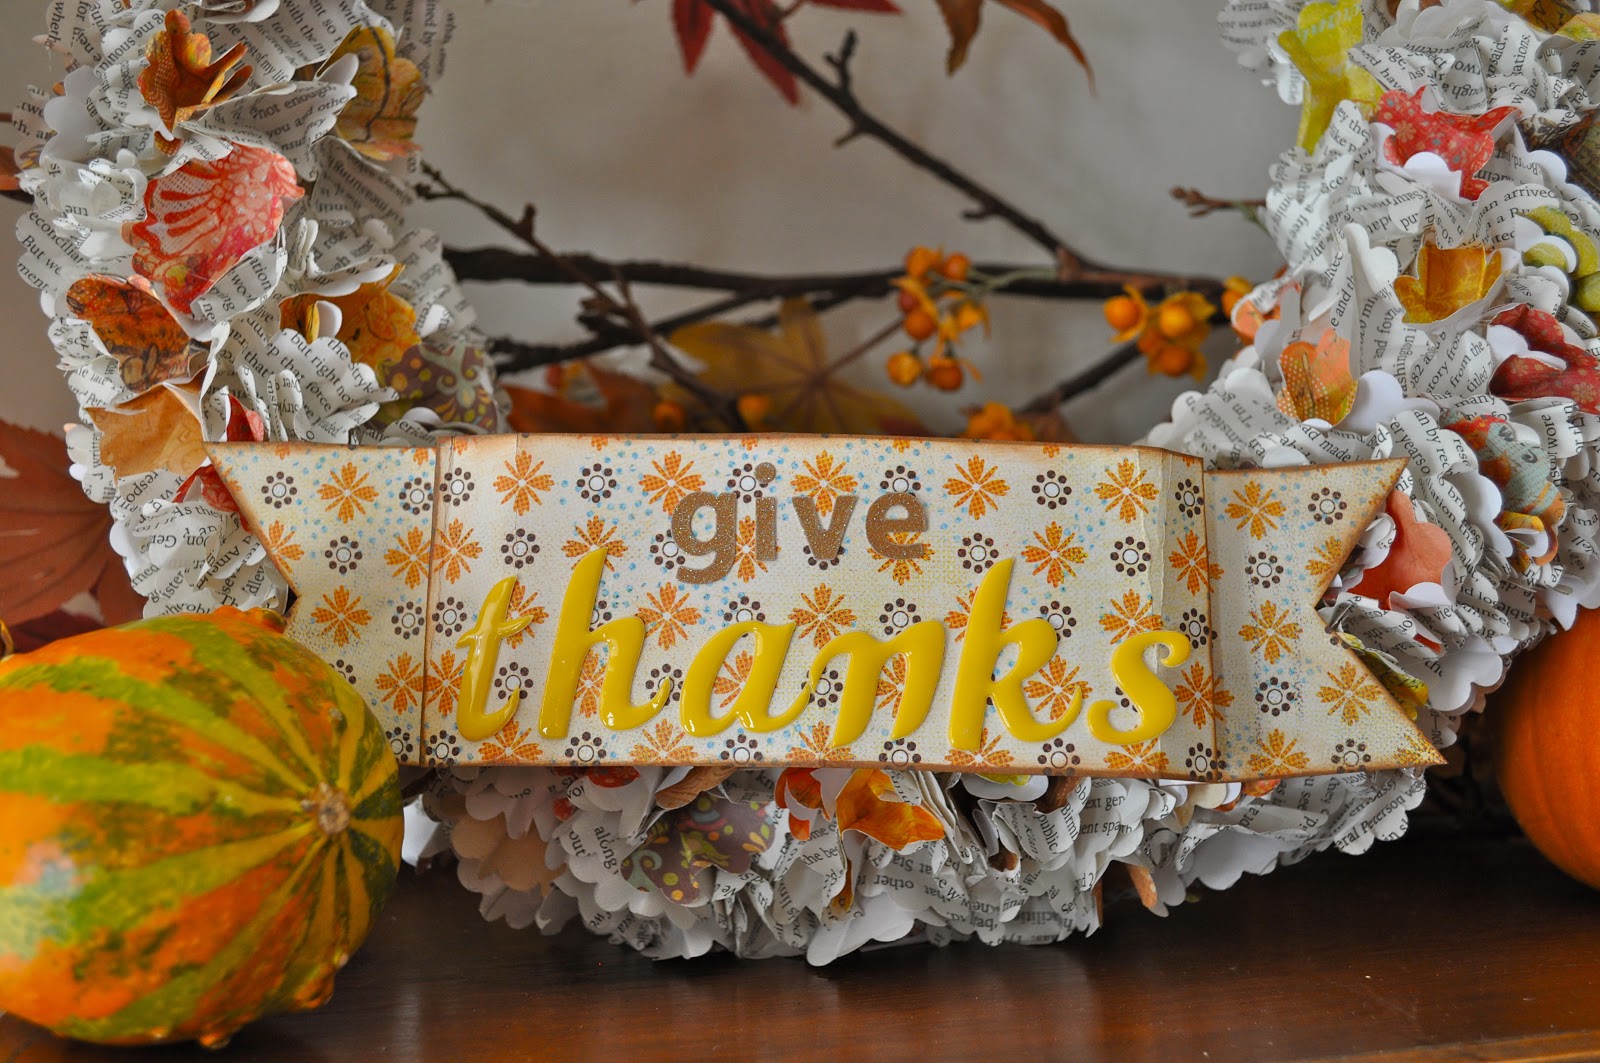
Now your wreath is all full and beautiful, but it looks a little plain, don’t you think? Let’s make a little banner for the bottom.

I just took a strip of patterned paper, folded it, cut the ends, and added scrapbook letters to the top. If you don’t have letters, or don’t want to buy any, you could also use a stamp, or put the patterned paper straight into your printer and print your banner. Be creative!!

My banner needed a little something more to make it stand out, so I took a brown ink pad and rubbed it along the edges to give them a little definition. Then just glue your banner on with your glue gun, and voila, you have a new beautiful fall wreath! Your friends will be so impressed with your amazing crafting ablilities 😉


Beth Bailey says
Adorable! Specially like the Halloween Wreath
Laura @ Make Life Lovely says
Thanks so much Beth! It’s my favorite, too 😉 Is it bad that I already have it out and it’s only the middle of September?
Shelly says
I love using this technique! I have made Christmas tree cones and a vintage sewing pattern wreath using the pencil/paper technique. I love your wreath and the added sign. So pretty!! I am a new follower of your lovely blog. Hugs, Shelly
Laura @ Make Life Lovely says
Thanks so much for following Shelly! This technique is so easy, and yet looks so cool when it’s finished. Your sewing pattern wreath sounds amazing!
Erin says
Holy cow! What an awesome wreath!! Would love for you to link this project up with our new link party, Life Created Tuesdays. We’ll be pinning and featuring blogs every week 🙂
Erin
theviewfromfiveten.com
Laura @ Make Life Lovely says
Thanks Erin! It’s a lot of fun to make.
Cathy says
I am absolutely in love with this wreath – number one because you used book page paper and number two because it looks simple enough to make… I think I will definitely have to try it… found you through Snap am now a follower…. Cathy
Laura @ Make Life Lovely says
Thanks so much for following Cathy! Yes, you need to try it! it is very simple to make- my kids like to help with the paper part, so you know it’s easy 😉 Thanks for commenting!
Becca Diestelkamp-Woodham says
Very cute! Looks like you had a lot of gluing going on!
Laura @ Make Life Lovely says
Yep, I did! Once you do this for a few minutes though you get in a serious groove and it goes pretty quickly!
Navy Wifey Peters says
Really cute wreath! I’m pinning it!
Laura @ Make Life Lovely says
Thanks so much, and thank for pinning! <3
Maria says
What a cute fall wreath, I love it!!! It looks like it took a lot of time and patience to make, but it looks great! 🙂
Crafty Craft Fairs says
love this, fab work!
Gill x
Kelsey Poofy Cheeks says
I absolutely love how these turned out – and to think it is THAT simple (and cheap!) using paper!? Great job. Pinning now 🙂
Emily says
This is so amazing! What a great idea!-Emily
Amanda Brooke says
Love this! I am going to feature you! Amanda
Christy James says
Wow, this is a pretty fantastic first post, Laura! This is probably a great project your kids can even help with! Love both versions! if you have a minute, I’d love for you to share them at our Get Your DIY on Fall Party Challenge. This week our theme is Fall Wreaths! Hope to see you there! XO
Cristin Frank says
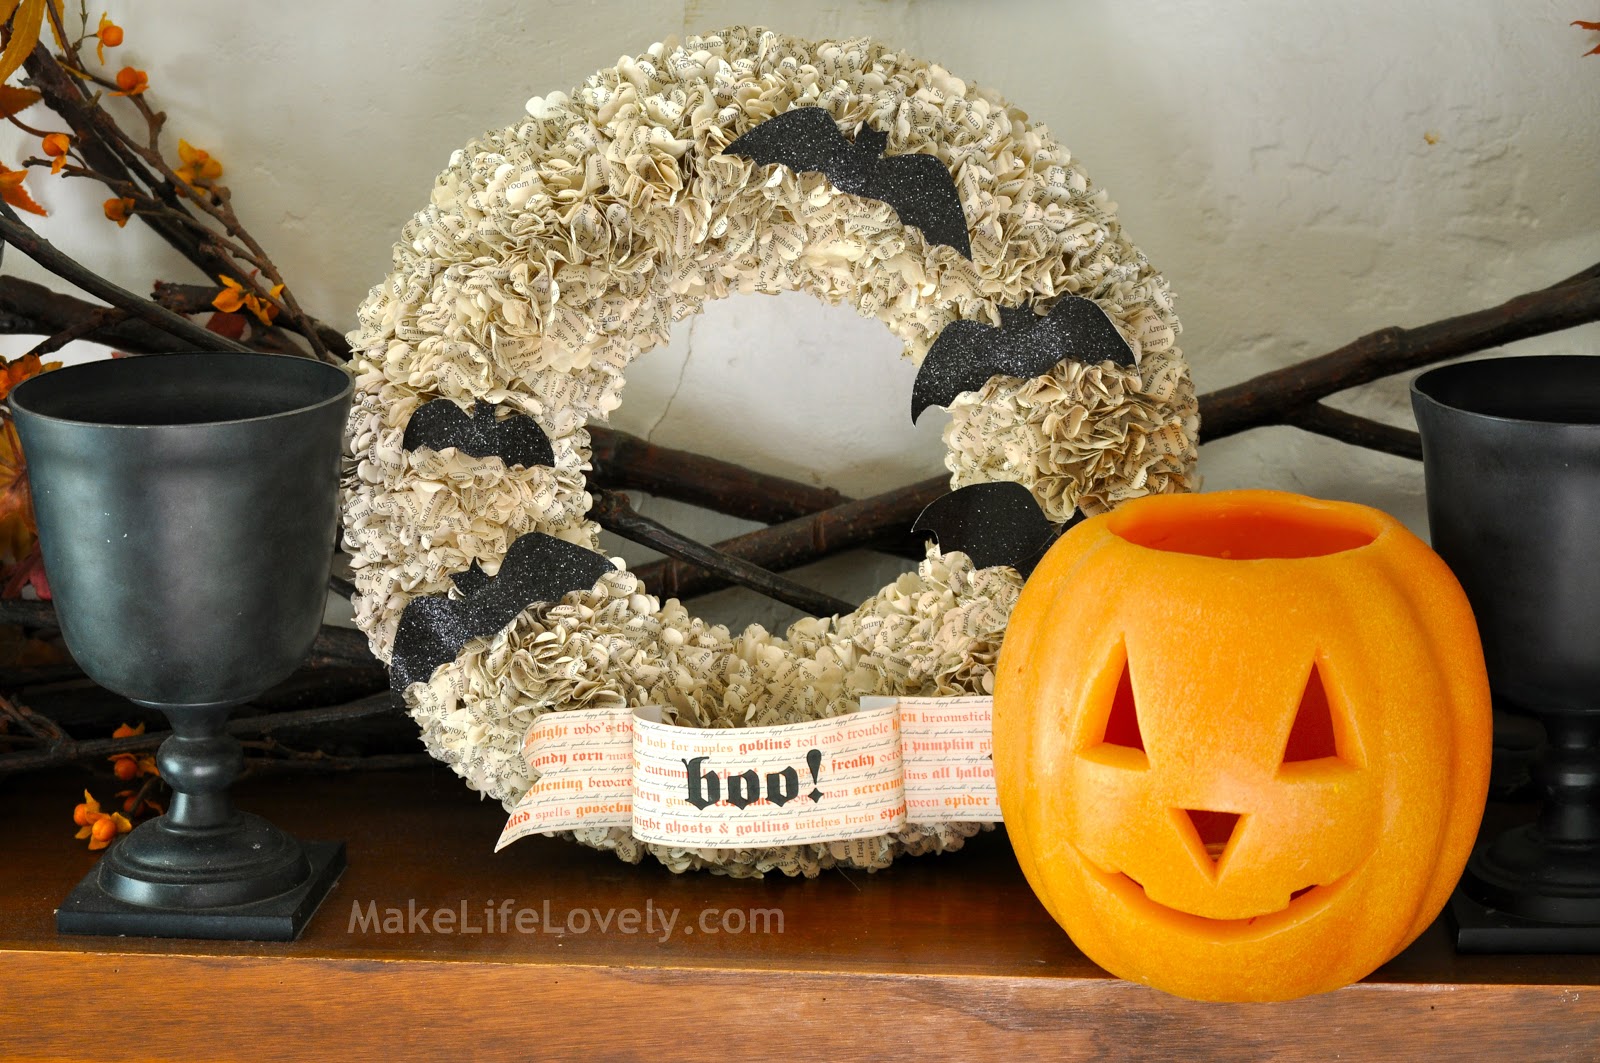
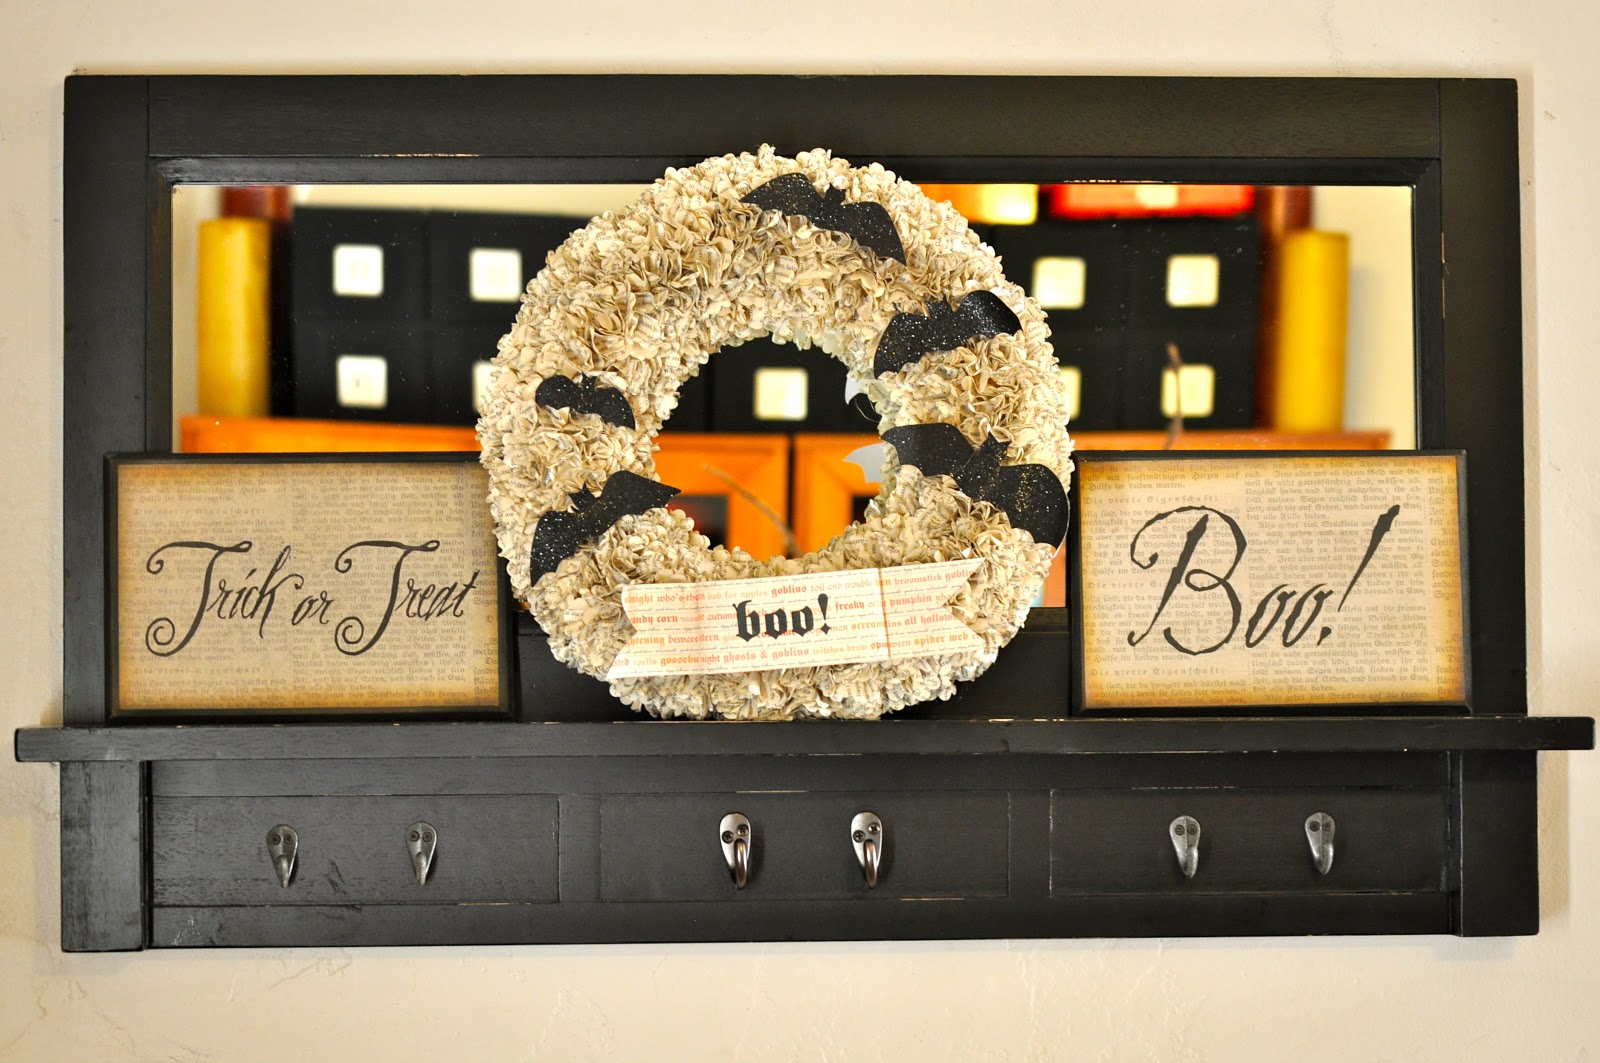
The Bat/Boo wreath is recycled craft genius! I love the way you think!
Kate Hauk says
what size is the scalloped punch you used for the cut outs?
Kim Collagan-Stevenson says
I have the same question
Life With The Crust Cut Off says
This looks amazing!! I love it!! I would love to invite you to link it up at our new party Lovely Ladies Linky where you link up once and get seen on 6 blogs!!
Ginger@gingersnapcrafts.com says
Featuring YOU today over on my blog! Thank you so much for linking up to {wow me} wednesday!
Ginger @ GingerSnapCrafts.com
Denise Stain says
Love the wreath. Just pinned!
Cristal says
This was a fun little DIY project. If you’re interested, you can see a picture of my mostly finished version here.
Tanya says
I love this idea! I’m always looking for new wreaths to make!
Kimberly Stevenson says
Hi, I would like to know the size of the scalloped punch you used…
Kim Collagan-Stevenson says
I am just trying to find the size of paper punch……
Danielle says
The Halloween wreath turned out so nice! I wish I had the time to do this. Maybe after finding the right book… Do you remember what book you used??
Laura says
You definitely need to try making one! It really doesn’t matter what book- I found a cheap hardback book at one of the dollar stores to use and it worked just perfectly!