Thank you to We R Memory Keepers for sponsoring this post by providing me with a Fuse kit and compensation. All ideas and opinions are always 100% my own.
I’ve made my share of eye spy bags as a mom of four kids, and every single one I’ve made required sewing. That’s why I’m so excited to share with you this easy no-sew eye spy bag tutorial!
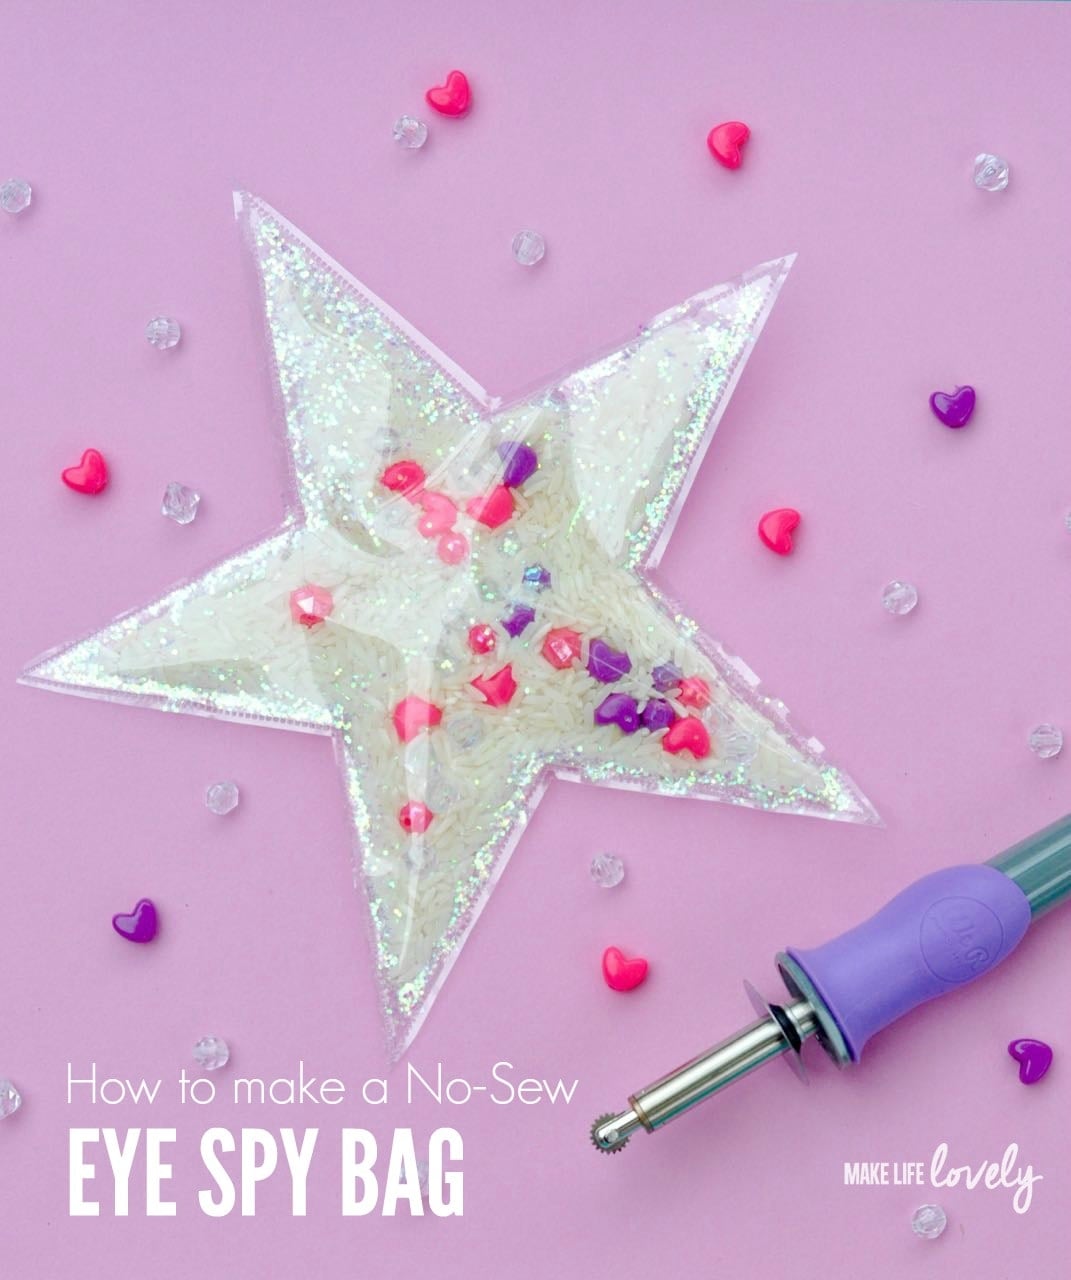
I can sew, but I’m definitely not a pro. This eye spy bag is a cinch to make in about 15-20 minutes tops. Instead of sewing plastic, I used an amazing new tool by We R Memory Keepers, called the Fuse.
The Fuse is really a cool tool. It’s a heat tool that lets you create custom pockets and sleeves to seal keepsakes, memorabilia, party decor, and crafts. There are endless possibilities, so why stop there?
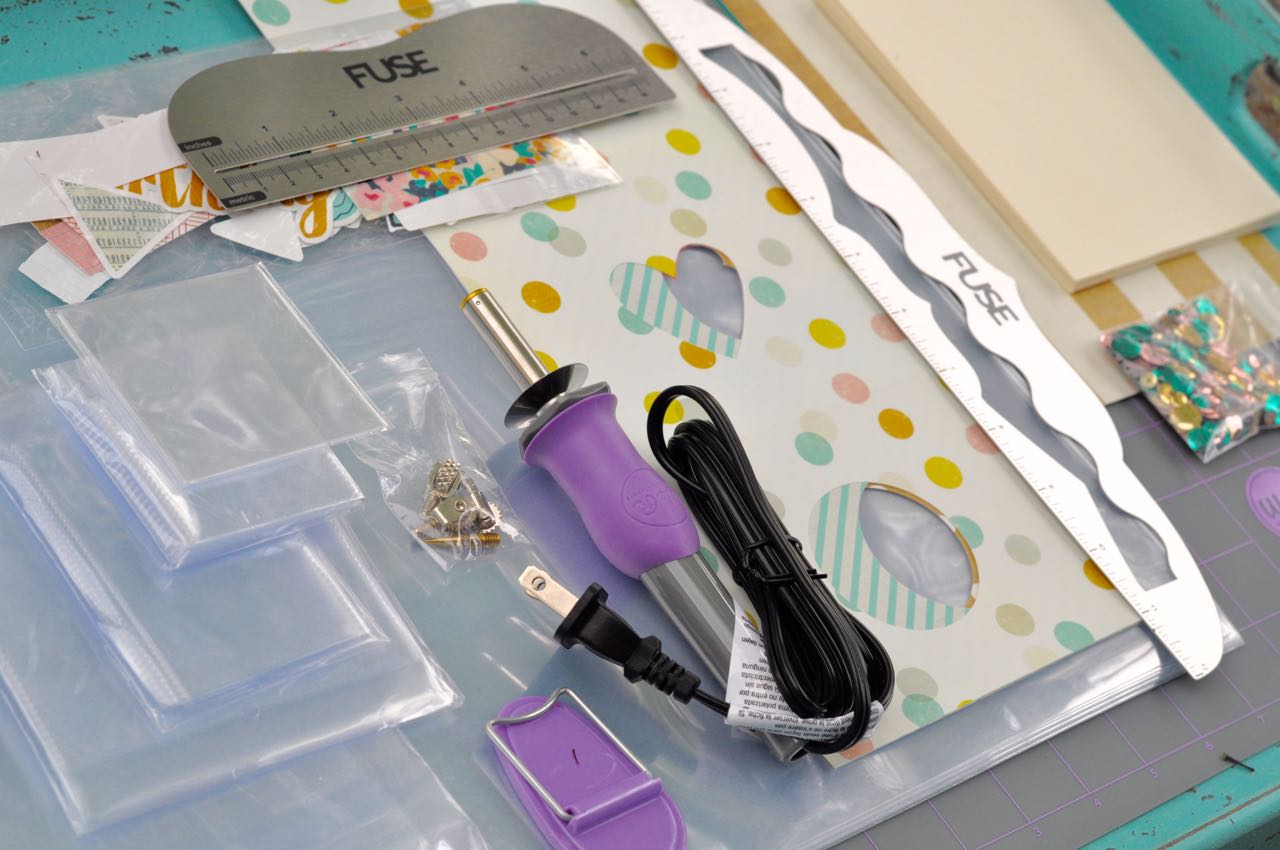
Once you see how cool this tool is, I’m sure you’ll want your own. On Wednesday, July 1 (my birthday!), for one day only, The Fuse is available in a bundle set on HSN for a special price. MSRP on the kit is over $100, but the one-day special will be just a fraction of that price. We can’t reveal HSN’s pricing until July 1, but it’s AMAZING! You definitely don’t want to miss it!
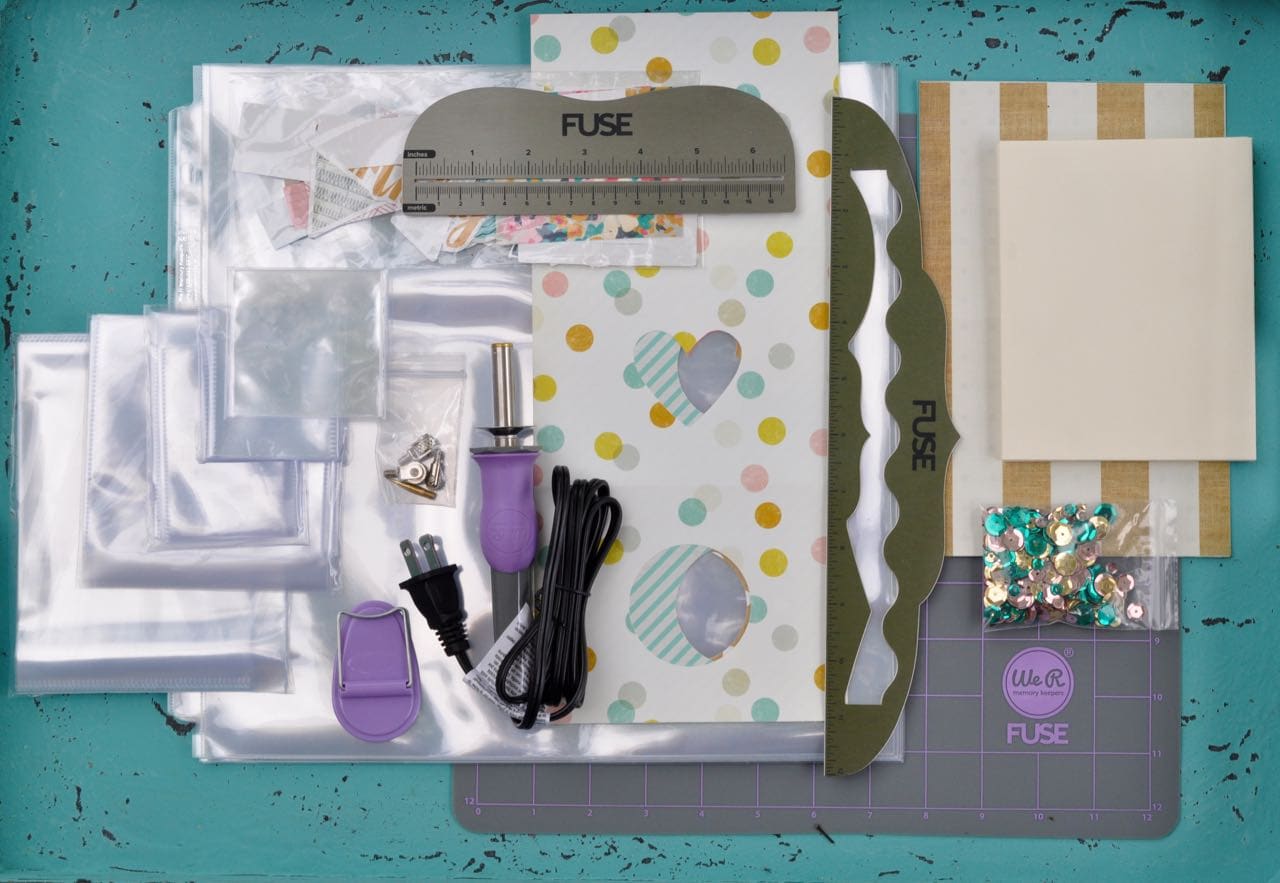
The Fuse bundle set comes with everything that you see above, and includes:
- Fuse tool, with ruler, stand and two tips (1)
- 12×12 photo sleeves (15)
- 4×6 photo sleeves (20)
- 4×4 photo sleeves (20)
- 2×2 photo sleeves (20)
- 1.8×2.4 photo sleeves (20)
- heat resistant mat (20)
- cards (6)
- shaker cards (6)
- embellishments (52)
- envelopes (12)
- sequins (1)
All of the photos sleeves are acid free, PVC free, archival material.
We go to church for three hours every Sunday, so I wanted to make some lightweight eye spy bags to keep my younger kids busy and occupied. Just follow the directions below to make your own!
No-Sew Eye Spy Bags
Supplies:
- Fuse tool (it comes with a fusing tip, cutting tip, ruler, stencil and tool stand)
- 12 x 12 Photo sleeve
- Heat resistant mat
- Rice
- Small beads, buttons, toys, etc.
- Large glitter (optional)
Step 1. Insert the fusing tip, plug in the Fuse, and place it on its’ stand while it heats up. Cut out a paper template of a shape the same size that you want your eye spy bag to be. Since I wanted to make a star, I printed out a star shape, then cut it out.
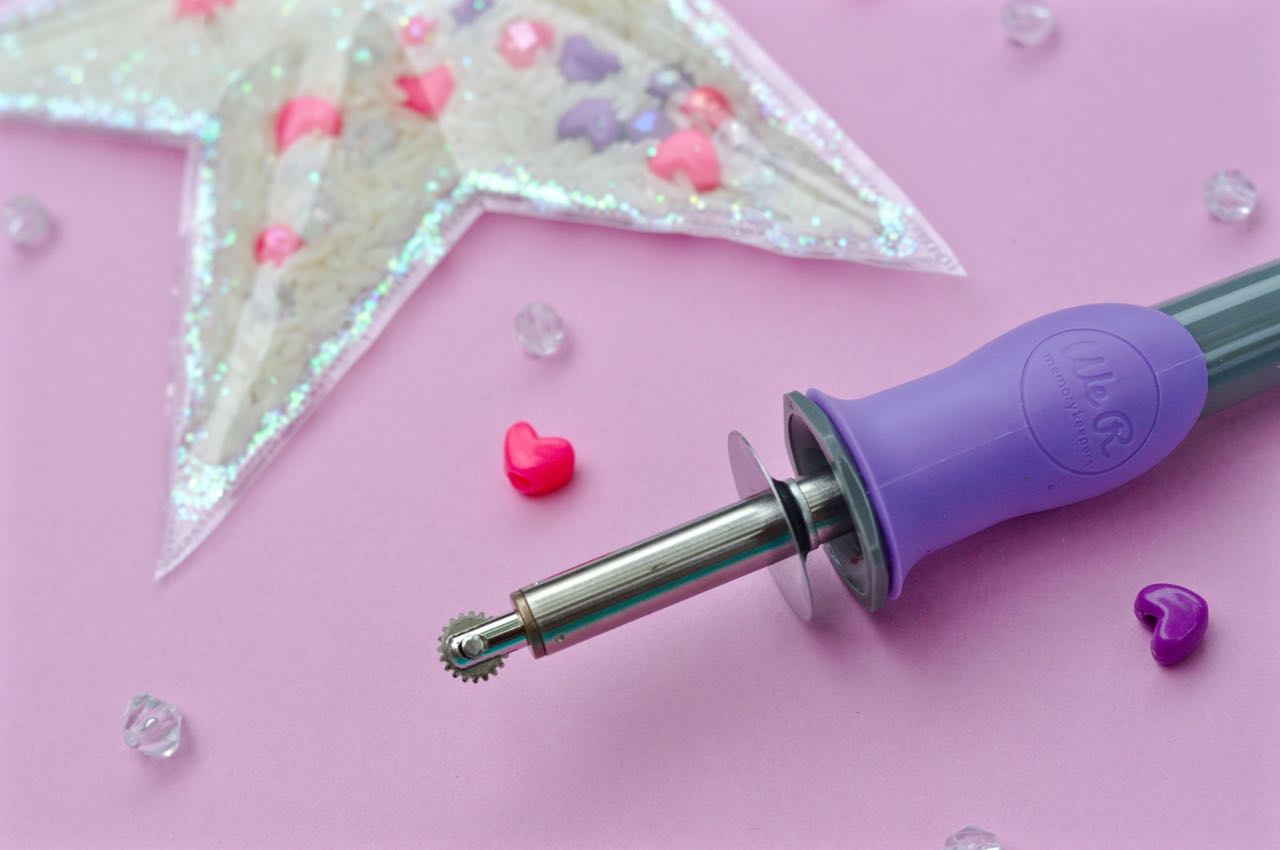
The fusing tip creates a strong, clean, micro-weld seam that will not tear or separate. The cutting tip creates a slit in any plastic sleeve.
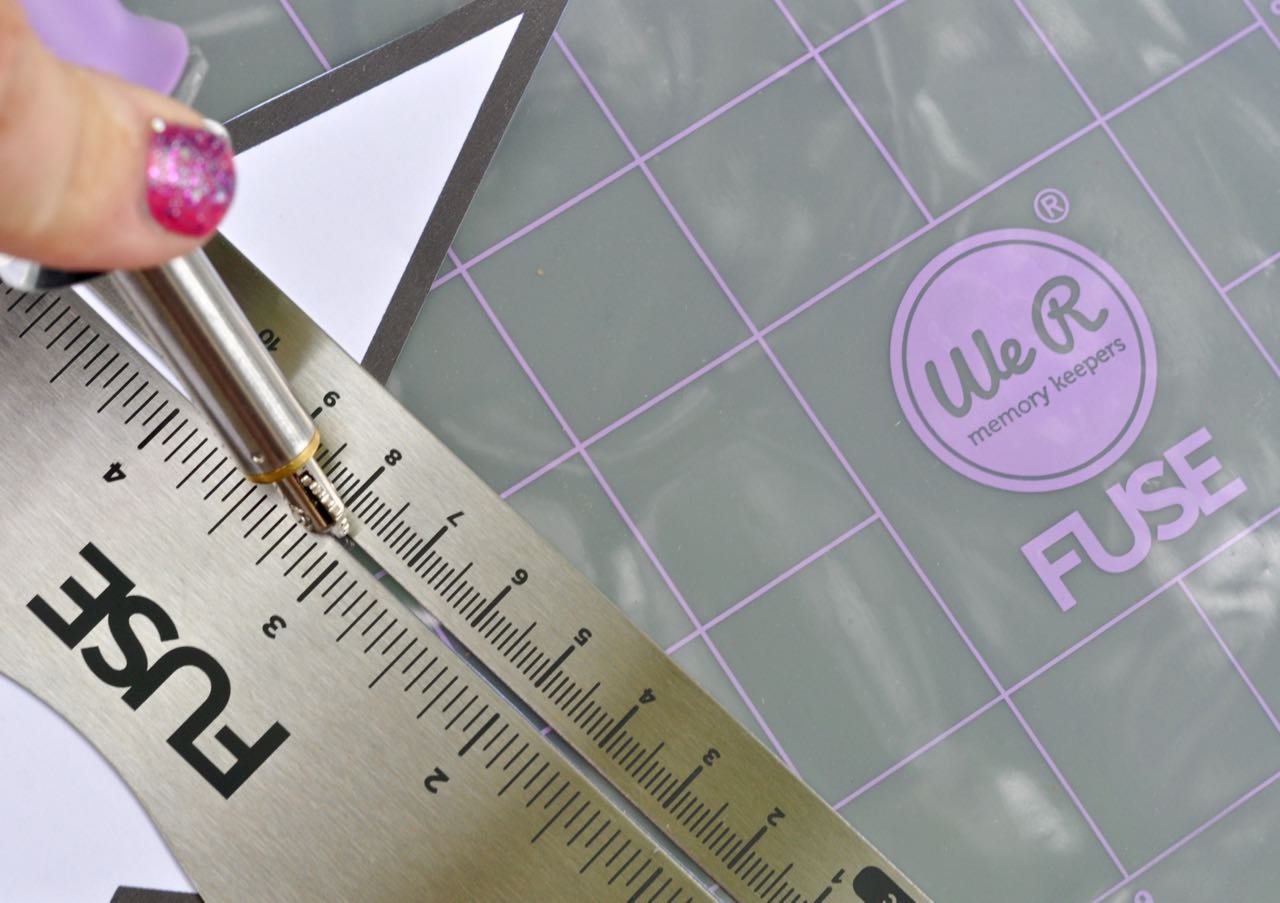
Step 2. Once the Fuse is heated up (after about 10 minutes), place your heat resistant mat on your work surface near the Fuse. Place your paper template on a 12 x 12 sheet protector on the mat. If your shape has straight lines, then use one of the included rulers and place the edge along one of your shape’s edges. Press down with the Fuse onto the sheet protector, moving the tool evenly over the surface and along the edge of your shape.
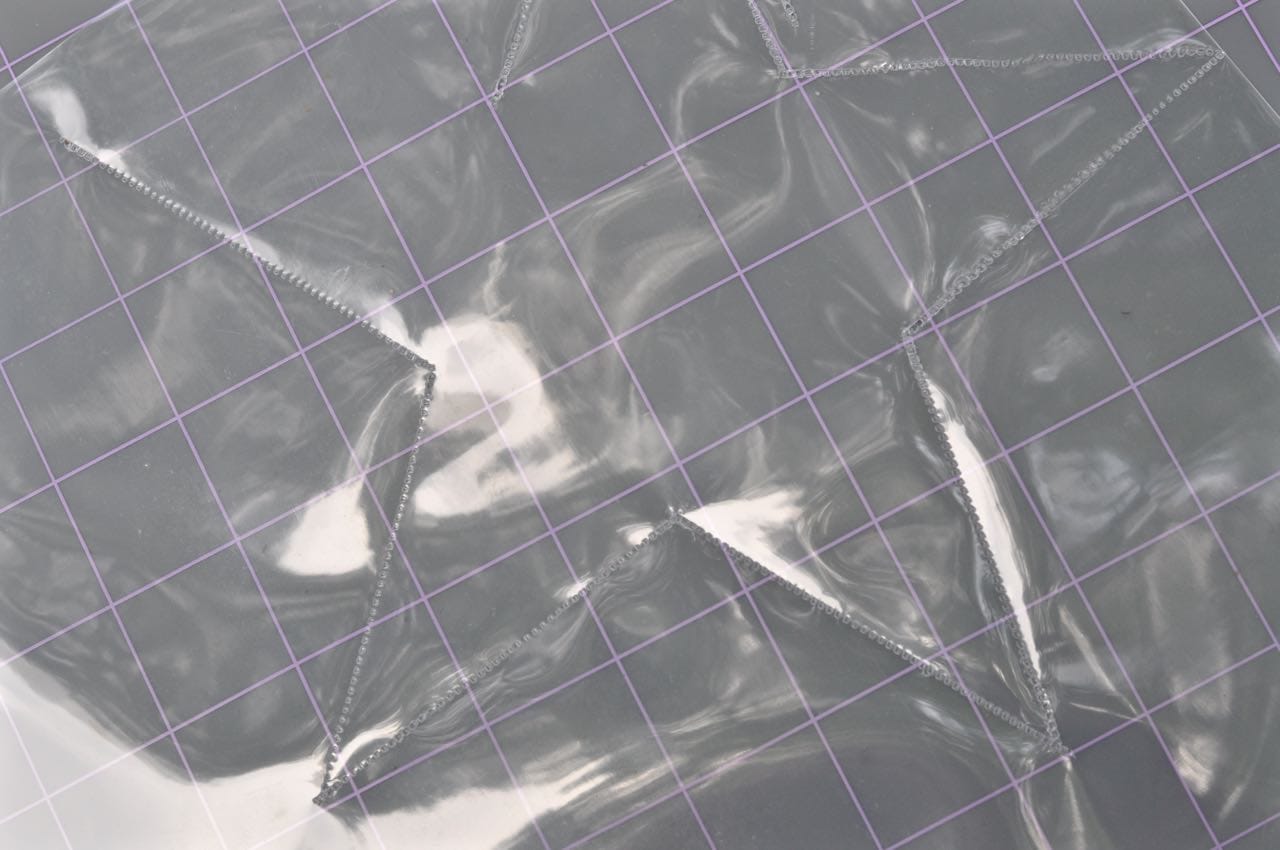
Repeat until your shape is almost all fused together. Don’t fuse the entire shape yet.
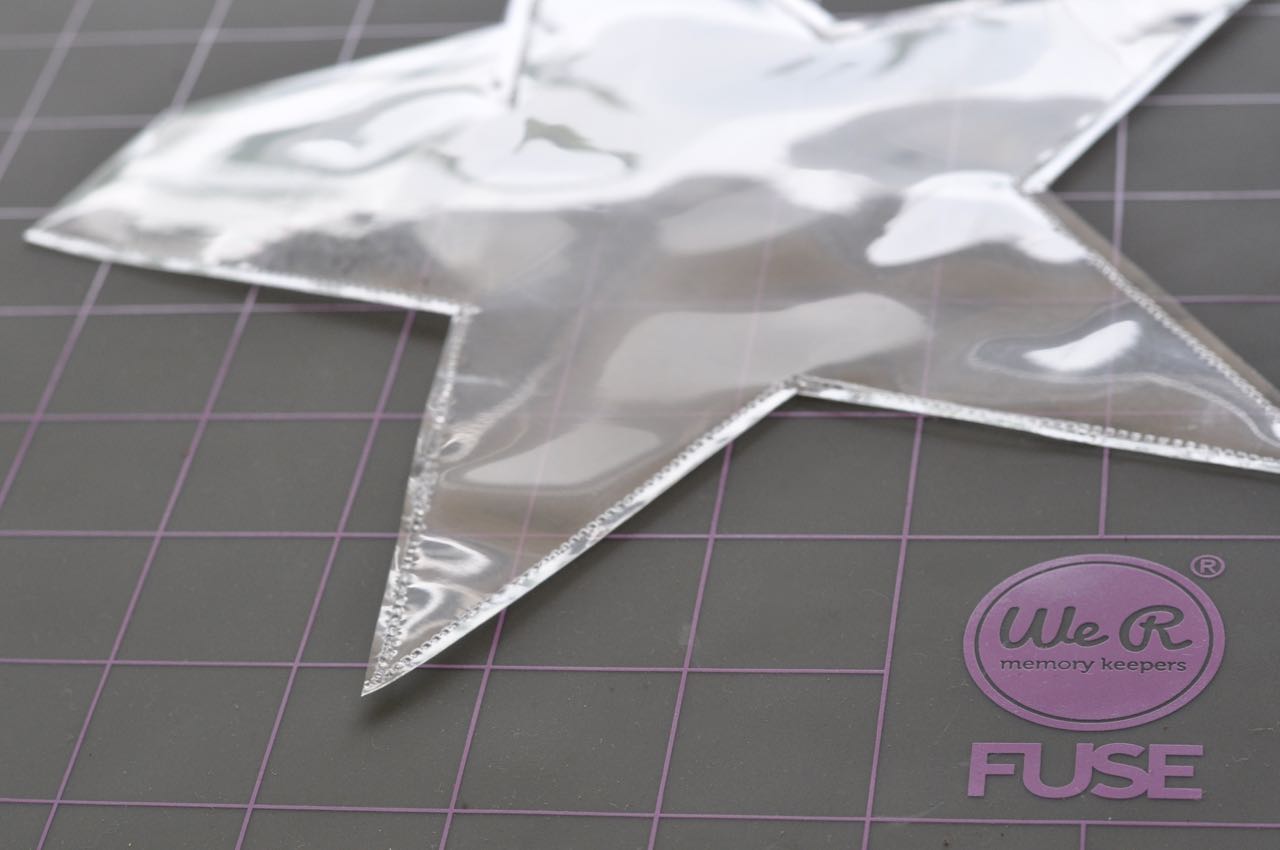
Cut around the star shape with scissors, making sure to leave a small gap between the fused edges and where you cut.
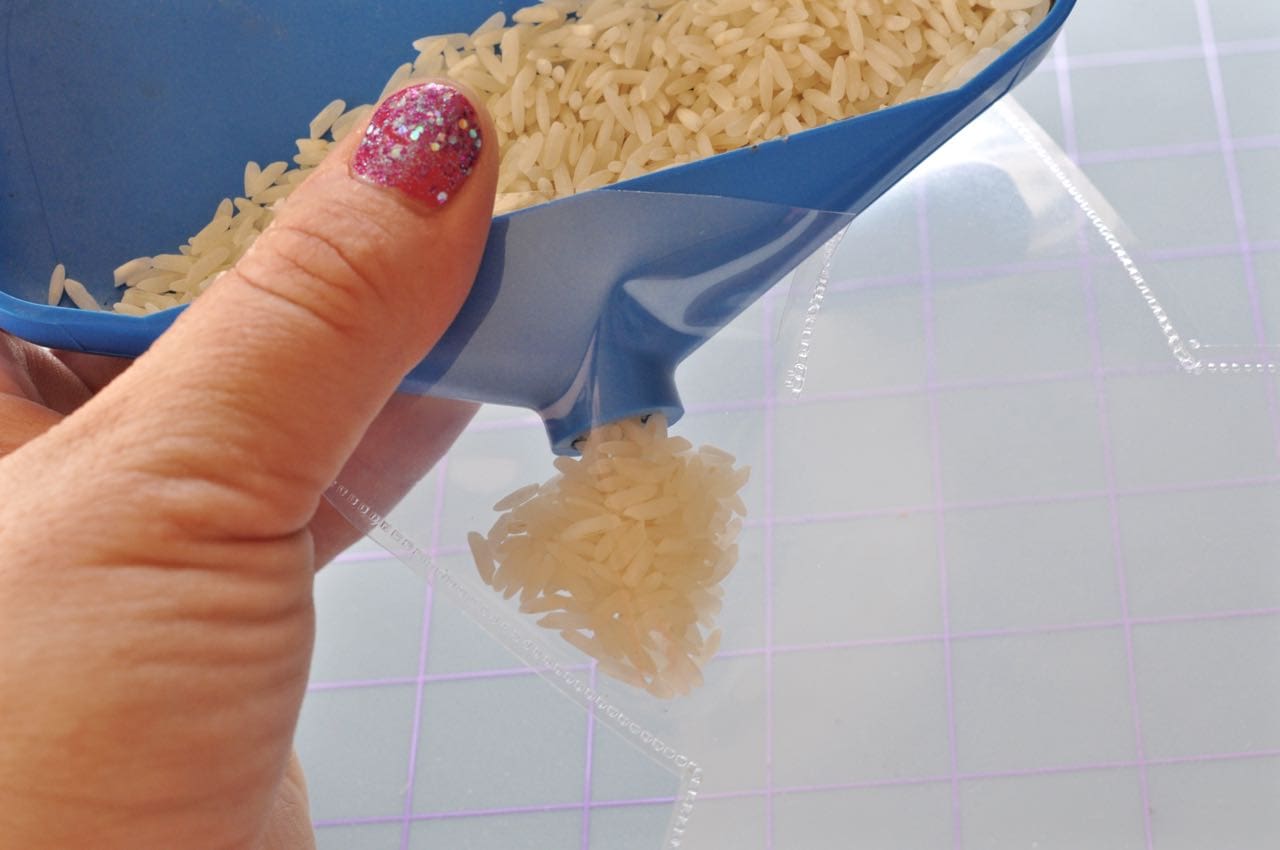
Step 3. Use a funnel or a piece of paper rolled into a cone shape to insert the rice, beads, buttons, and/or any other small objects that you would like to include. Pour them slowly through the opening at the top.
If you would like to use glitter, double-check to make sure that every seam is completely sealed, and use the largest pieces of glitter that you can find.
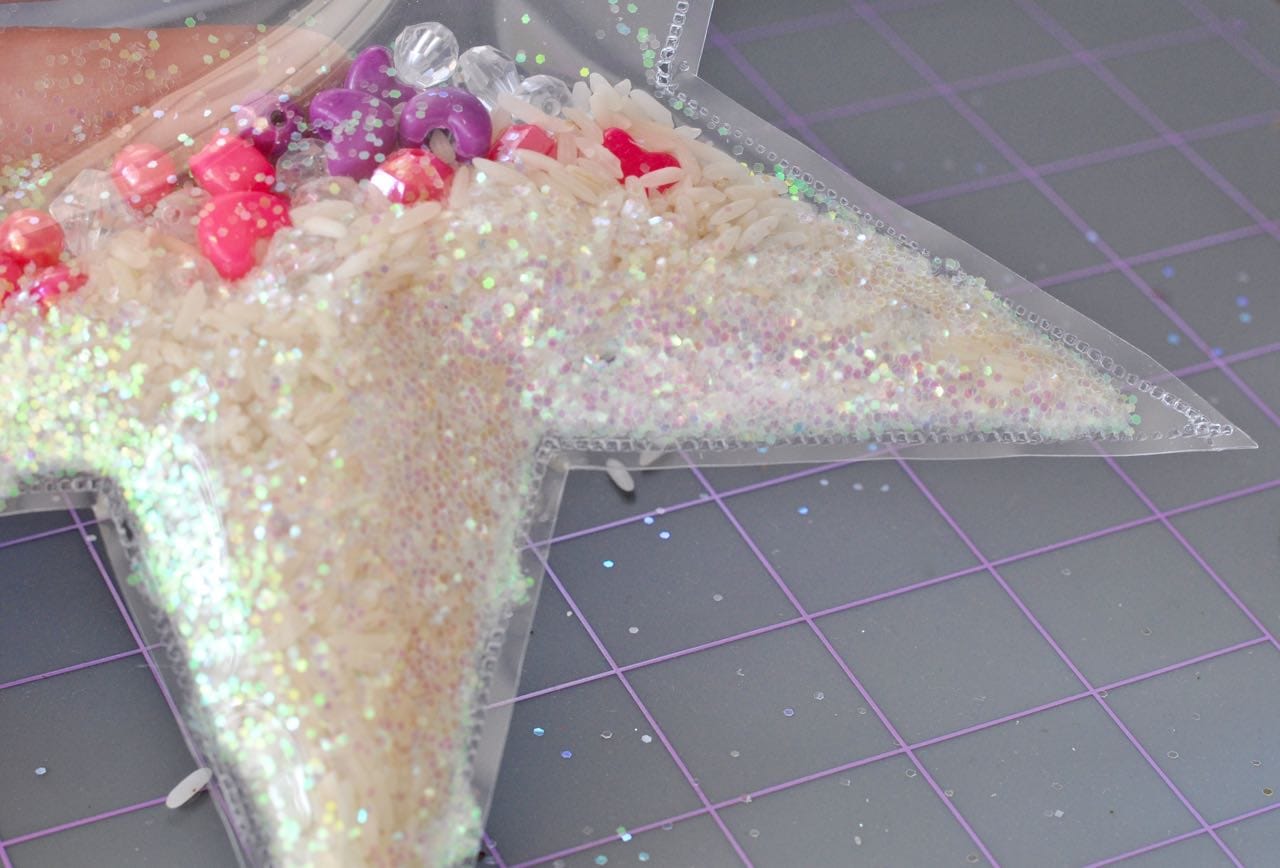
Step 4. Shake all of the rice, beads, etc. down away from the opening in your shape, and seal the open edge with the Fuse.
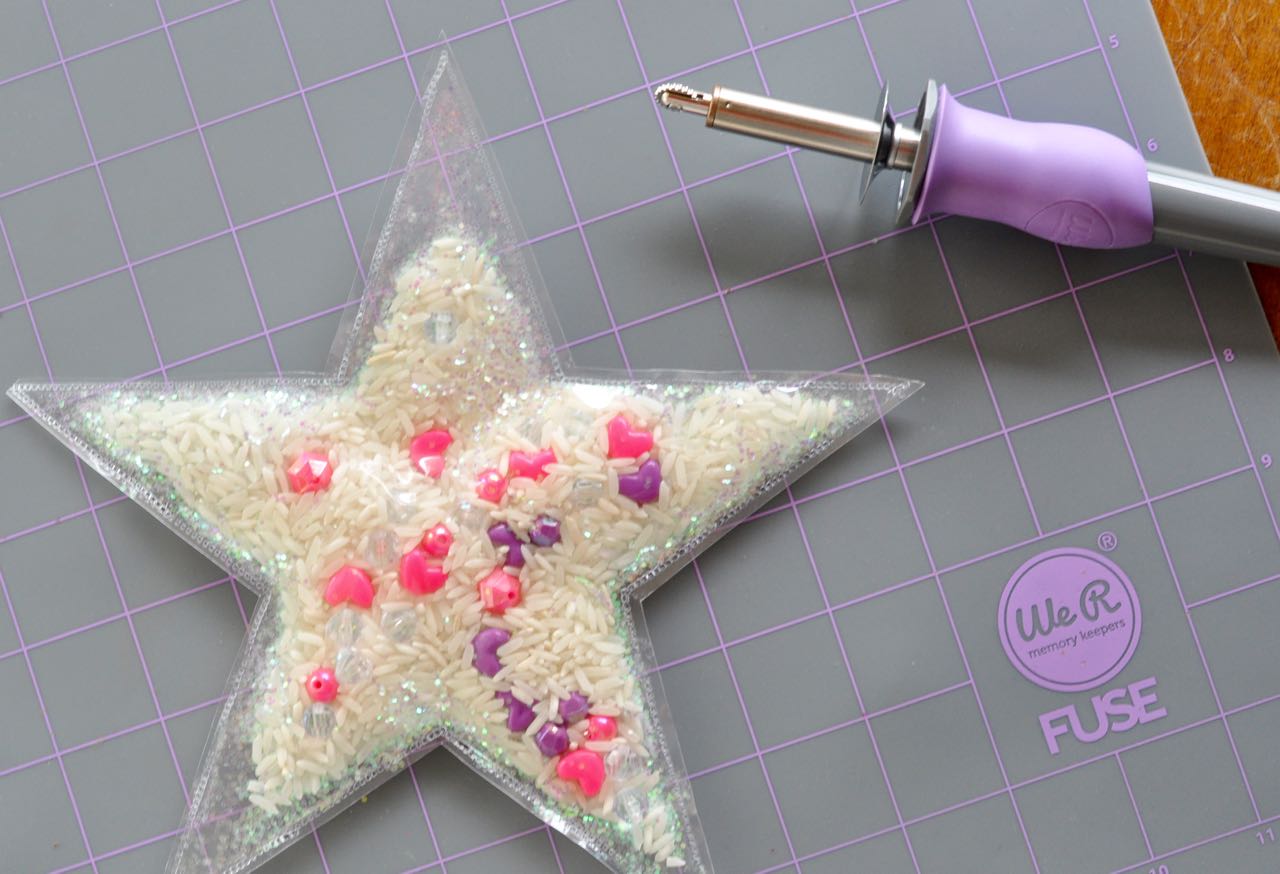
Now you’ve got a cute no-sew eye spy bag that only took minutes to make!
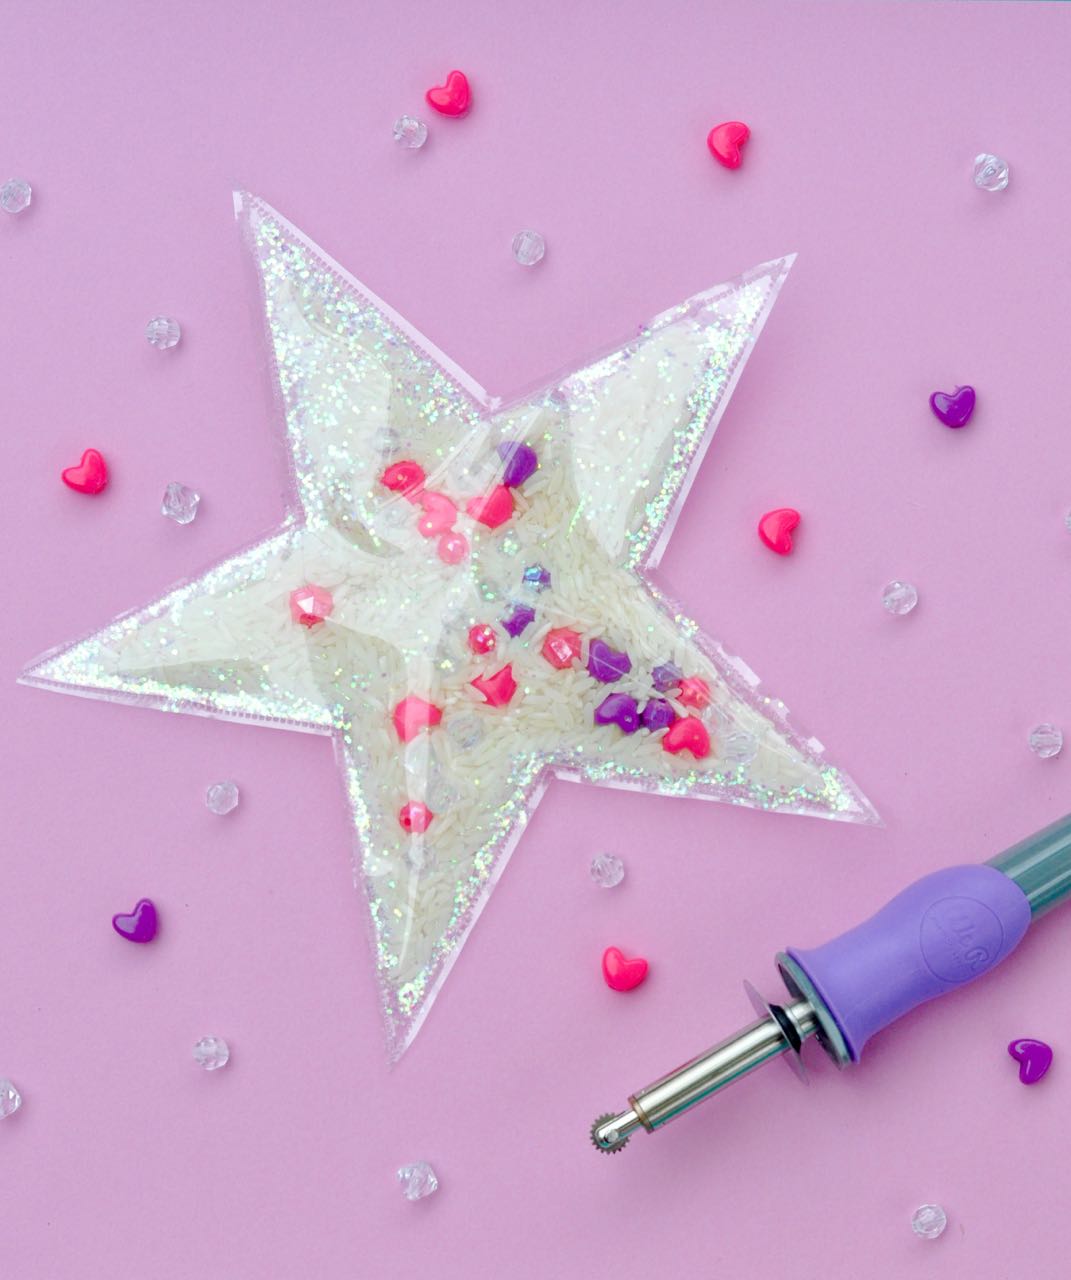
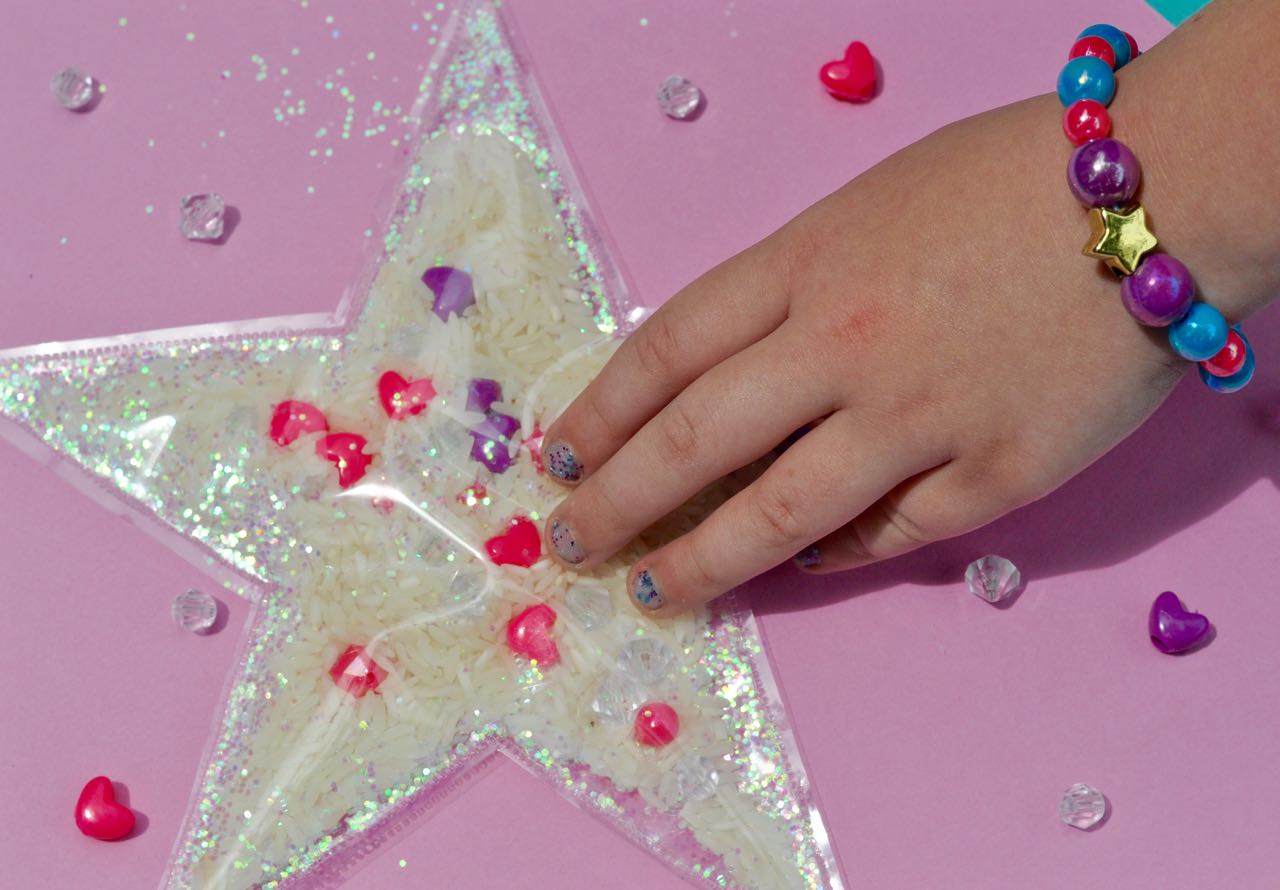
There are so many possibilities with this tool and I can’t wait to explore them all!

You might like this Gold Glitter Envelope tutorial using the We R Memory Keepers Envelope Punch Board.
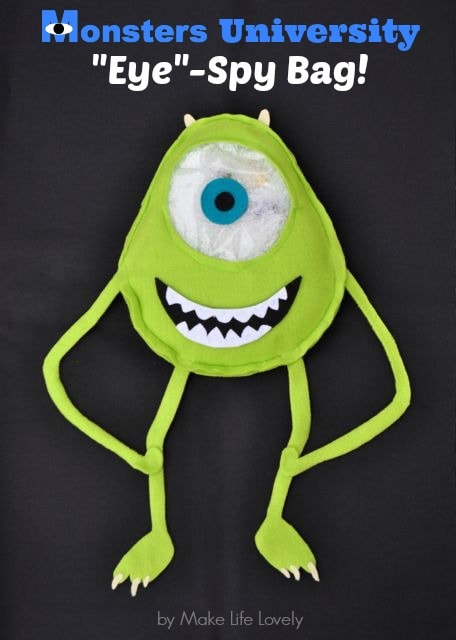
Here’s a Monsters University “Eye” Spy Bag tutorial if you like sewing.
If you liked this post, I’d love for you to follow me on Facebook, Pinterest, and Instagram. Thanks for following!
Happy crafting!

Leave a Reply