Today I’m sharing a fun way to serve up some scary sweets for Halloween! A spooky skeleton Halloween serving plate is a great way to wow family and friends and serve those sweets in a unique way.

My friends at FloraCraft® sent me some FloraCraft® Make It: Fun® Foam Discs and wanted to see what creative ideas I had for using them. Can you believe that this Halloween serving plate is made from styrofoam and a dollar store hand? Follow along for the easy directions!
Halloween Serving Plate
Supplies:
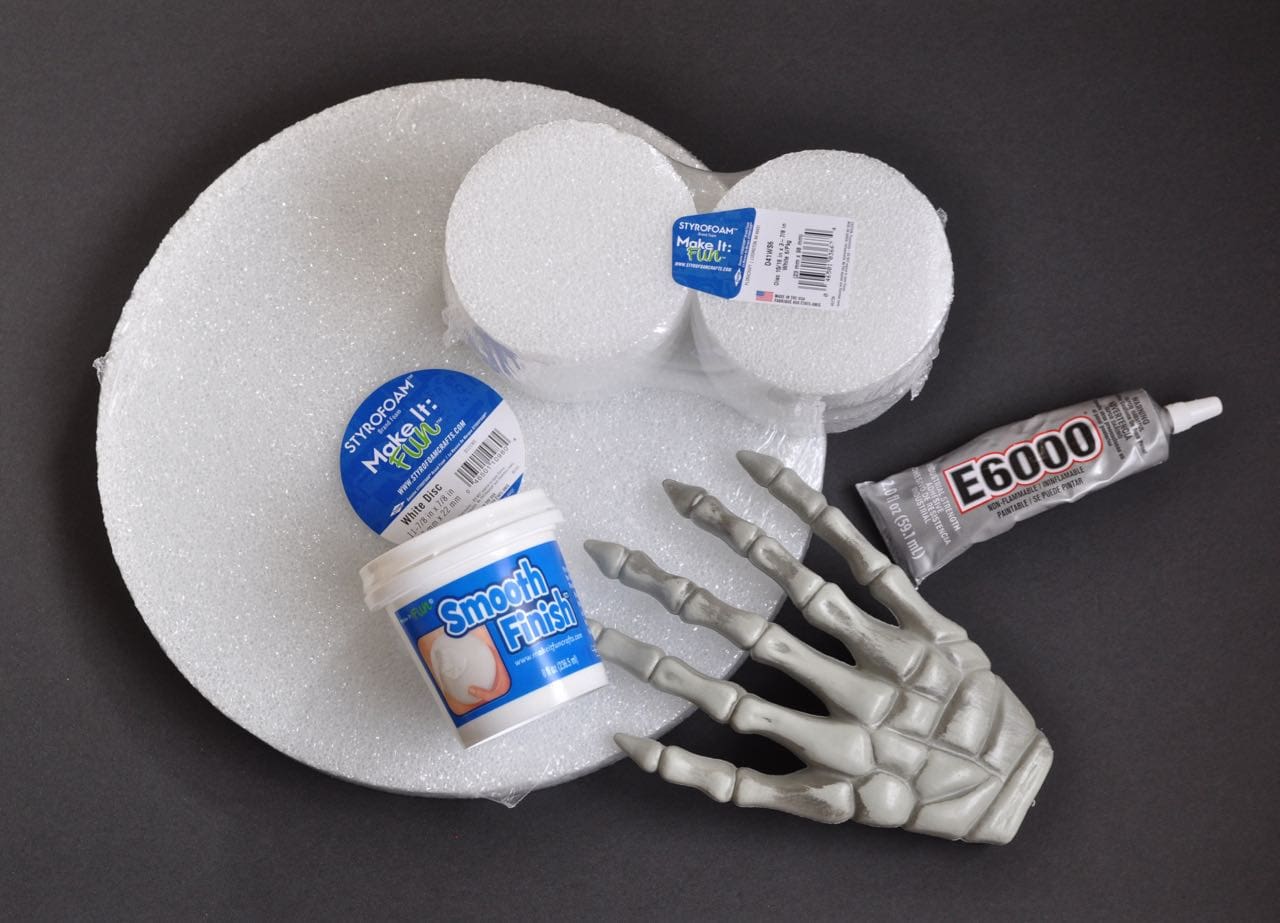
- 11 7/8″ FloraCraft® Make It: Fun® Foam Disc
- 3 7/8″ FloraCraft® Make It: Fun® Foam Disc
- Halloween plastic hand (mine came from Dollar Tree)
- E6000 adhesive
- Floracraft Smooth Finish
- Sandpaper (or nail file)
- Black paint + paintbrush
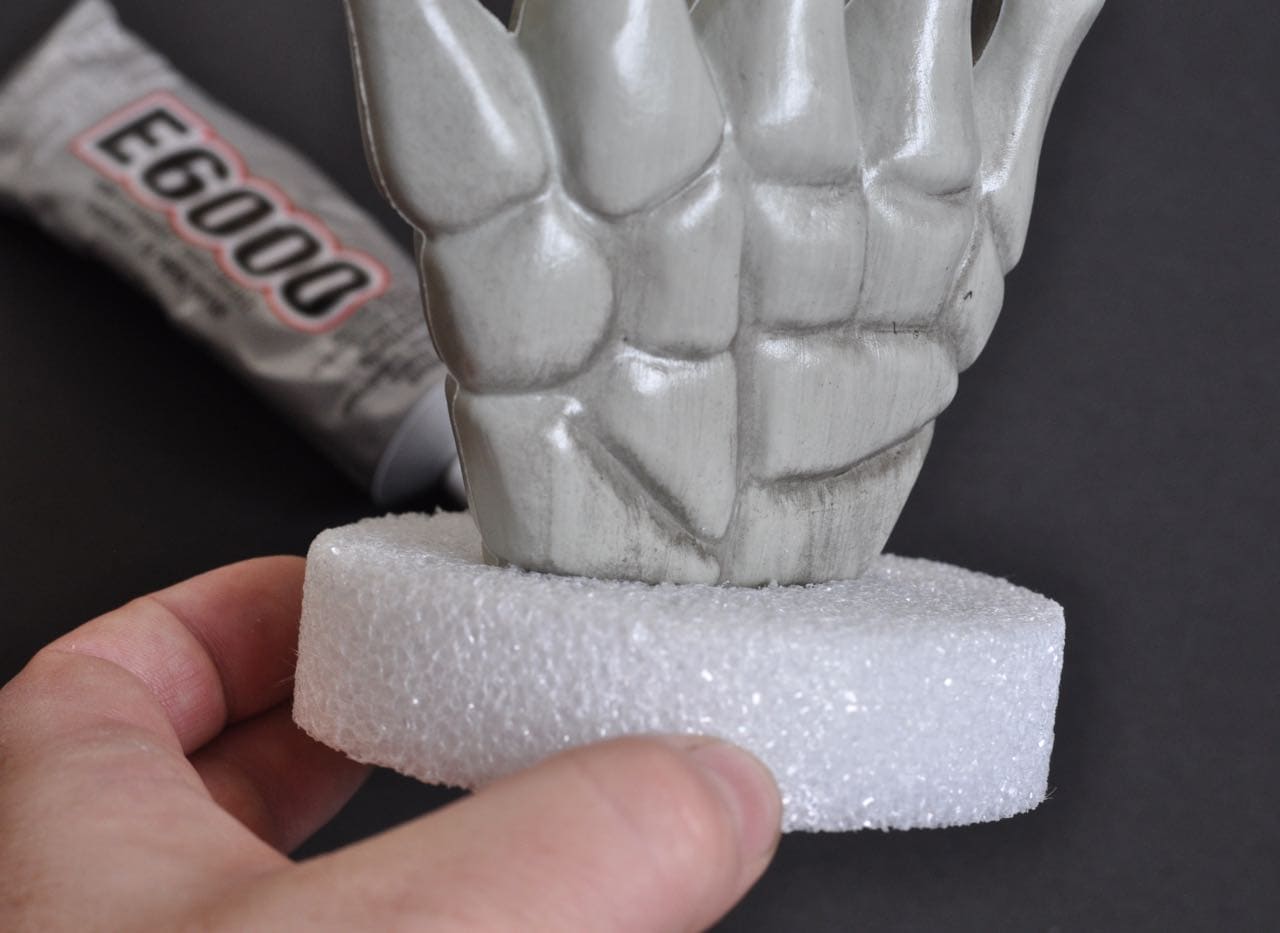
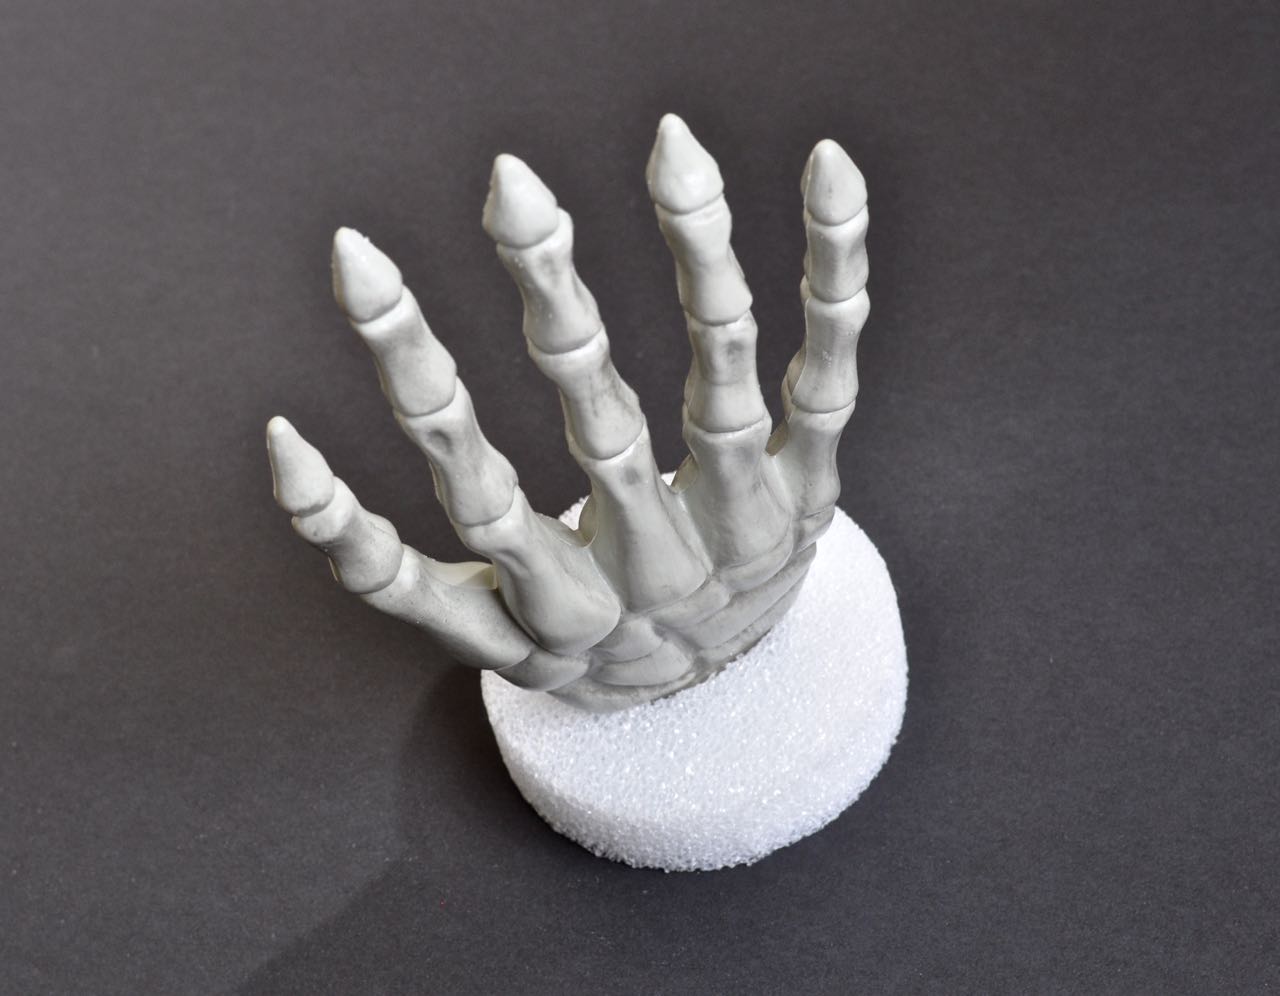
Step 1. Press the skeleton hand down into the smaller styrofoam disc so that the hand is sticking straight up.
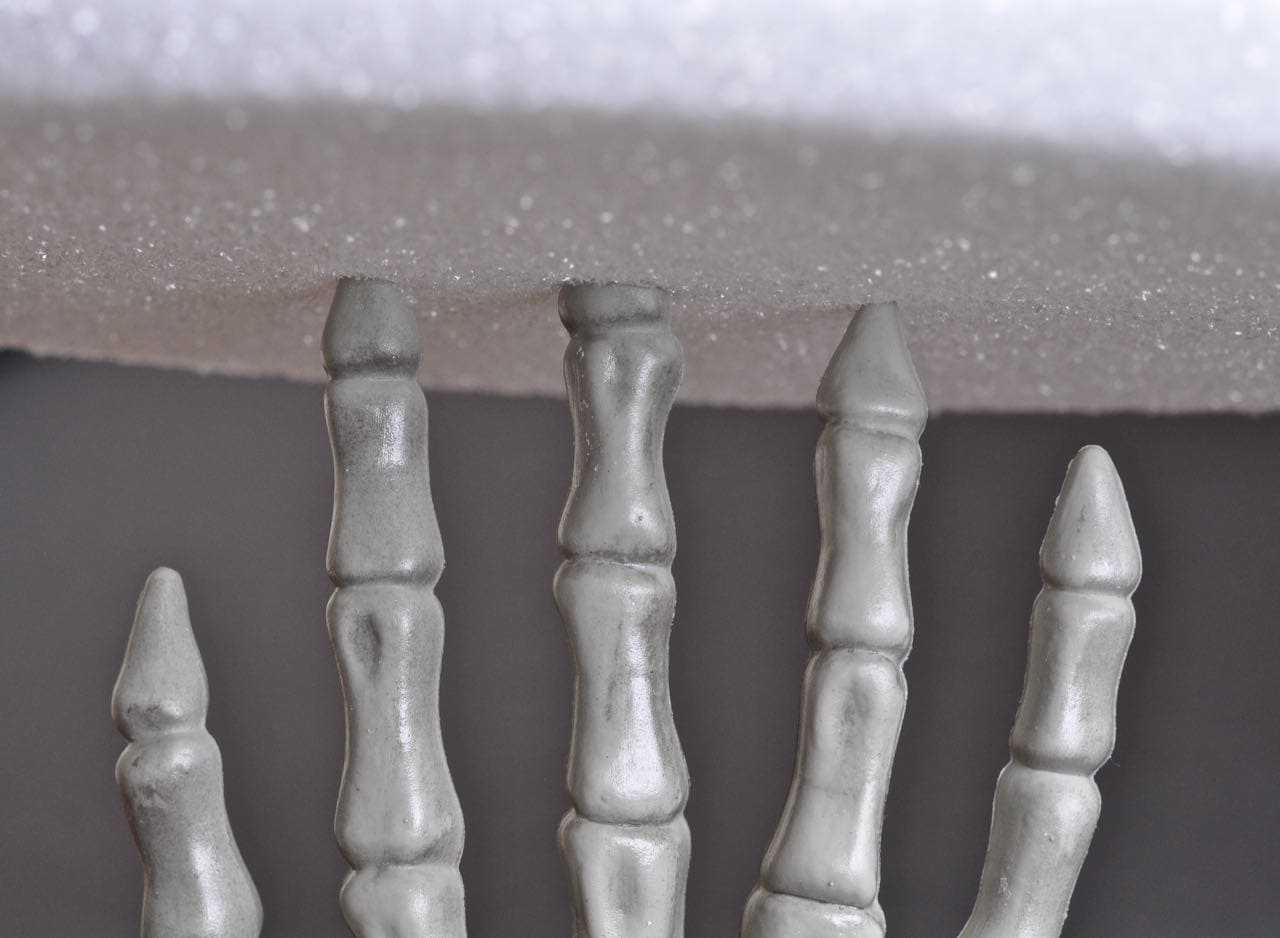
Step 2. Center the larger styrofoam round on top of the skeleton fingers and press down gently so that the fingers go into the foam a bit. Make any adjustments you might need so that the top piece of foam is centered and lays flat on the fingers.
Following the instructions on the back of the tube, apply some E6000 adhesive to the base of the hand. Press the plastic hand into the foam base and hold in place for a minute. Let the glue completely dry for about a day.
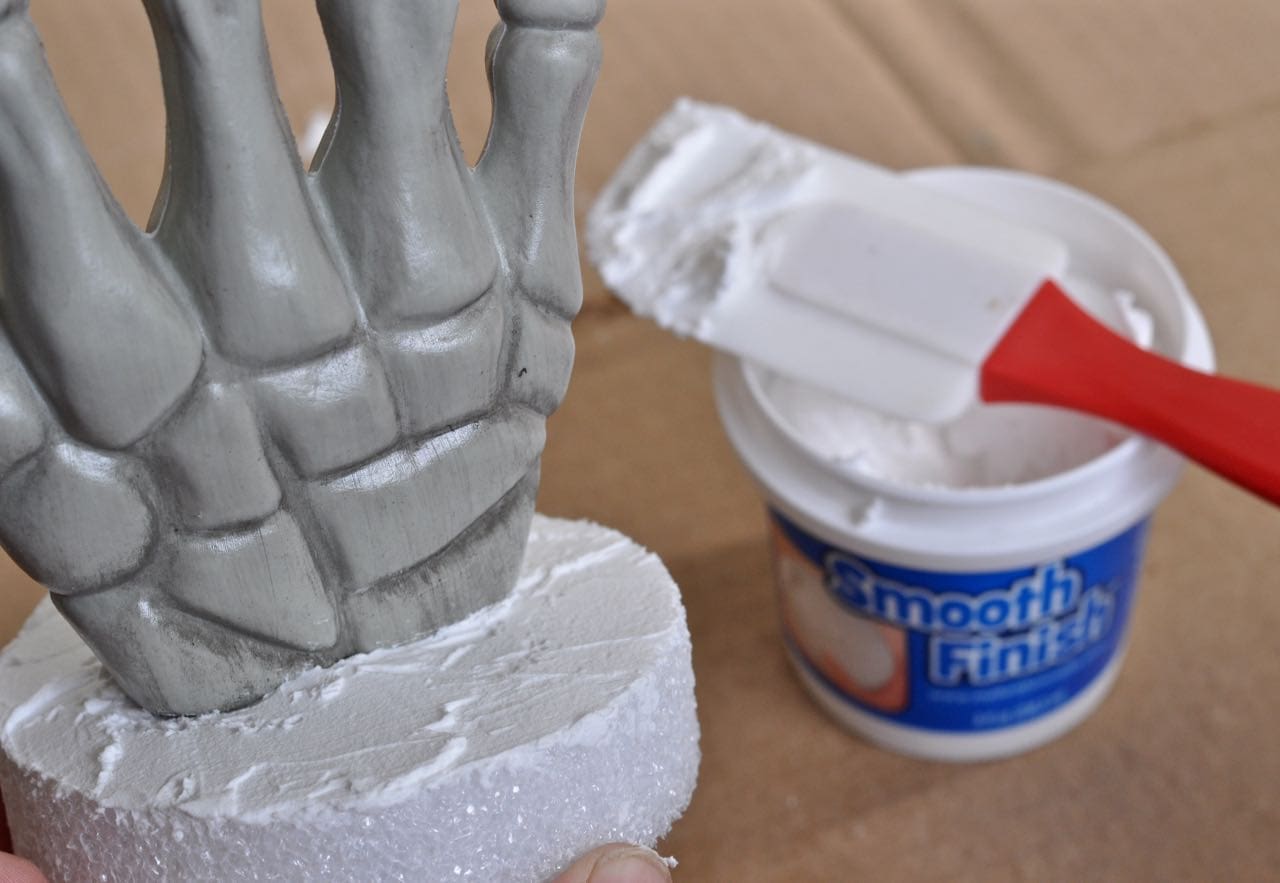
Step 2. Now that the base is dry and solid, you will want to add some Smooth Finish over the entire surface with a spatula (that you won’t use for food again, like mine) or a paintbrush. Smooth Finish is SO much fun to work and play with! It is so fluffy and light and smooth, and was designed to fill in the small foam holes and leave styrofoam as smooth as can be. Once you have applied Smooth Finish to all of the sides, let it dry.
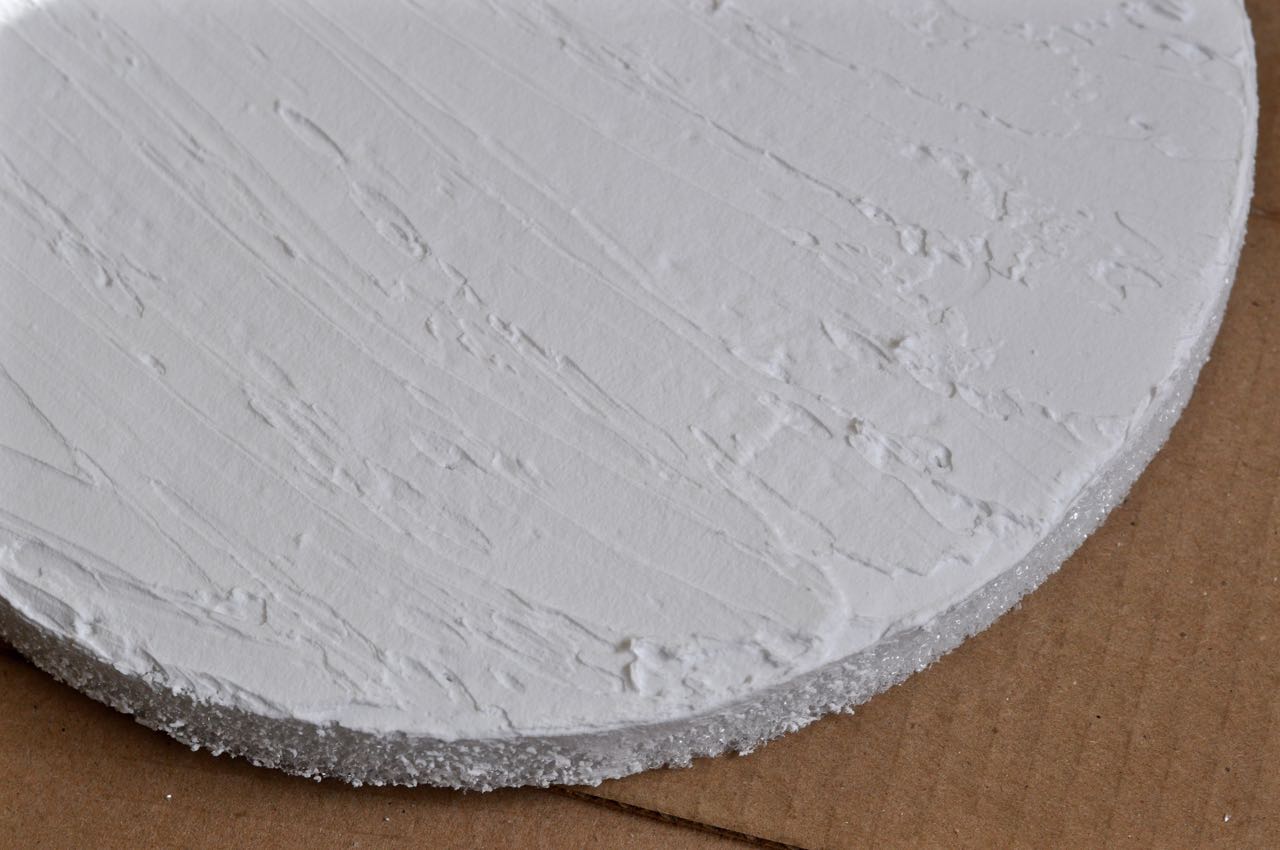
Step 3. Take some sandpaper (or a nail file worked for me) and sand all of the edges and any ridges.
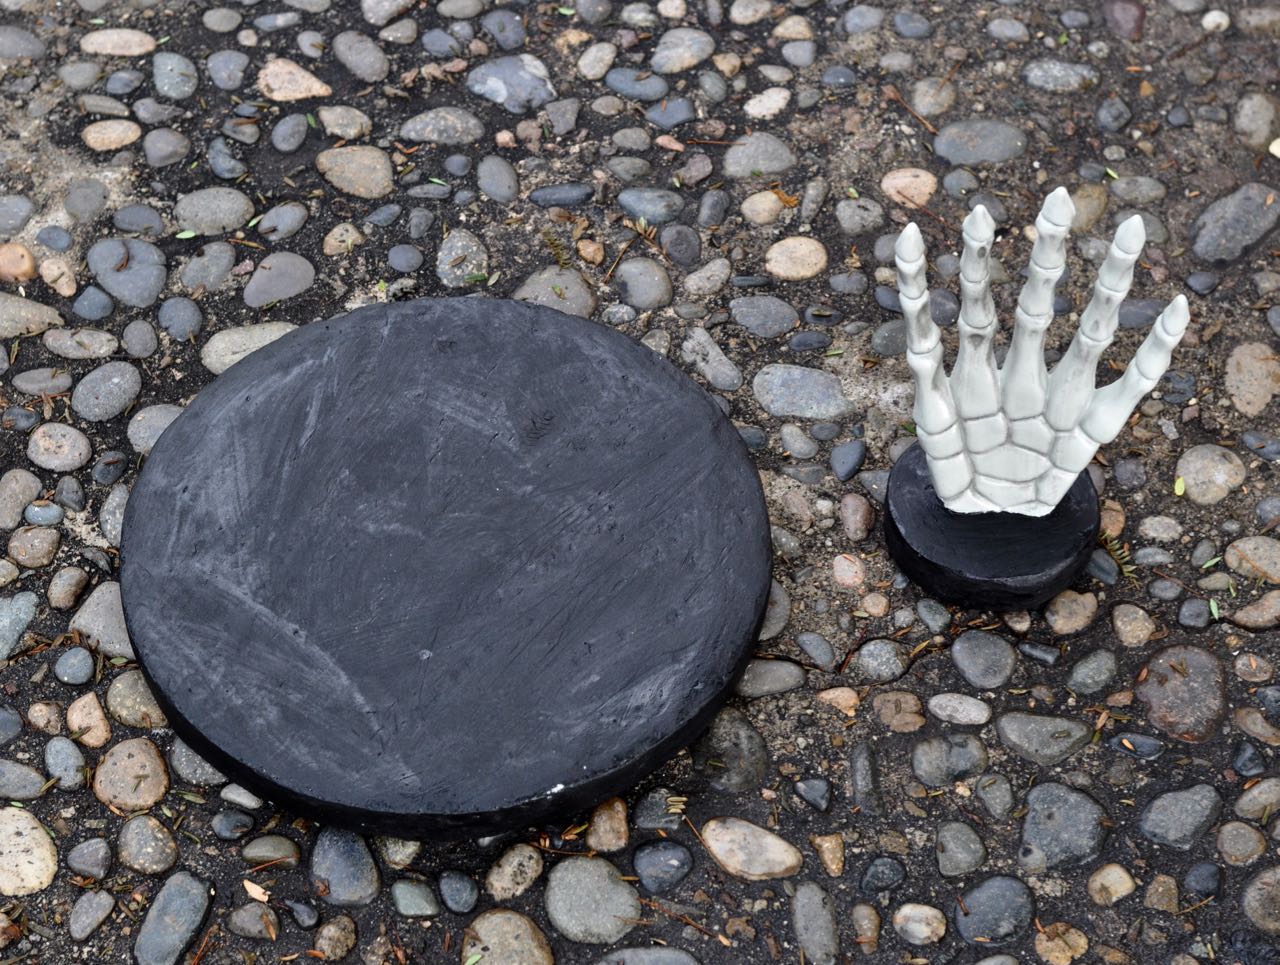
Step 5. Paint the whole thing black (minus the skeleton hand), and let dry. Place some E6000 into the finger holes on the bottom of the larger tray, and place the fingers in the holes. Hold in place for a minute, then let dry for about 24 hours.

Now it’s time to use the stand! This stand will hold candy and small treats perfectly, but probably isn’t strong enough for a cake or a dozen cupcakes. 😉

It’s best to not let food touch the surface since it is covered in paint. Wrapped candy or treats in cute cups are perfect! A doily would work great to cover the surface as well.

I hope you enjoyed this tutorial!
If you liked this post, I’d love for you to follow me on Facebook, Pinterest, and Instagram. Thanks for following!
You can also search #MakeItFunCrafts on social media for more fun craft ideas using FloraCraft® products.
Happy crafting!
![]()