
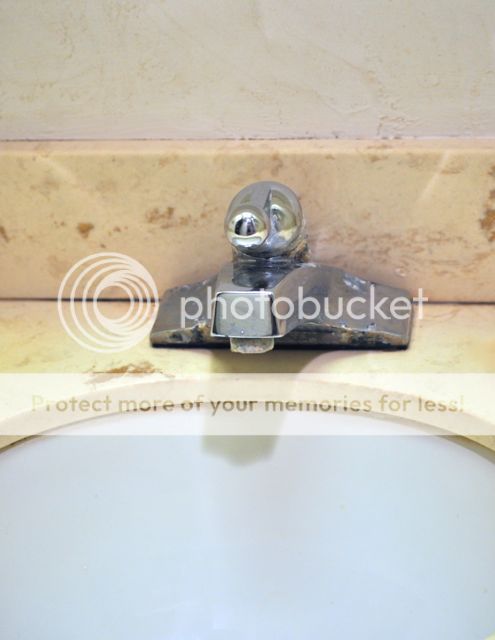
Although I have no plumbing experience, I thought it was high time we replaced our old, outdated faucet for a beautiful faucet with classic, clean lines. The Moen Boardwalk Centerset bathroom faucet in Chrome was exactly what I was looking for! It has an art deco-inspired design, and took my bathroom sink from outdated to modern. I love the reflective shiny chrome finish!
I’ll walk you through the steps I took to install the Moen Boardwalk faucet, which you can buy at Lowes. It really isn’t as tough as I thought it would be! Please excuse my photos. Our bathroom has a very small window and does not get much light.
You’ll need a few supplies for this project- a tub or bowl to catch any drips, a wrench, pliers, and plumber’s putty (a sealant).
First, you must turn off the water supply.
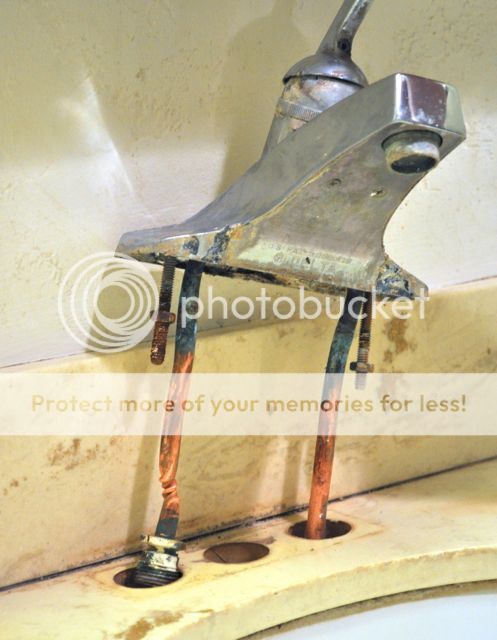
Turn off and disconnect the hot and cold water lines from the fixture using a wrench, and remove the old faucet fixture.
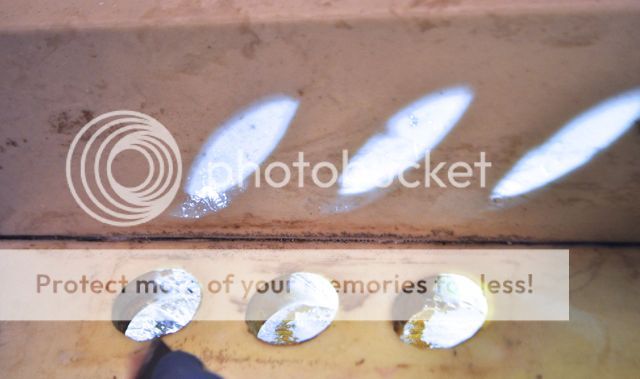
Clean and dry the sink so that it is ready for the new faucet. It probably looks a little yucky under there like mine did!
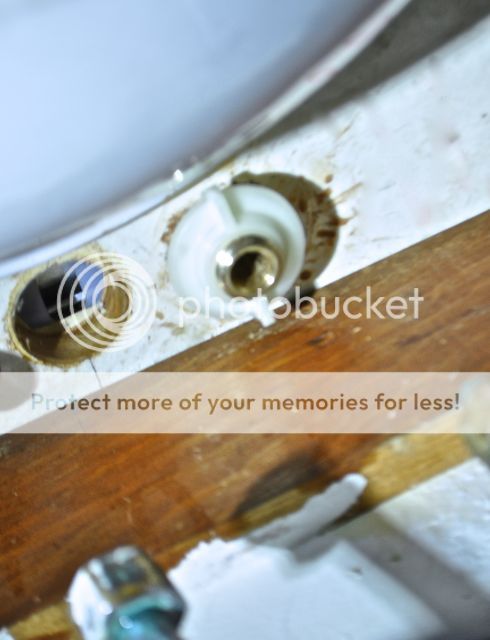
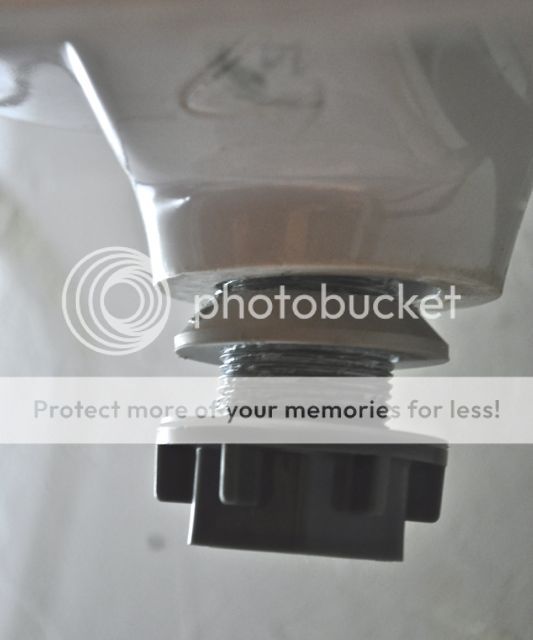
Place the gasket on the faucet, and put into place in the holes on the counter. Attach the mounting nuts to the hot and cold shanks and tighten so the faucet is attached to the sink.
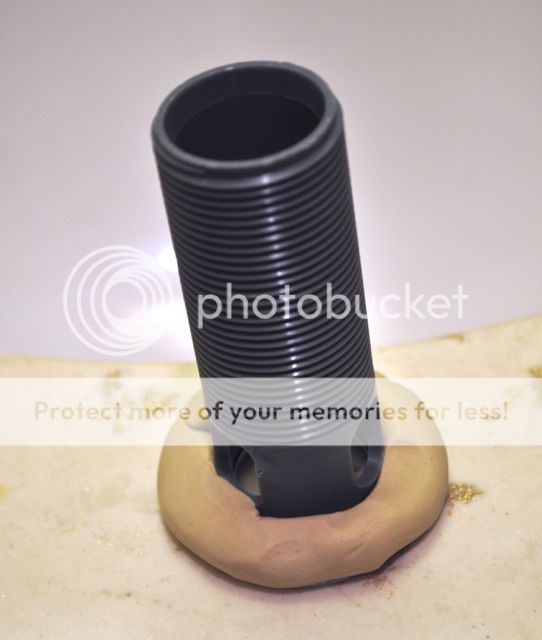
Apply a generous amount of plumber’s putty to the underside of the waste seat, and place into the drain opening in the sink. The putty will ooze out, but that’s okay, we’ll deal with that in a minute.
Below the sink, slide the drain gasket (tapered side up), onto the waste seat, followed by the washer, and then the drain nut. Do not tighten the drain nut completely yet.
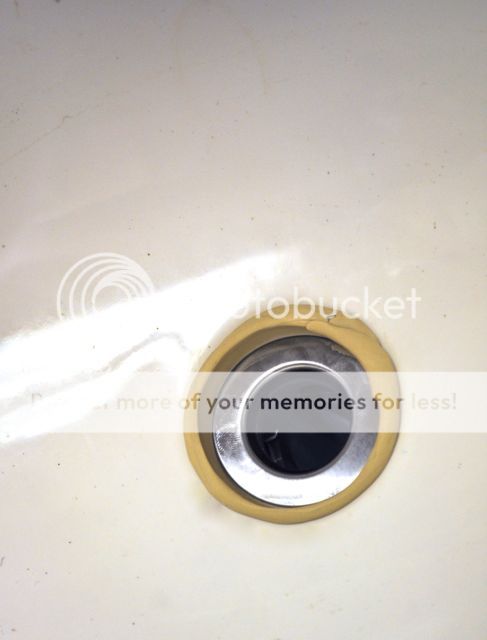
Pull off the excess putty from inside the sink. It peels right off!
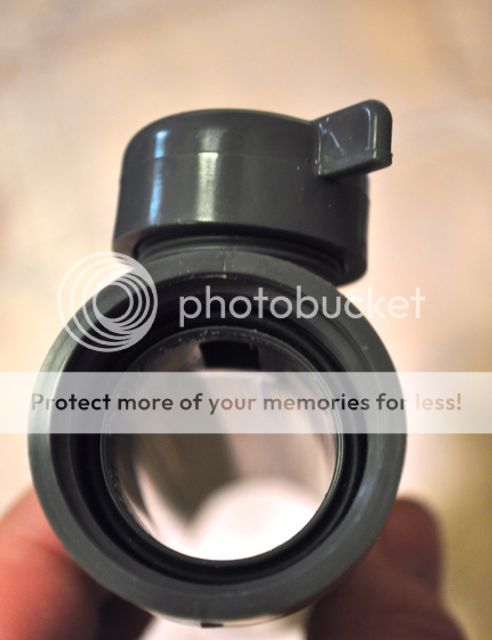
Now place the o-ring in the groove at the top of the tailpiece, and twist onto the waste seat so that the hole in the tailpiece is facing backwards towards the wall.
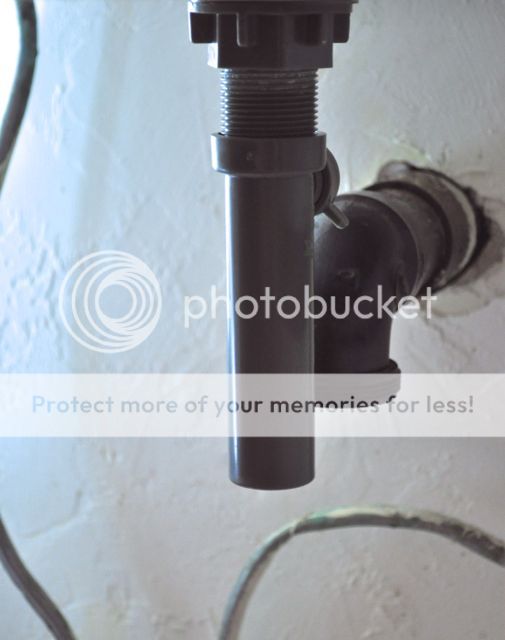
Now you can tighten the drain nut.
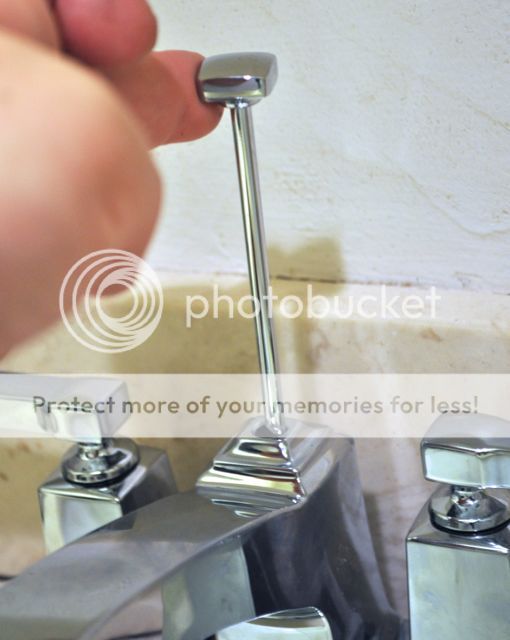
Place the lift rod into the hole on the top of the faucet. Now under the sink slide the lift rod strap onto the lift rod and tighten, but not too tight yet.
Make sure that the whilte plastic pivot rod seat is in place (beveled side out). You can install the pivot rod two different ways, so that the plug can be either pulled out later for cleaning, or so that the plug can’t be removed. I chose the non-removal method, so I inserted the pivot rod into the hole in the plug. Tighten the pivot rod nut. Push the pivot rod downdown, and slide one side of clamp onto pivot rod. Insert the pivot rod throught the closest hole on strap with the pivot rod down. Squeeze clamp and slide other side of clamp onto the pivot rod.
Loosen the nut on the strap so that the lift rod sits in the faucet. Make sure that the pivot rod is still pushed down and plug is open, and then tighten the bolt with a wrench to make sure it is nice and tight.
Attach the water supply lines, and turn the water back on.
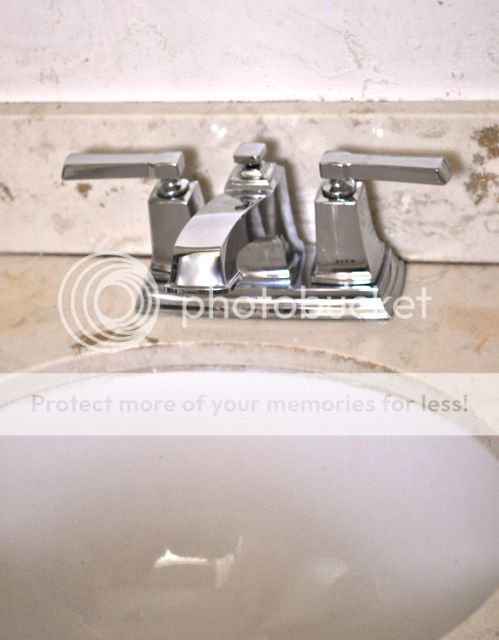
All done! What an improvement!!
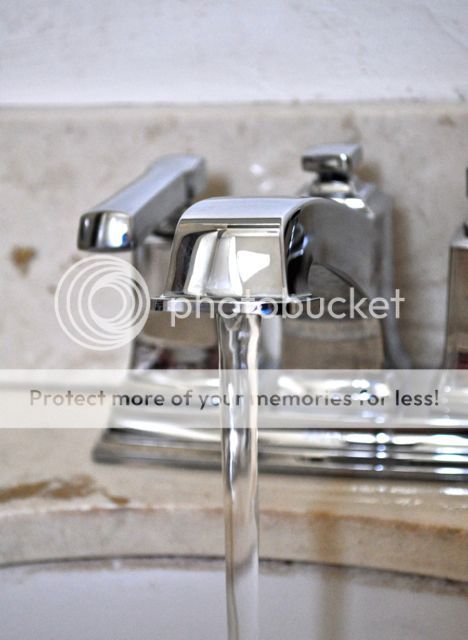
I am absoutely in love with my new faucet, and how smoothly the water comes out! It took me about an hour from start to finish to install the new faucet, but now that I know what I’m doing I could do it in less time! You can keep up with all of the new Moen products and inspiration if you Like Moen on Facebook. Have you ever installed a new faucet? Would you ever try putting one in yourself?
If you liked this, I’d love for you to follow me on Facebook, Twitter, Pinterest, Bloglovin’, and Instagram.
xo, Laura
