Make Life Lovely

Your DIY Guide to a Lovelier Life

  • Home
  • About
    • My Story
    • Contact
    • PR/Press
    • Terms
  • DIY / Crafts
    • Crafts
    • Gifts
    • For the Home
    • Kids
    • Memories
    • Paper
    • Parties
    • Printable
  • Holidays
    • Valentine’s Day
    • St. Patrick’s Day
    • Easter
    • Mother’s Day
    • Father’s Day
    • Fourth of July
    • Halloween
    • Thanksgiving
    • Christmas
    • New Year’s Eve
  • Food
    • Bread
    • Dessert
    • Drink
    • Main Dish
    • Side Dish
    • Soup
  • Fashion
    • Accessories
    • Beauty
    • Clothes
  • Travel

How To Organize Your Childrens’ Art and Schoolwork

June 9, 2018 By Laura 20 Comments

3951shares
  • Share
  • Tweet

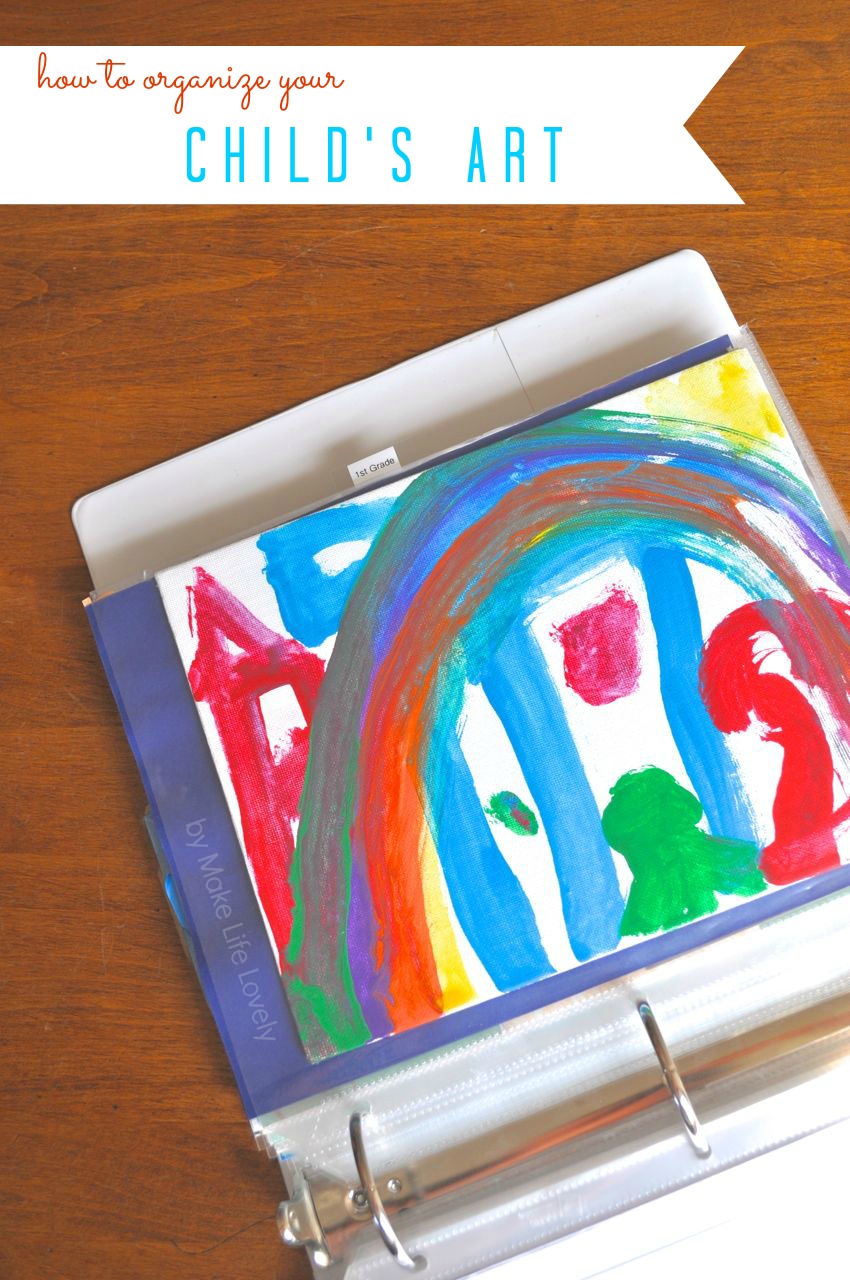
Organizing schoolwork at home that’s been saved over the years from your kids is a daunting task.  Your children’s art projects and school papers are hard to throw away, and you’re having a hard time coming up with an effective way of organizing school papers.  Sound familiar?

At the end of the school year, moms everywhere brace themselves for the mountain of art, school papers, and awards that their children will inevitably bring home.

Neat and organized spaces become home to cluttered piles of papers that represent a year’s worth of work to your children that they are not willing to part with.

Organizing schoolwork at home. How to organize your children's art projects and school papers so they don't pile up!
I truly used to dread all of the papers that came home at the end of the year.  It was bittersweet, because I love looking through my kids’ school work and art, and yet I can’t stand all the clutter and piles.  What’s a mom to do?
I came up with an easy way of storing and organizing my kids art and school work that’s fast, fun to look through, and is easy to keep up with and store.
It’s very similar to the method that I use to organize my ripped out magazine pages.  It’s very straightforward and simple, but has made such a difference in keeping my kids’ papers and artwork at bay!

Supplies you’ll need for organizing school papers

  • Binder
  • Tabbed Sheet Protectors
  • Regular Sheet Protectors
  • Magazine holder, storage box, or other holder to store artwork

Collect and store children’s art projects

First, you’ll need a place to hold and store your kids’ papers.
These papers might include art work, school papers, awards, invitations, letters, ribbons, doodles, etc.  Anything that is important to you and your child will be stored here temporarily.

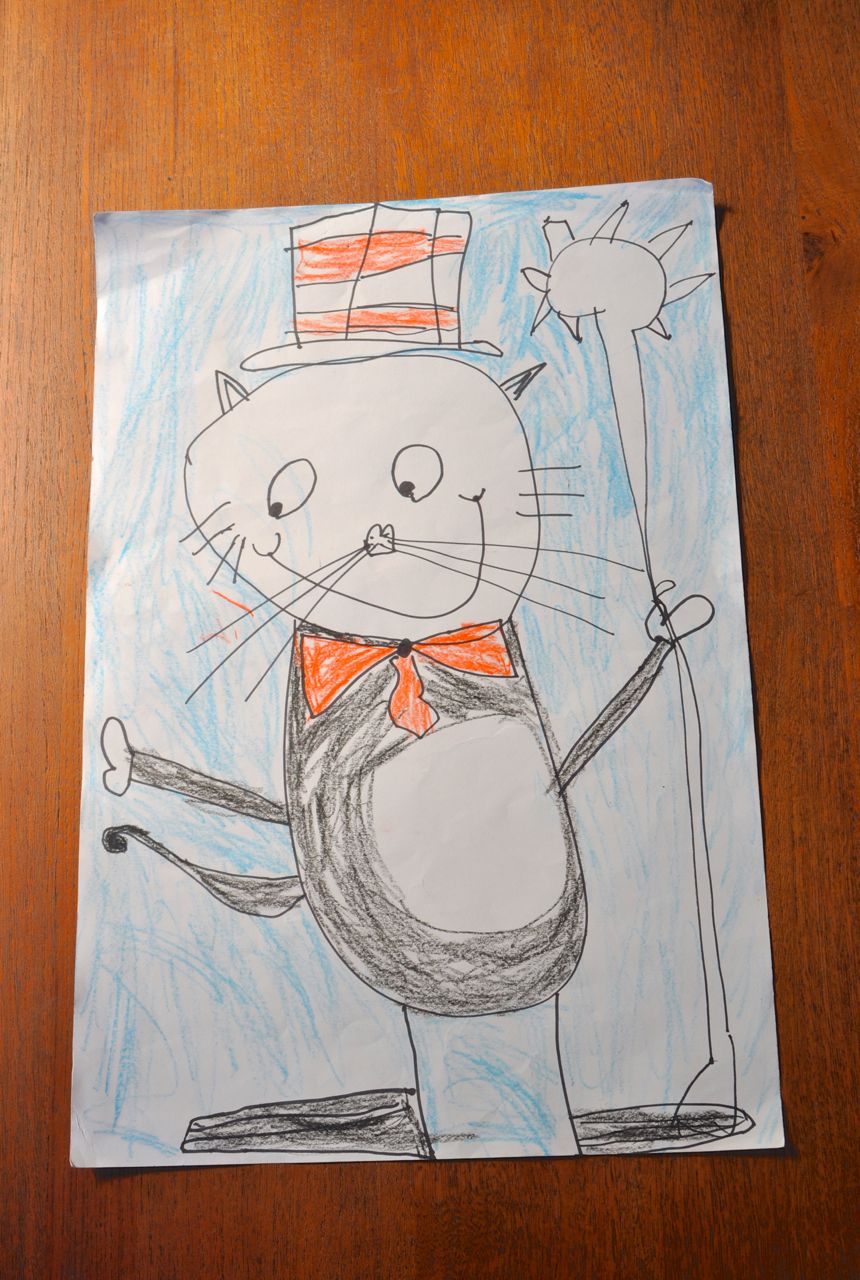
Here are a few examples of some of my kids’ papers that I have kept over the years…

Self portraits made by my kiddos,

Organizing school papers

cute little doodles…

Kids artwork storage

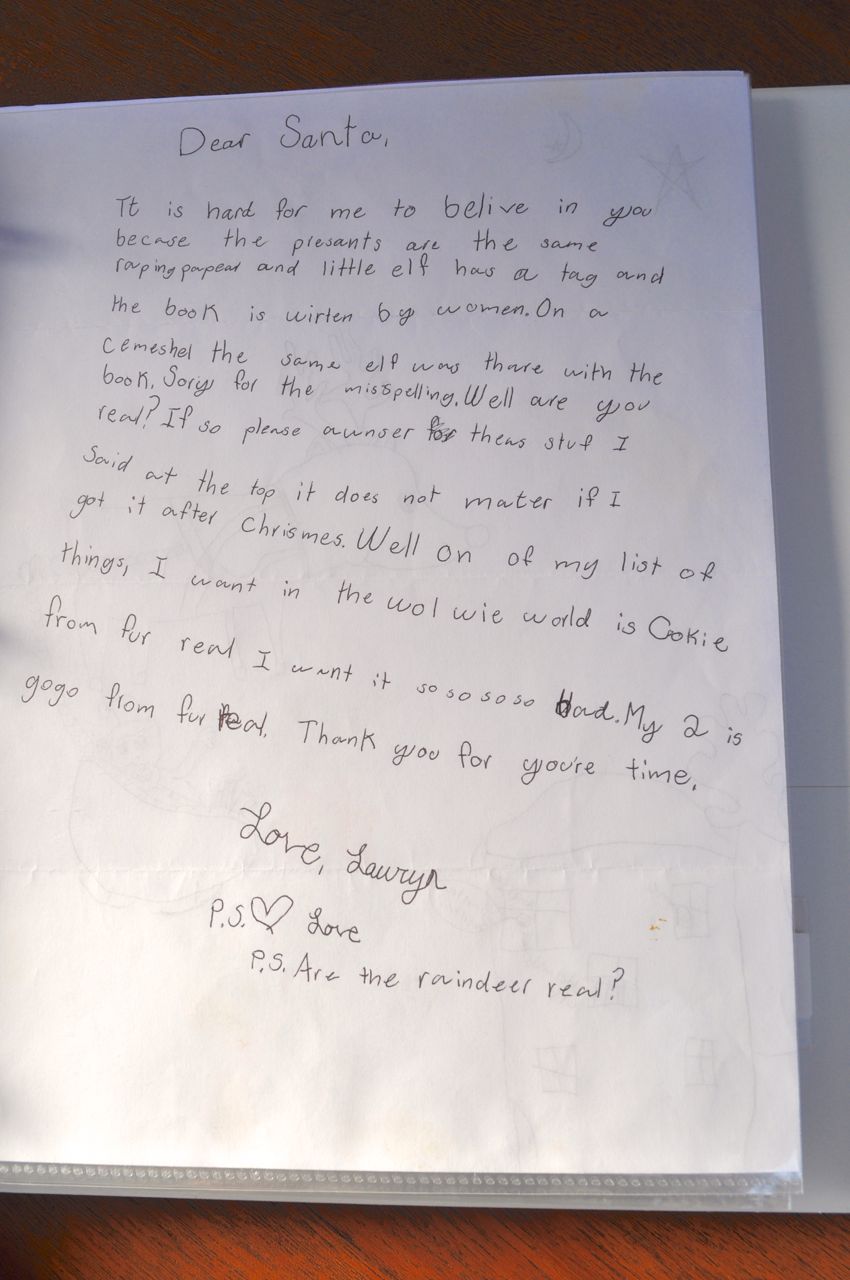
a letter to Santa that my daughter wrote when she was starting to not believe,

special awards that my kids have received,

and some of my daughter’s first faces that she drew when she was three.  The bottom right one is Charlie from “Charlie and the Chocolate Factory.”  Love it!  See how I fit four small pictures onto one page?
Favorite pieces of art,
What to do with kids art

memorabilia, like these embossed metallic handprints,

diary entries for important events, like the birth of our son, and much much more.

To temporarily collect and store the art, I use metal magazine holders.  I have one labeled for each of my children, and one for my husband and I.

Wondering what school papers to keep?

As my kids bring home work, we decide together if it’s something that we should keep or throw away.

We keep their best work, special awards, my homemade birthday party invitations, letters to Santa and the Easter Bunny (make copies so they’re not suspicious), special cards and letters, etc.

Keep anything that is your child’s best work or is meaningful to them and/or you.  When organizing schoolwork at home, it’s also nice to just keep a sample here and there of their work to see the progress they make throughout the year.

5 SECRET RECIPES
for Creative Kids Play!


YES, I WANT THIS!

We respect your privacy. Unsubscribe at anytime.


Record the date

As the art and memorabilia come in throughout the year, be sure to date them if there isn’t a date on it already.  I like to write the date and how old my child is on the back of the paper so it’s not taking away from the art or work.  This is an easy way of organizing schoolwork at home.
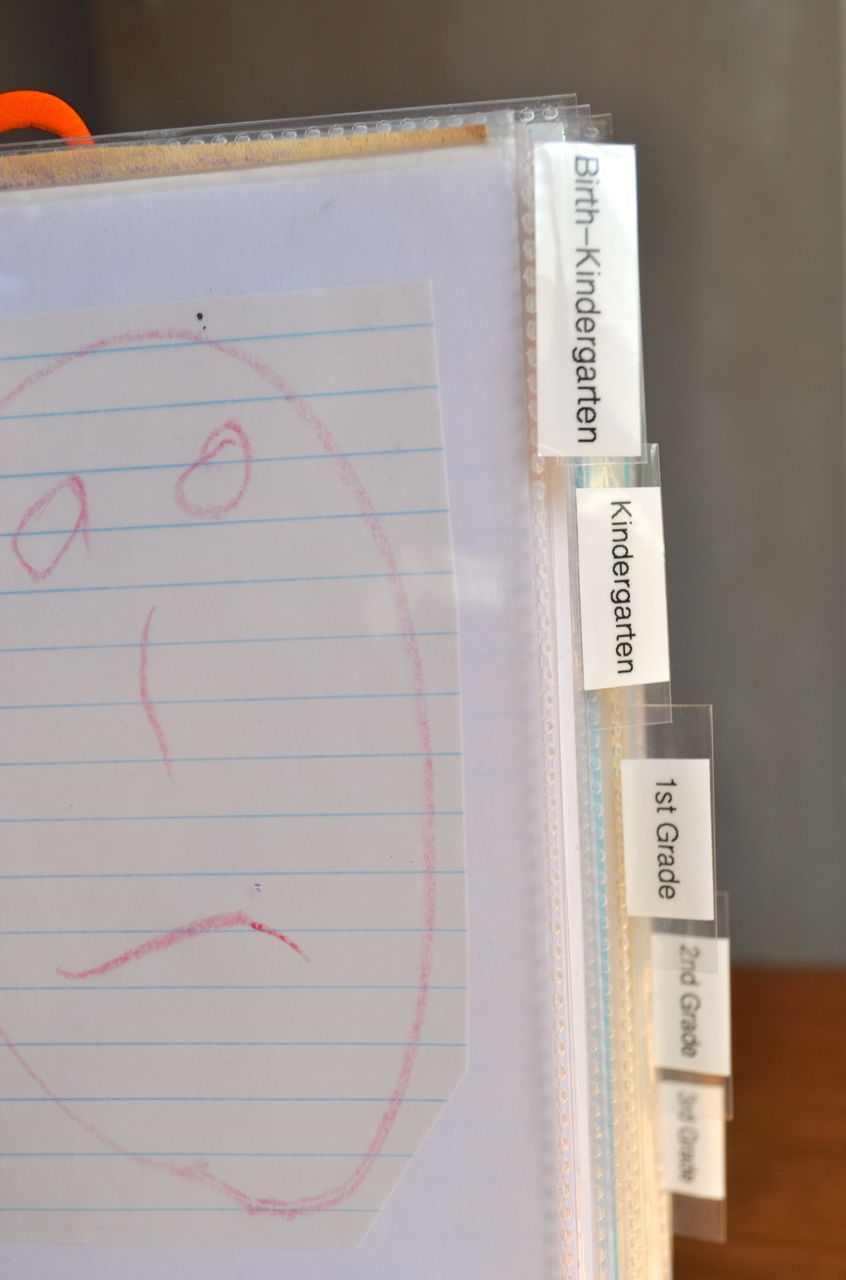
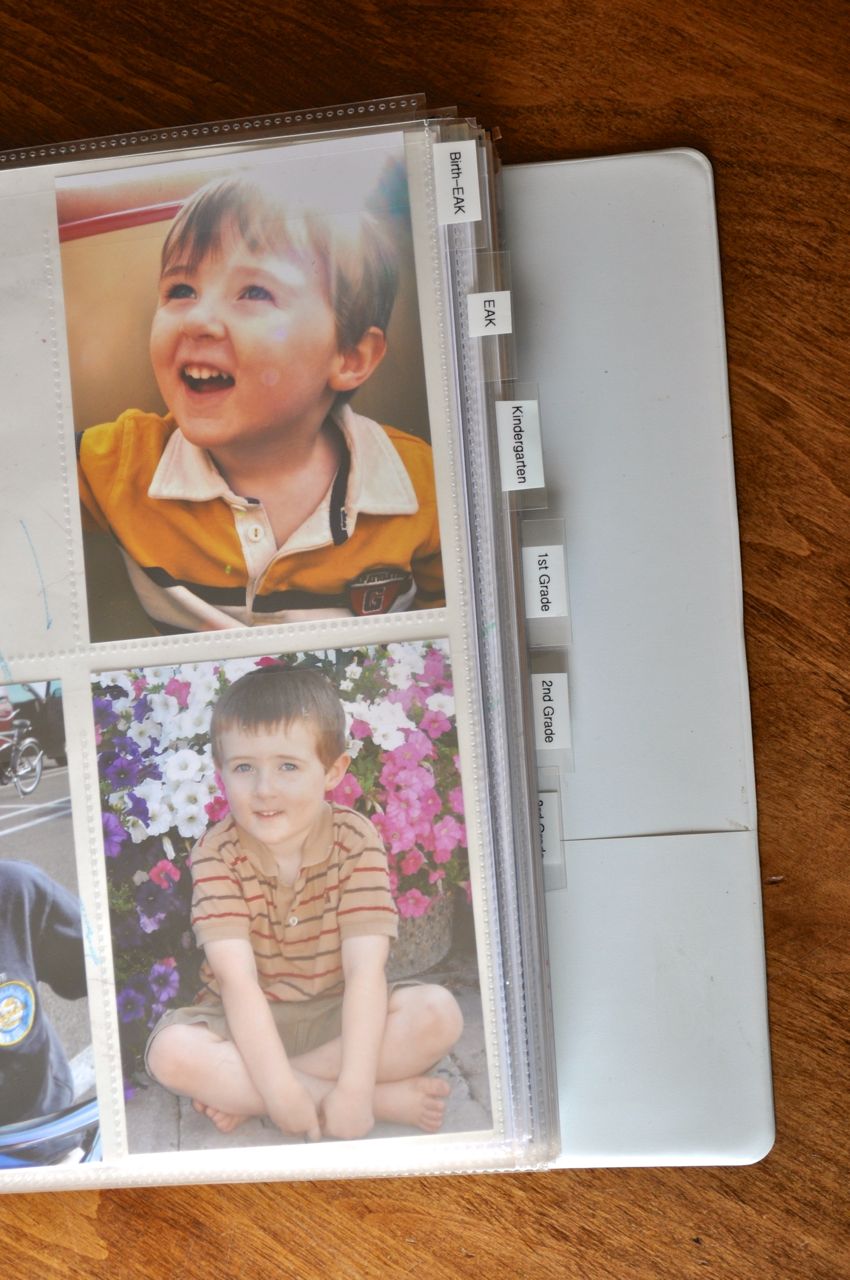
Label and organize

Label your tabbed sheet protectors.  I label mine like this for each child:

  • Birth-Preschool (or EAK or Kindergarten)
  • Preschool (or EAK)
  • Kindergarten
  • 1st Grade
  • 2nd Grade
  • 3rd Grade
  • 4th Grade
  • 5th Grade, etc.
I used Avery Protect ‘n Tab Tabbed Sheet Protectors to label each of the different sections.
These tabbed sheet protectors are perfect because the tabs stick out past the other sheet protectors so that you can still see them when your binder is put together.  I bought mine on Amazon, after searching high and low for something like them at all my nearby office supply stores.

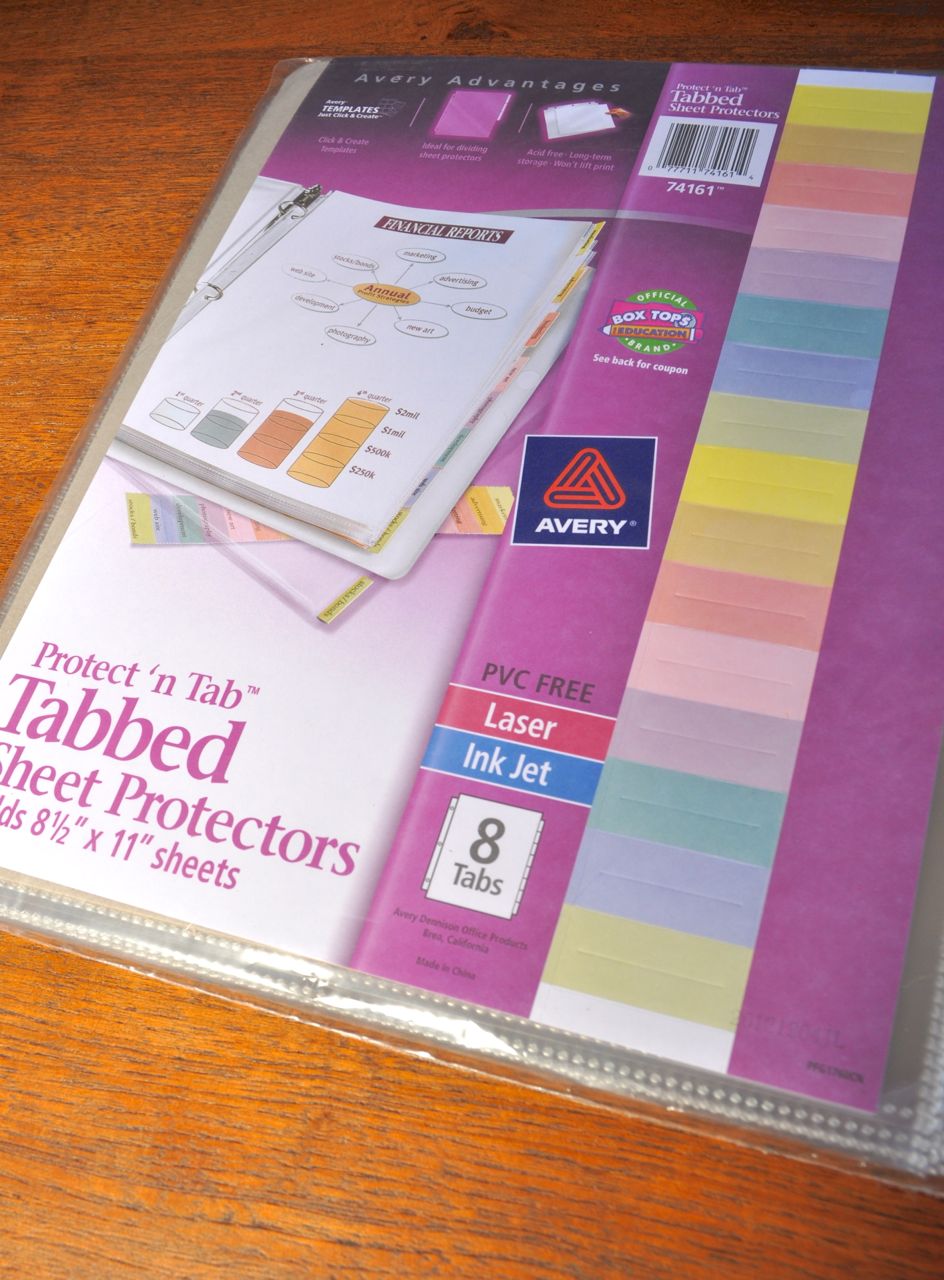
These Avery labels are printable, but I just used my trusty label maker to make small labels that I stuck onto each tab.  They fit perfectly!

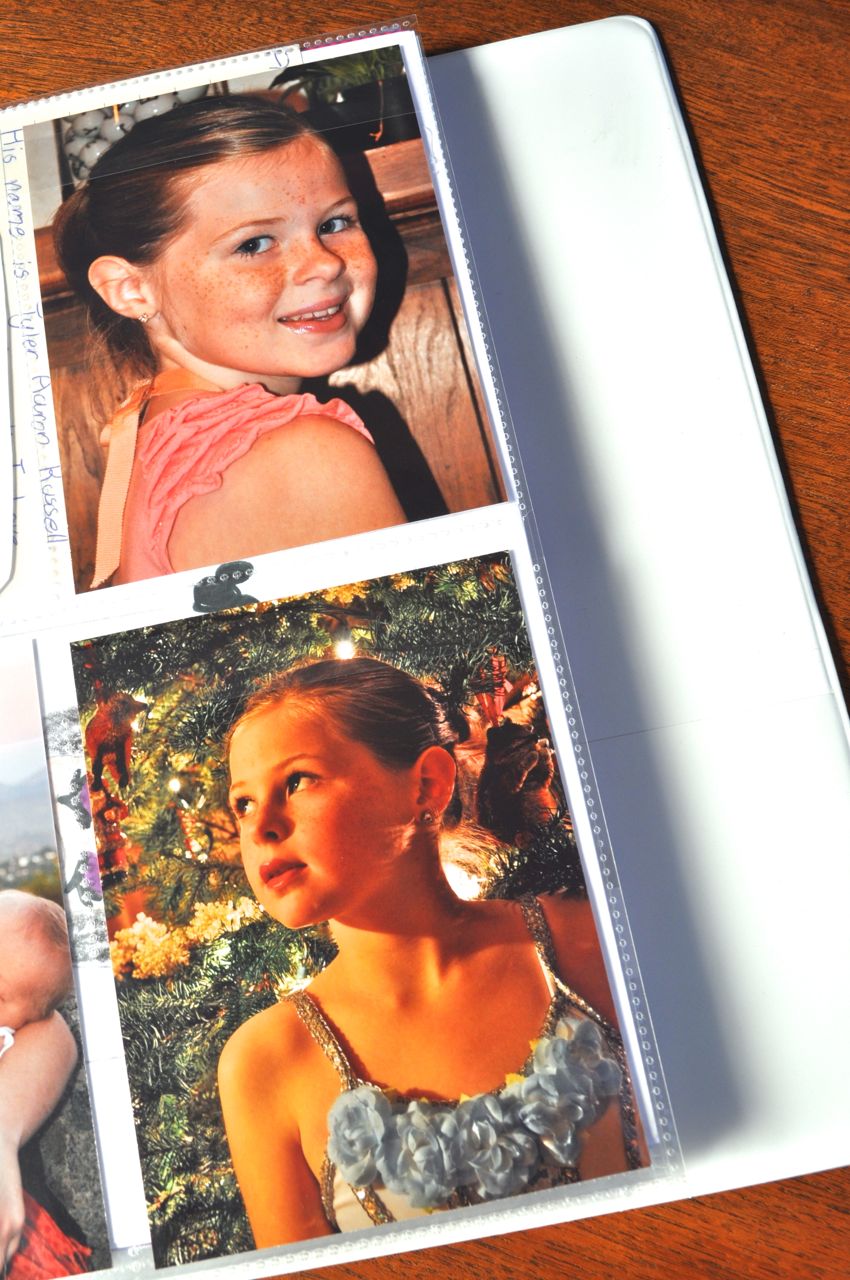
I also used some Avery Martha Stewart sheet protectors I bought at Staples that have pockets that hold 4 photos.  Although I keep separate scrapbooks, I like to add the 4 photos behind each divider, so we can remember what each child looked like when they made their art.

Add the art and papers

Place the artwork, school papers, awards, etc. into sheet protectors.  This is a great time to edit the work that has been sitting in the magazine holder.
Since you can’t keep everything, decide if it really is worth keeping, and then either toss it or keep going.  I typically fit one page into each side of the sheet protector, but if there is a stapled booklet that I want to keep, I’ll just stick the whole thing inside.

What if my kids’ art work is too big to fit?

Sometimes a favorite piece of artwork may be too big to fit into a sheet protector, like my son’s Cat in the Hat picture.
When this happens, I will trim it down to fit, or I will cut it in half, and place one half on one side of the binder, and the other half right next to it, so you can still see the whole picture.
I like to keep special little notes and doodles that my kids write and draw.  Since these papers are typically smaller, I use an archival glue stick to adhere them to a piece of archival card stock.  That way I can save on space and fit a few different things onto just one page.

Keep up and enjoy it!

Once the binder is initially created, this school work organizer is very easy to keep up!

Just slide the favorite school papers right into the binder as they comes home, and you’re good to go!

My kids LOVE organizing schoolwork at home and looking through their binders.  It’s a great way to point out to your kids how much they have grown and progressed!

I love this kids artwork storage method because it is so easy to keep up and keeps all of the school papers neat and organized chronologically.  I love that I can still keep much of our favorite kids’ work without feeling guilty because there are no messy piles!

What do you think?  Do you struggle with organizing what and how much of your kids’ work to keep?  Is it hard to keep organized?  Will you be giving this method a try?  Leave a comment and let me know!

I hope my kids artwork storage solution helps you to get and stay organized.
signature
3951shares
  • Share
  • Tweet

About Laura

Hi! I'm Laura, owner and creator of Make Life Lovely, a creative blog filled with creative craft tutorials, DIY projects, party tips, holiday ideas, home decor, and so much more! Make Life Lovely is dedicated to making everyday life more lovely, and I hope to inspire you and show you how!

Let's Be Friends!


Comments

  1. Krista @thehappyhousie says

    May 17, 2013 at 4:37 am

    This is a really really amazing way to store and handle all this paperwork. My oldest just started Kindergarten and I have a basket full in his closet right now that started with preschool and just kept going… this summer I will tackle it and set up this system! Thanks for sharing it:)
    Krista

    Reply
    • Laura @ Make Life Lovely says

      May 17, 2013 at 5:36 am

      Thanks so much Krista. I was so frustrated with all my kids papers that I had to come up with something! Now I don’t feel guilty keeping their cute little notes, papers, and art because it’s so organized and it hardly takes up any room. I’m so happy I could help you- good luck this summer! 🙂

      Reply
    • Carol says

      May 22, 2013 at 1:01 pm

      Thank you for providing an answer I’ve been looking for YEARS. I have cherished art work and other things that I’ve been trying to figure out how to organize.
      But how do I find the time? Can you tell me how you organize your day?? This is the stuff I just love doing and the memories are so important. Thank you.
      Carol Cline

      Reply
    • Laura @ Make Life Lovely says

      May 28, 2013 at 7:18 am

      So glad I could help, Carol. If you just work on this whenever you have a few extra minutes, you’ll be surprised at how quickly you can get it all organized. Then once you organize all of your current papers, it is really easy to stay on top of it and add any new papers to the sheet protectors and put them straight into the binders. Good luck!

      Reply
  2. Anonymous says

    June 30, 2013 at 5:09 am

    your kids are really good at drawing and that diary message was really sweet:)

    Reply
    • Laura @ Make Life Lovely says

      July 11, 2013 at 6:52 am

      Thank you! I love her diary entry, too. She tried to throw away her old journal, which I happily “rescued” out of the trash to save! It was too sweet to throw away.

      Reply
  3. Anonymous says

    August 2, 2013 at 7:07 am

    I love the idea of trimming and placing multiple things on one page! I have so many little scraps of paper and post-its that I treasure and now I have a way to put them together! Thank you!!!!

    Reply
  4. cordeliajane says

    December 29, 2013 at 8:43 pm

    any solutions for the odd shaped or bigger pieces of art?

    Reply
    • Anna says

      October 6, 2014 at 8:06 pm

      it would be good to scan them, bigger pieces of art or just some scrap pieces.
      Easier for u to keep them too i guess?
      can save the softcopies after scanning too!

      Reply
  5. Ulyana says

    July 8, 2014 at 11:23 am

    That is a great idea. Thank you

    Reply
  6. Shelby Lopez says

    September 20, 2014 at 11:39 pm

    I love this idea! Got my binder and dividers today! Wish I knew about this 5 years ago. My daughter is 6 and its so hard to keep it all….but I try. Good way to keep up with stuff!

    Reply
  7. Diana says

    April 1, 2015 at 6:18 pm

    Do you glue smaller pieces to paper before placing in the sheet protector? If so, what type of paper do you use? Thanks so much for the wonderful ideas!

    Reply
  8. julie says

    December 20, 2015 at 12:36 pm

    Love this! Your awsome!

    Reply
    • Laura says

      February 4, 2016 at 1:06 am

      Aww, thanks Julie!

      Reply
  9. Melissa C. says

    January 10, 2016 at 9:10 am

    I will definitely be doing this. I have been looking for scrapbooks where I could just put school work/art work but I couldn’t find anything I really liked. This is such a good idea. Thank u for posting this! I had to google “what should I do with my sons school work?” And yours popped up! 🙂 good idea about the magazines too! I have a bunch of those piled under my bed along with my sons schoolwork, waiting to go somewhere. Thanks again!

    Reply
    • Laura says

      February 4, 2016 at 12:49 am

      So glad I could help Melissa! Yes, with four kids, I was accumulating so many papers and art projects that I really wanted to keep, and needed a system to control it all so I didn’t have clutter. This solution has really worked well for us, and I’m still using it and loving it! If you do it as you go, it’s easy to keep things in chronological order too. My kids love looking through their favorite projects and seeing how far they’ve come!

      Reply
  10. Naureen says

    November 10, 2016 at 5:32 am

    THANK YOU…I am so glad to have found your page! I love the idea of cutting LARGE art-work in half and placing them in 2 page protectors so that they are facing each other when the binder is opened. I am SOLD. I am a huge fan of binders and page protectors for artwork and magazine cutouts…But for the last 2 years, I have been struggling with the large-art work that wouldn’t fit in 8.5 x11, or worse, the 12×12 page. After reading your article, out comes my paper trimmer and I am going on a storage frenzy!

    Reply
  11. Sarah says

    May 22, 2017 at 2:16 pm

    Yep, I like this. So far (my daughter is just 5) Ive been making scrapbooks but there are a number of reasons why this will work better!
    So because the artwork is slipped in the sleeve rather than stuck you can indeed write on the back the dates etc , also because they aren’t stuck in you can edit at a later date if you change your mind about something. Its also fine then to display something then put it back in or vice versa and if you find a an item you forgot then you can still grab a new sleeve and add it in. Good ideas there about managing the larger pieces. I wander what you do with 3D items?

    Thank you!

    Reply
  12. A. Birney says

    July 2, 2018 at 10:24 am

    Thank you for sharing these ideas. I am the mother of seven, now grown, children, and my file cabinets are bulging! These tips are just what i need to get organized simply.

    Reply
    • Laura says

      July 3, 2018 at 1:13 pm

      I bet they are! Mine were bulging and I have five kids. So glad I could help!

      Reply

Leave a Reply Cancel reply

Your email address will not be published. Required fields are marked *


[footer_backtotop]

Copyright © 2021 · Genesis Framework · Design by Key Lime Digital Designs · Log in

Privacy Policy