Learn how to glitter an object with this fun tutorial!
I am proud of this little Valentine’s project, because it is very cute and super sparkly, but also because it only cost me 30 cents to make!! I mean, what can you buy for 30 cents these days? Not even a candy bar!

I was at Target a couple weeks ago and saw that the Christmas items were on clearance for 90% off. Most of the stuff was pretty picked through, but then I saw this ugly heart ornament…
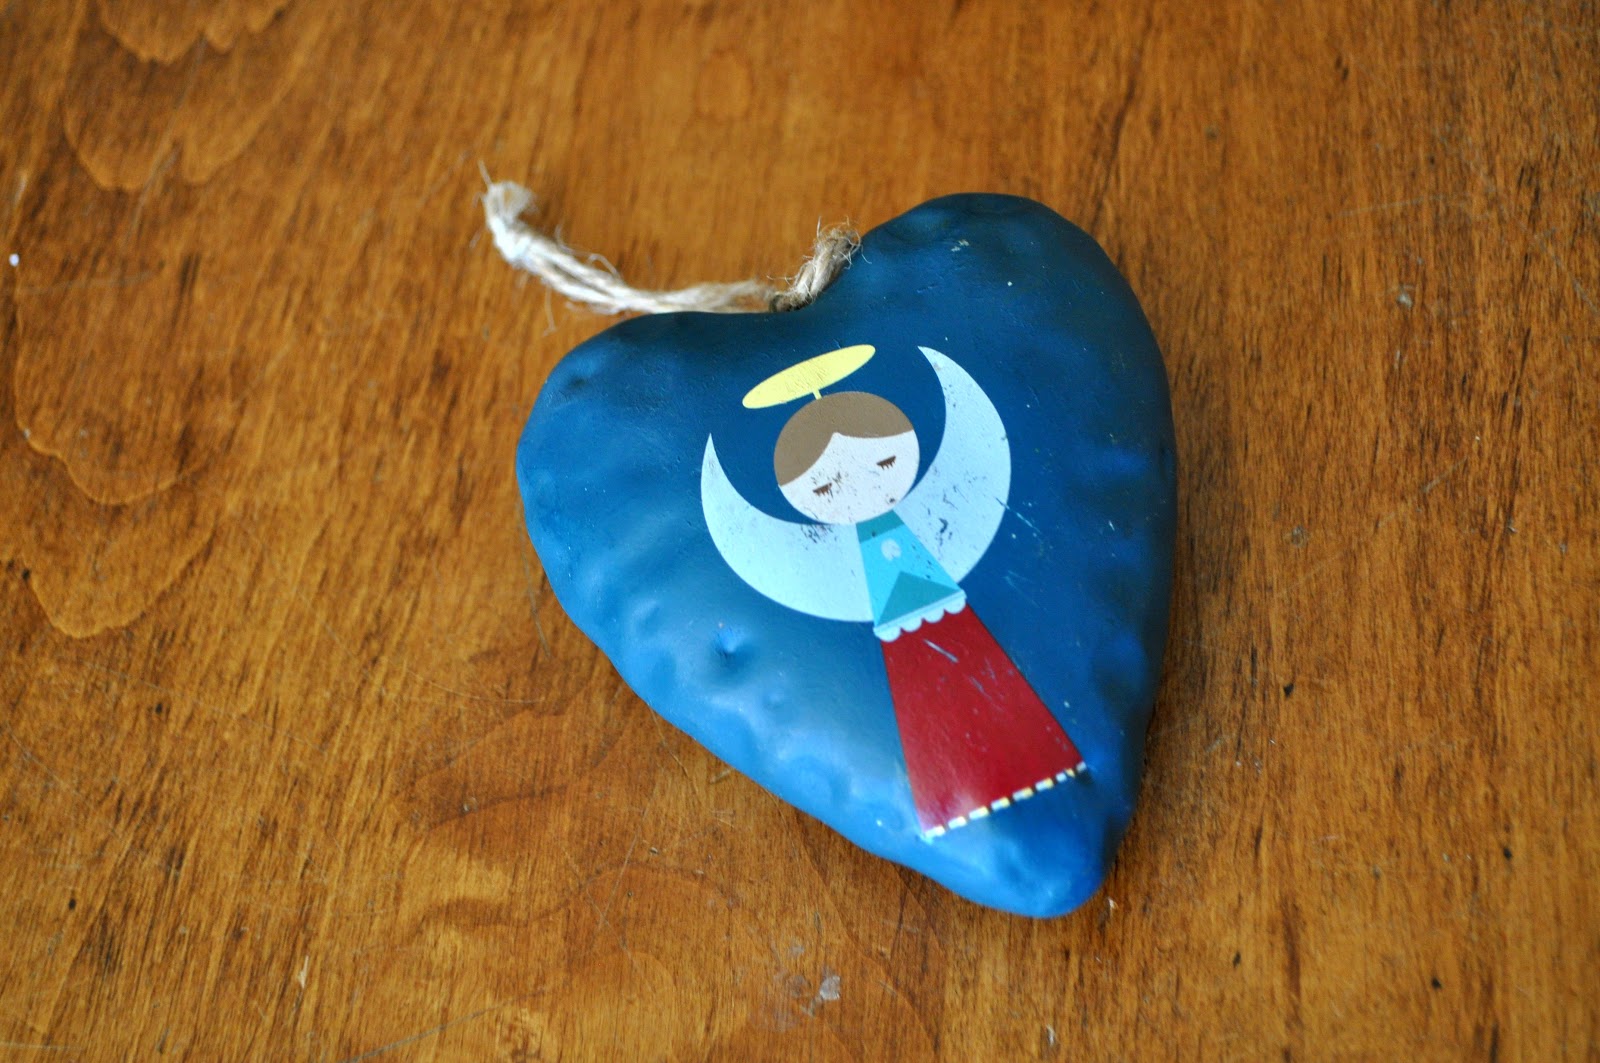
I’m not sure what it was made out of, but it was heavy and substantial, and I knew I could turn that paint chipped ornament into a cute Valentine’s Day decoration. AND after 90% off, I only paid a total of 30 cents for it!
And here it is after a little glitter and Mod Podge and baker’s twine…. definitely an improvement, don’t you think? Now I realize that you probably won’t be able to go out and find this same clearanced ornament to make this exact project, but I wanted to share it with you to show that with a little creativity and imagination you can take something not very cute and turn it into something you truly love that is more your style. And to teach you how to glitter an object.

Basically I used the same technique that I used to make these Valentine’s Day Glitter Letters. You can use this same technique to cover ANYTHING in glitter that you like!!
Supplies:
- An object to glitter
- Mod Podge
- Foam brush
- Glitter
- Clear glossy spray (I used Krylon Triple-Thick Crystal Clear Glaze)
Directions:
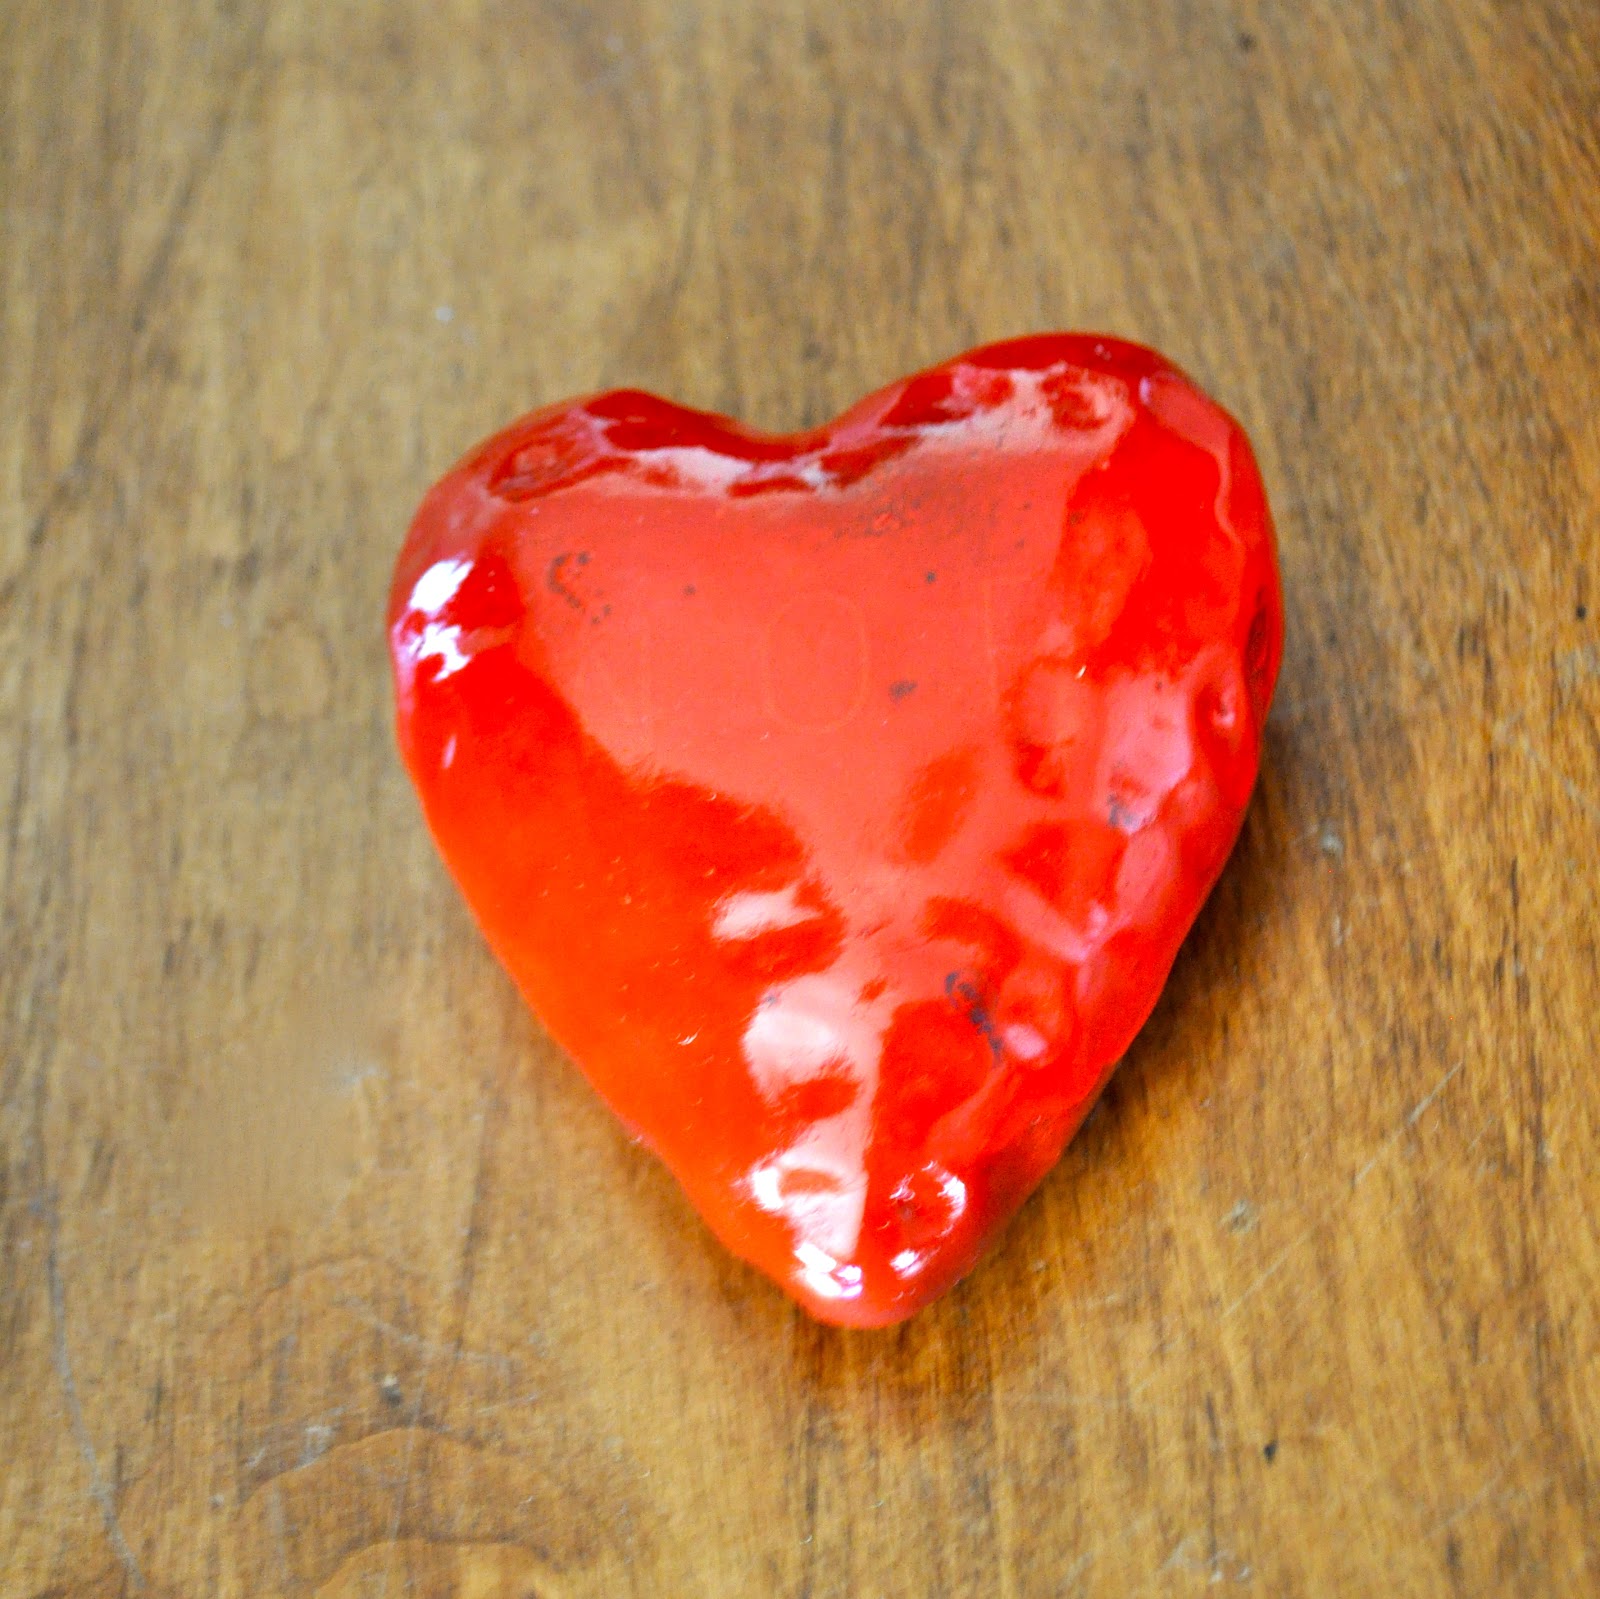
Step 1: You can choose to spray paint your object with one coat of spray paint that is the same color of the glitter that you chose, or you can skip this step, since the whole thing will be covered in glitter anyway. Use a foam brush to cover your object in Mod Podge, doing a large section at a time. Sprinkle glitter all over the Mod Podged area of your object. Gently shake off the excess glitter.
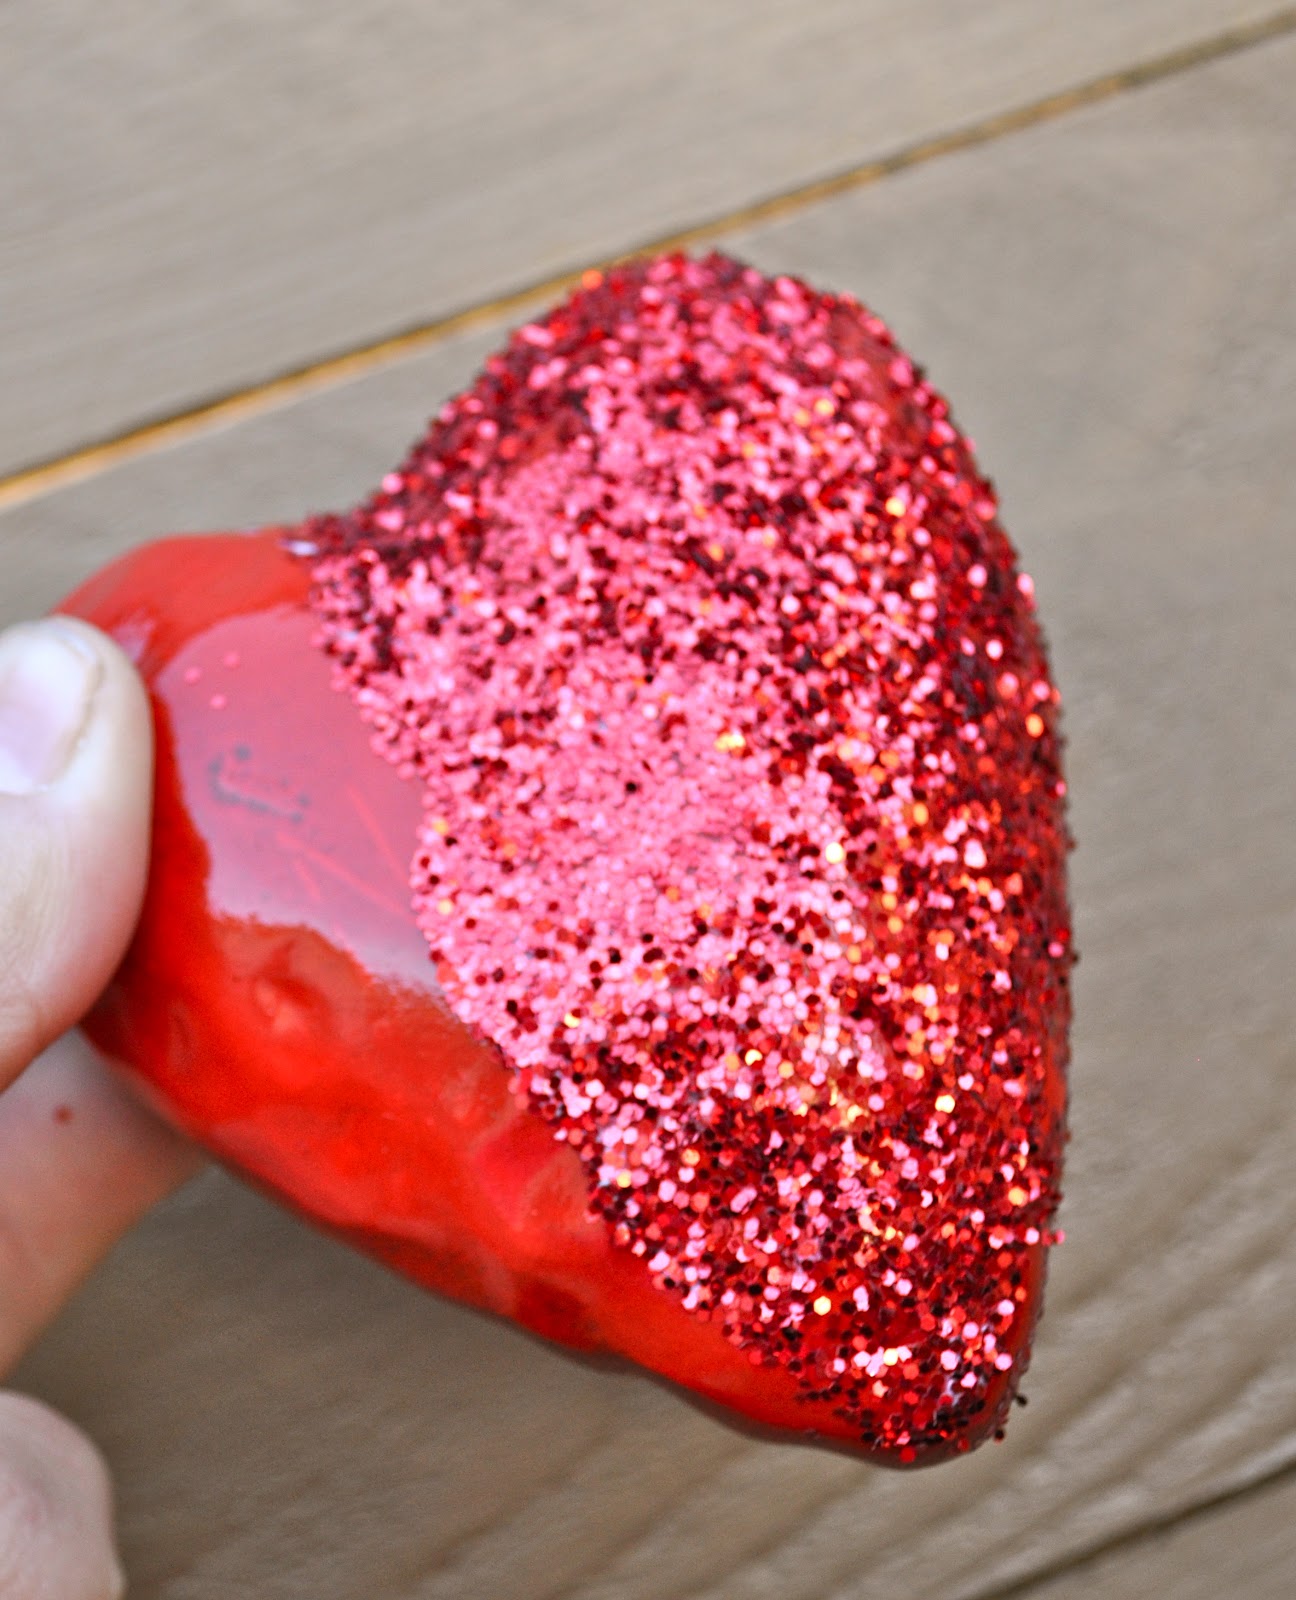
Step 2: Repeat this process, until the entire object is covered in glitter. If you have any patchy spots, you can just add a little more Mod Podge to the area, and sprinkle more glitter on it. Once it is completely dry, spray an even coat of a clear glossy sealer over the entire object. I used Krylon Triple-Thick Crystal Clear Glaze, which gave a nice thick clear coat over the glitter. Don’t skip this step! This glaze keeps the glitter from falling off all over you and your house!


I love the finished product! I have it hanging in my entryway on a little hook. I took off the twine that came with the heart, and switched it out for a piece of red and white Baker’s twine. It is so sparkly and shiny!
Enjoy, and happy glittering!
![]()
MJ says
That turned out so cute! Thanks for the tutorial.
MJ (www.ahappysong.com)
Laura Russell says
You’re welcome MJ, glad you enjoyed it!
Anonymous says
You think Mod Podge works better than white glue?
Laura Russell says
I do. Mod Podge has better “sticking power” than white glue. That being said, you could try using white glue, and see how it works for you, but I definitely prefer Mod Podge for a project like this, because you want the glitter to stick immediately and dry quickly, which it does well using Mod Podge. If you try white glue, though, be sure to come back and let us know how it goes!
Anonymous says
I used spray adhesive to do this to large styrofoam letters for my friend’s wedding and it turned out great! As long as you stay about a foot or more away from the foam while you spray, nothing melts and everything sticks! This tutorial was super helpful for this project!