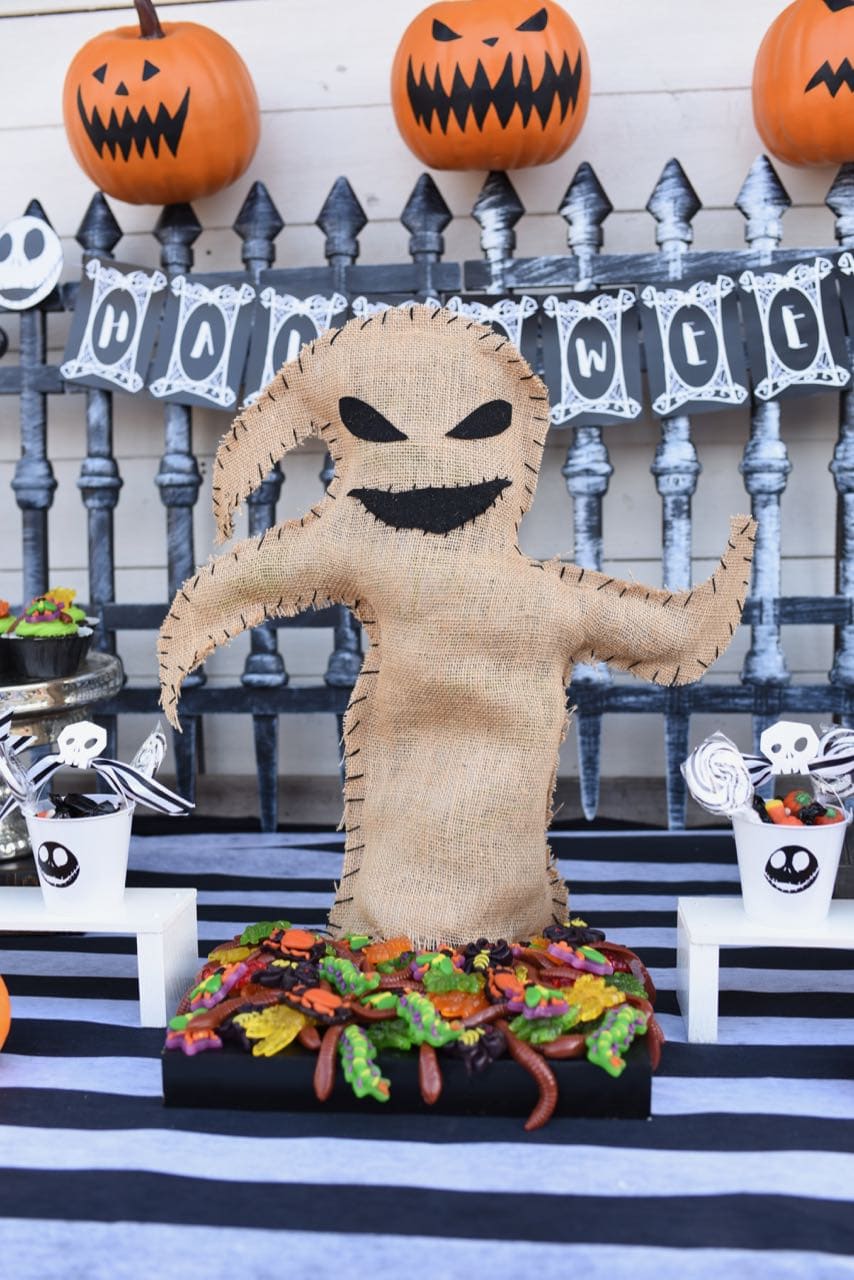
One of my favorite things in the Nightmare Before Christmas movie are the creepy grinning pumpkins in the beginning that are stuck onto the top of the cemetery fence posts. Each pumpkin is similar yet unique. Today I’m sharing how to make some Nightmare Before Christmas party decorations that I created using foam pumpkins and some black paint!

My friends at Oriental Trading sent me the pumpkins and the cemetery fence that I placed them on for our Nightmare Before Christmas party. I just love the effect they had on the rest of the party table!

Pumpkins Nightmare Before Christmas Party Decorations
Supplies:
- Foam orange pumpkins
- Black craft paint
- Small paintbrush
- Cemetery fence (optional)
- 36″ pieces of rebar (one per pumpkin- optional)

STEP 1. Google ‘Nightmare Before Christmas pumpkins’ and choose white pumpkin faces you would like to create. Use a pencil to lightly draw each face onto a foam pumpkin.

If you make a mistake, just erase it or wipe it with a lightly damp cloth.

STEP 2. Use a small paintbrush to paint the faces that you drew onto the pumpkins. Let first layer dry, then paint a second coat.
STEP 3. If you would like your pumpkins to stand on a cemetery gate like mine do, then you’ll need to get some 36″ pieces of rebar, one piece per pumpkin. I just poked the rebar into the bottom of the pumpkin, then placed the rebar behind the fence post with the pumpkin on top to look like the pumpkin was pierced by the top of the fence.
Just like in the movie!

I’m in love with how these spooky pumpkins turned out. They’re so much fun and look amazing as a Halloween decoration!
For more Nightmare Before Christmas ideas, be sure to check these out-

Nightmare Before Christmas Halloween Party

Nightmare Before Christmas Party Favors
Happy Halloween!
![]()
Originally published in Octboer 2017, updated in August 2018.
Leave a Reply