I’ve been buying school supplies and clothes for my kiddos to get them ready for school.
I decided I wanted to try making a DIY no sew pencil case to hold some of their new supplies.

It’s actually pretty simple to make a pencil pouch without a sewing machine!
With just a few supplies, you can have a cute, custom, fun pencil (or pen) case.
Keep reading for the easy how-to!
No Sew Pencil Case
Supplies:
- Duck cloth or other thicker fabric
- Fabric scissors
- Fabric glue
- 9″ zipper
- Iron-on vinyl (optional)
Instructions:
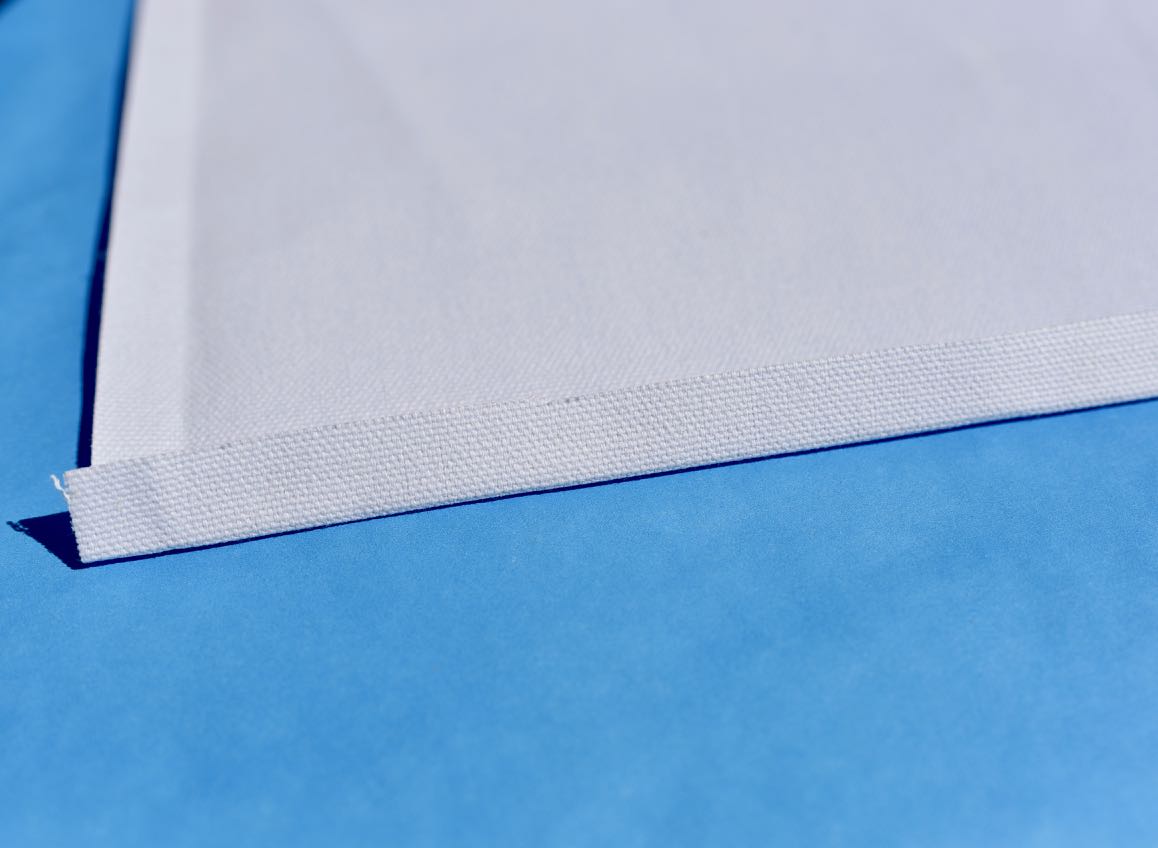
Step 1. Cut a piece of duck cloth or other thicker fabric into a 10″ x 12″ rectangle.
Fold 1/2″ seam on both of the 10″ sides.
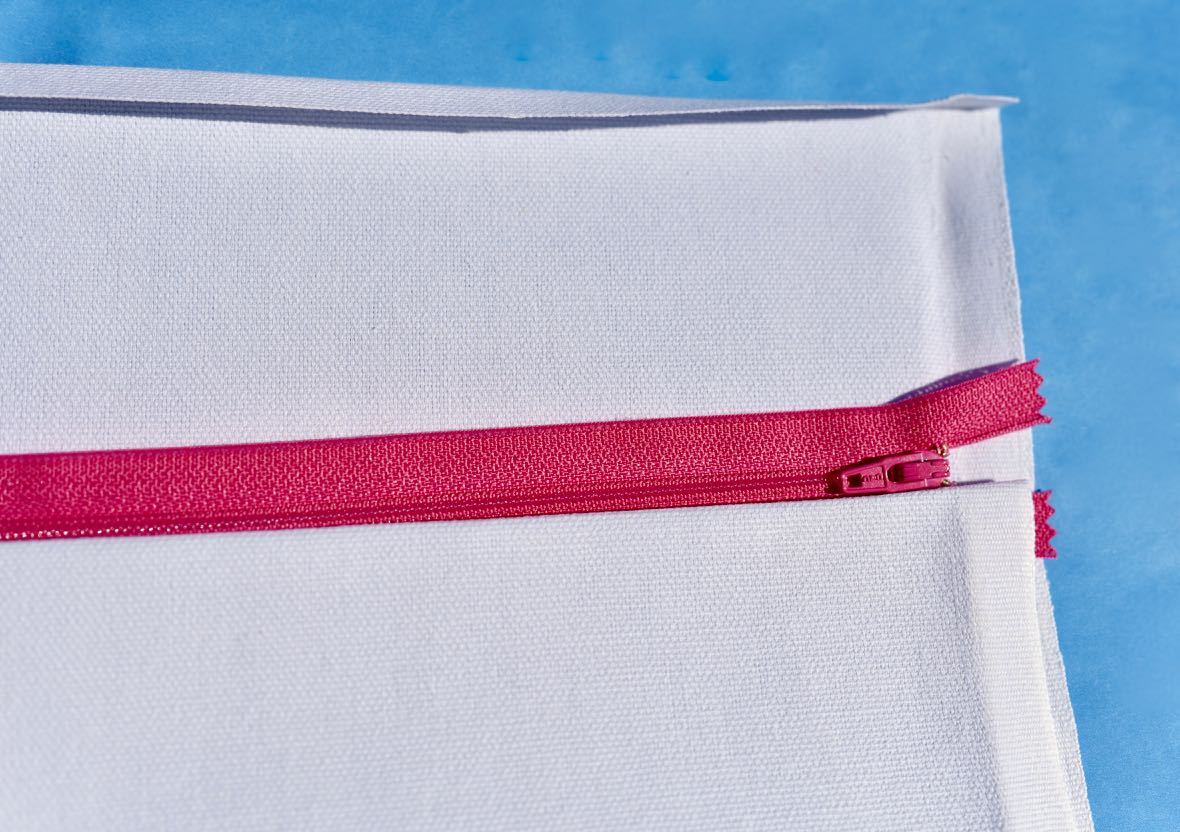
Step 2. Add a line of fabric glue along the hemmed edge, and press firmly onto the fabric portion of the zipper.
Make sure not to get glue onto the zipper or it will not zip.
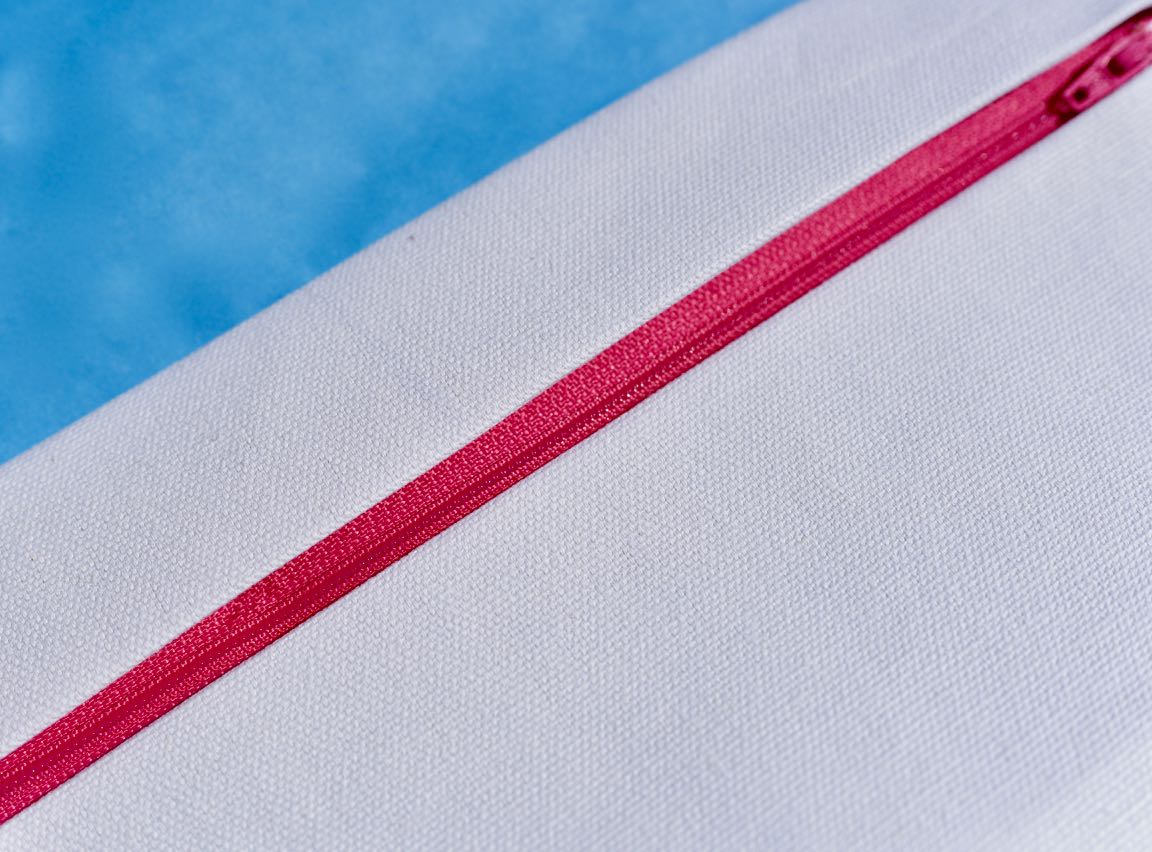
Repeat for the other hemmed edge so that both sides of the zipper are glued onto the fabric. Let dry for 2 hours.
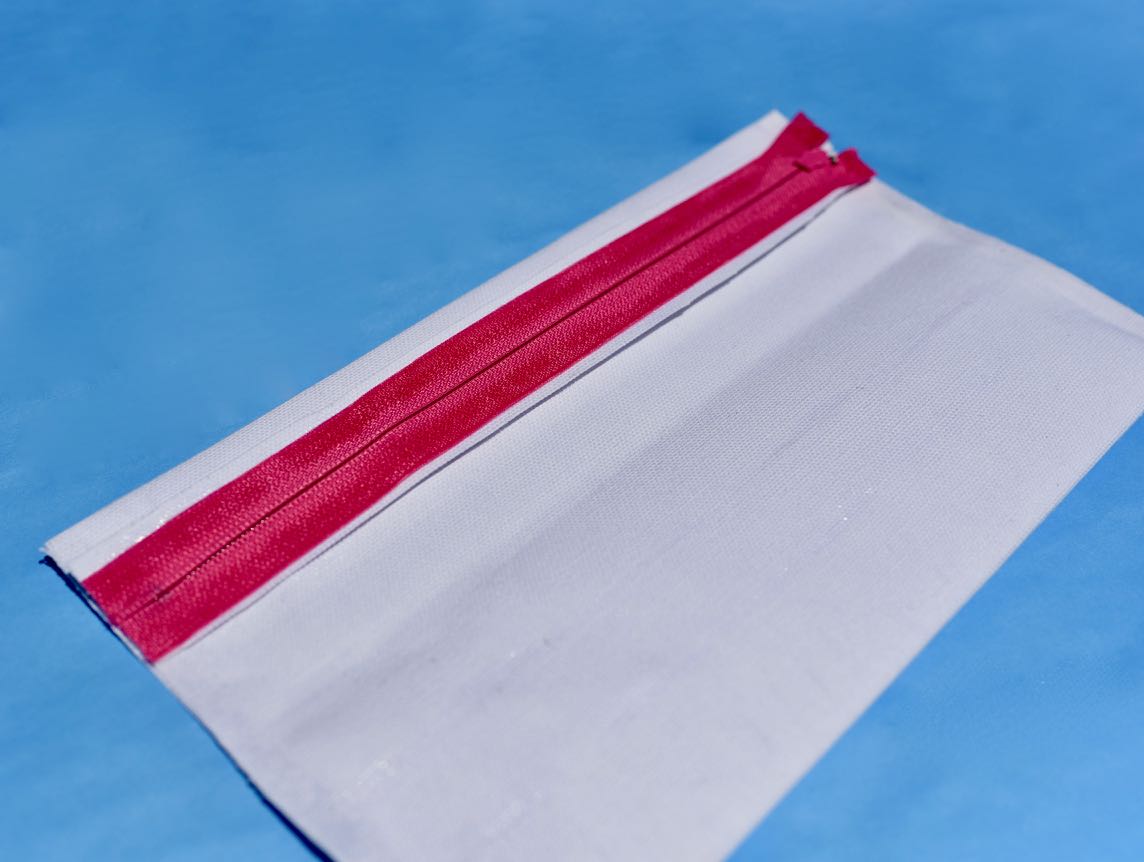
Step 3. After a couple of hours of drying time, carefully unzip the bag and turn inside out.
Add a line of fabric glue onto the inside right and left edge of the bag and press firmly to close the sides of the bag.
Let dry for 2 hours.

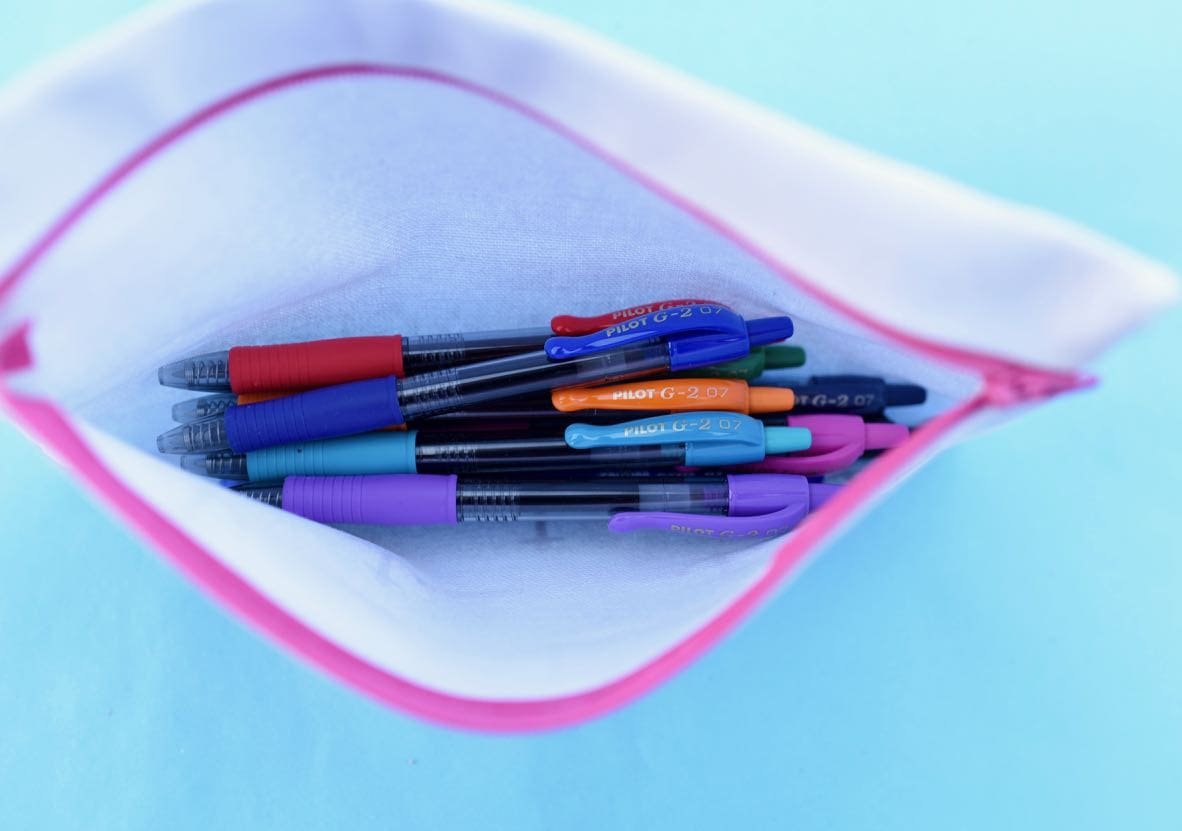
Step 4. After the glue has dried, open the zipper and turn the bag right side out.
Isn’t she beautiful?
If you want to customize your bag, you can paint, dry, or iron images onto the completed bag.
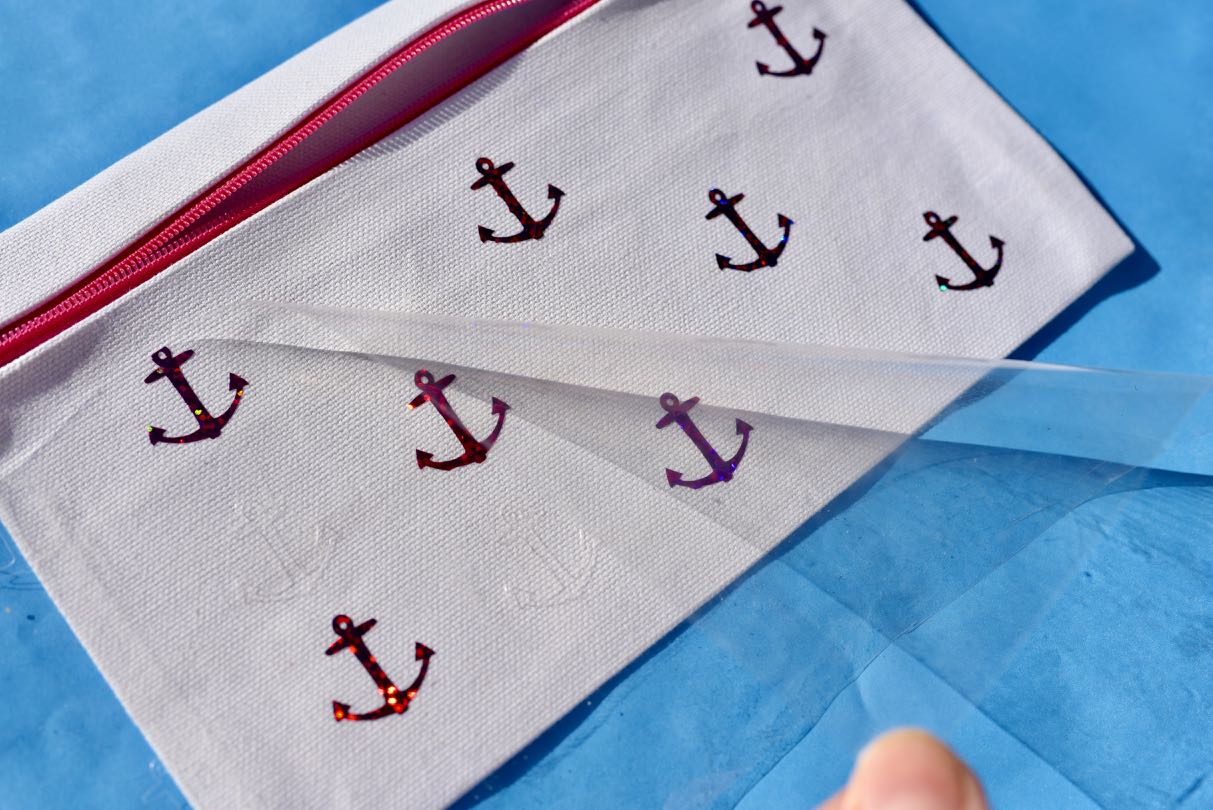
I decided to add some holographic pink anchors to match my bright pink zipper, so I used my Cricut Explore Air 2 machine to cut out some iron-on anchors.
Just follow the manufacturer’s instructions for the iron-ons.
I love how pretty my bag is!

If you try making this no sew pencil case, be sure to tag me on Instagram so I can see!
Happy creating!
![]()
Leave a Reply