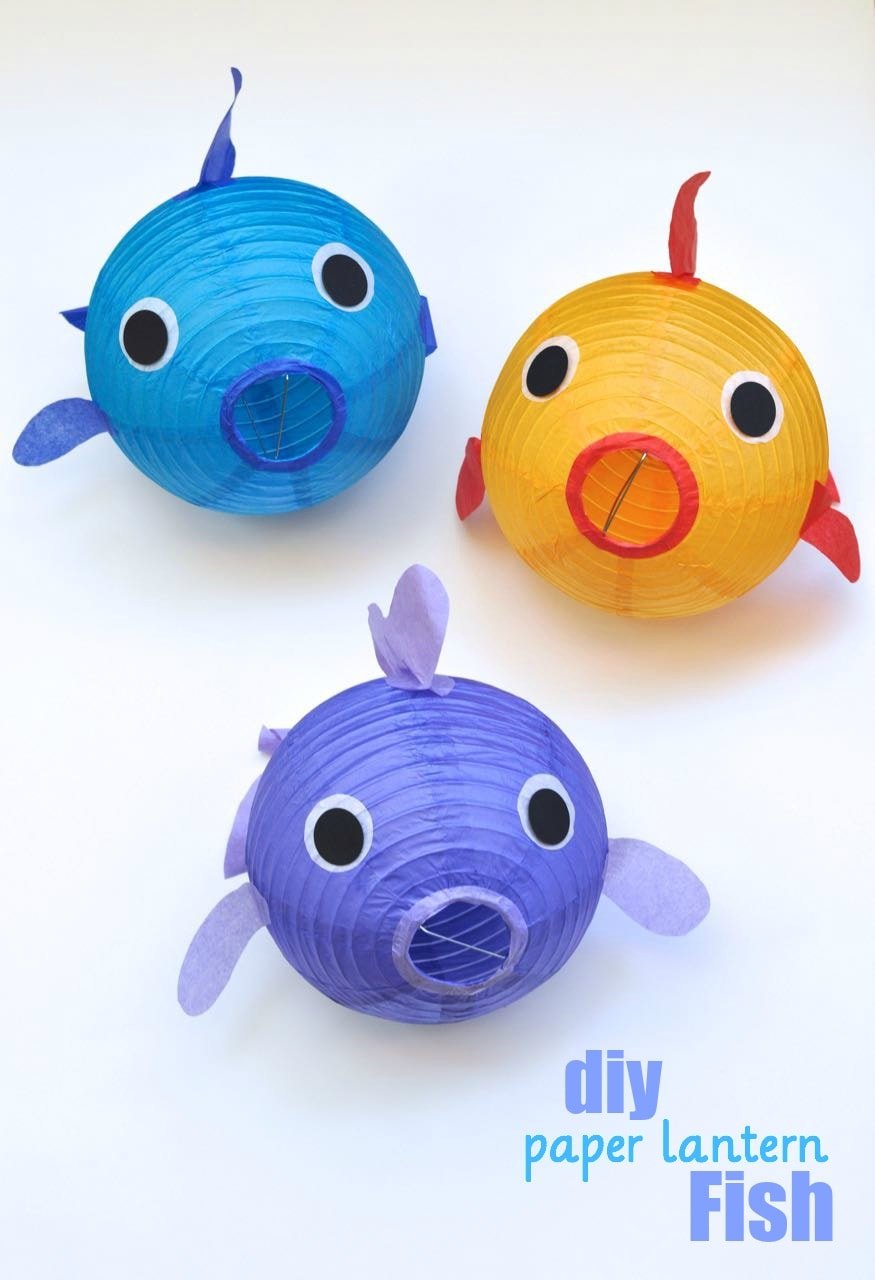
I’m sure you already know by now that I’m kind of obsessed with anything nautical or from the ocean. Last year I made some paper lantern fish that make me so happy, and today I’m going to share the easy paper lantern fish DIY with you!
These cute little fish craft decorations are perfect for an ocean or under the sea party (for more party ideas you can check out my daughter’s gorgeous under the sea party), for decorating a kids’ room, or just to make with your kids for fun, especially during those long summer days. Hang these cute decorations make from paper lanterns and impress all the party guests with your creativity!
Fish Craft Lantern Supplies:
- Paper Lanterns (in colors of your choice)
- Assorted Tissue Paper
- Cardstock
- Scissors
- Glue Stick
- Double Sided Tape
- String or Clear Cord
- Optional: Sizzix Big Shot and Circles dies
Step 1. Assemble the paper lanterns. Cut out a circle from coordinating tissue paper that is the same size as the smaller opening in the paper lantern. Cut another larger circle around the first circle that you made. You can either trace around round surfaces (like the bottoms of cups, bowls, etc.), or use a die cut machine. I used my Sizzix Big Shot die cut machine to create all of my circles, which saved me from hand tracing and cutting out each one. Glue the tissue paper ring around the smaller hole in the paper lantern.
 Step 2. Cut smaller white tissue paper circles and even smaller black cardstock circles for eyes using the same method you used above.
 Glue them onto the paper lantern near the opening where you glued the circle, which is the fish’s mouth.
 Step 3. Next come the fins for the fish craft. Fold a piece of coordinating tissue paper, and freehand a wavy fin shape with a flat bottom. Glue the two pieces together with a glue stick EXCEPT for the bottom inch. Fold out the flap of the bottom inch, and add glue to the inside of each flap.
 Attach the top fin to the top of the fish craft by pressing the flaps down so that the fin sticks up.

 Step 4. For the side fins, simply cut out two matching small fins out of tissue paper and glue them to the side of the fish craft with a glue stick.
 Step 5. For the tail, double a piece of tissue paper, and cut out a medium-long tail shape. Glue the tail together with a glue stick except for the top couple inches of the tail. Put glue on the inside of the two flaps at the top of the tail, and press onto the back-center of the fish craft.
 Aren’t they cute?!! Now repeat the process for as many fish as you’d like to make.
To hang, simply poke two small holes in the top, and pull through some string or fishing line.

These would look amazing with a whole school of fish for a party! I think these paper lantern fish are too cute for words, and I love that they are such a cheap and easy way to decorate, or a fun project to craft with your kids this summer.
If you liked this post, I’d love for you to follow me on Facebook, Pinterest, and Instagram. Thanks for following!
Happy crafting!
![]()
Leave a Reply