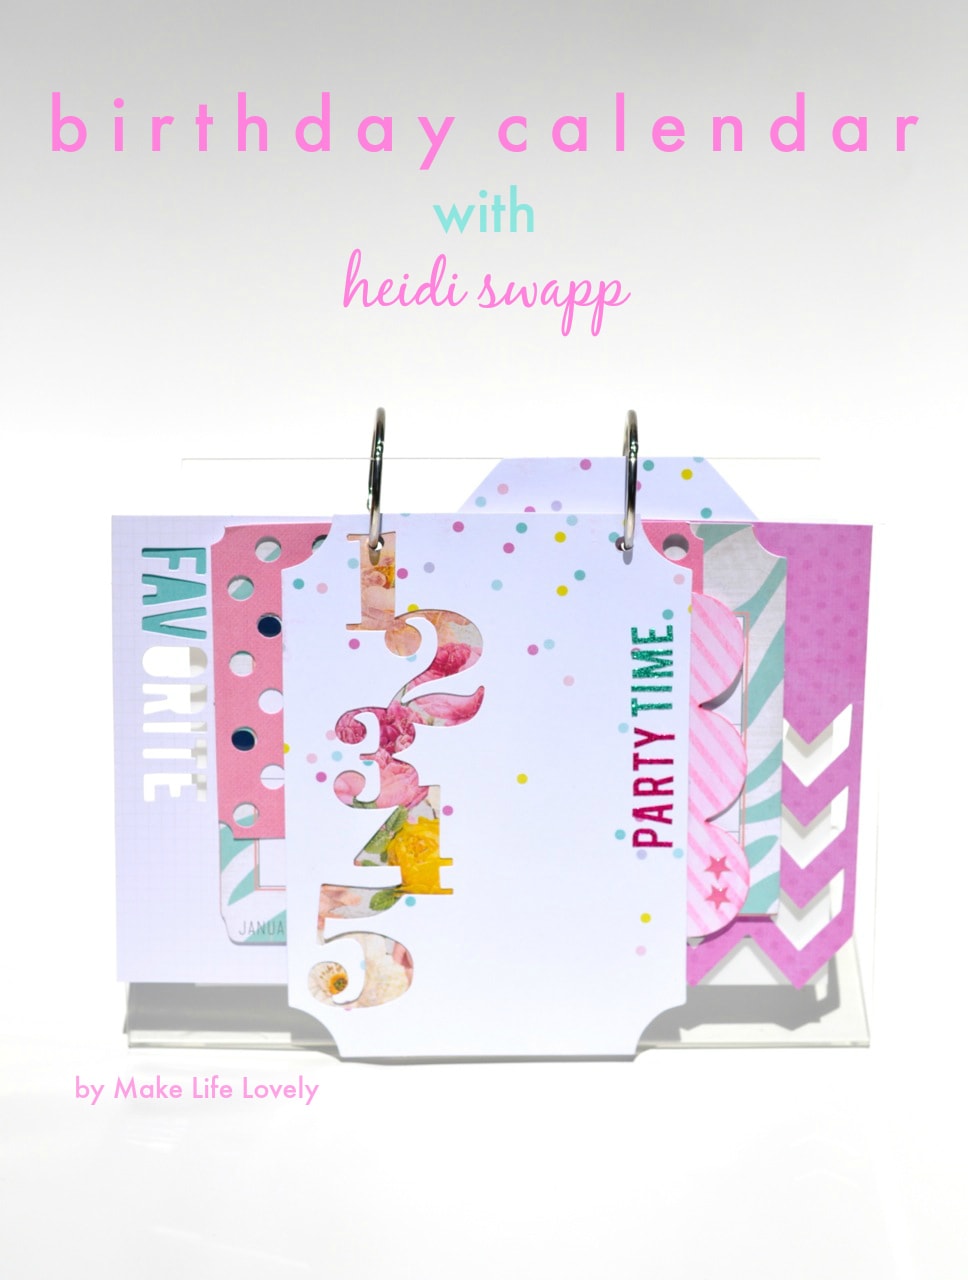
I am so excited to share my latest project with you… a perpetual birthday calendar!
With all of the extended family that my husband and I have, it can be very hard to keep track of all of the birthdays of every sister, brother, grandma, grandpa, aunt, uncle, cousin, niece, and nephew! My head is spinning just thinking about all of those birthdays… not anymore!
I received product and compensation for this post. All opinions are 100% my own.
I decided it was time to get organized, and came up with the cutest perpetual birthday calendar to help me remember everyone’s birthday! Okay, I didn’t exactly come up with the whole thing. Heidi Swapp helped! She has a new amazing line of memory keeping products that are exclusively sold at JoAnn Fabric and Craft Stores and on their website that I just love! I used the Desktop Display with Overlay and Calendar Cards as the base for my project, and then added my own personal touch to it all.
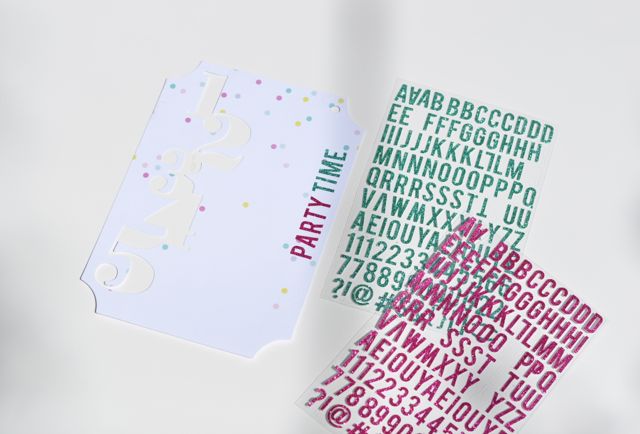
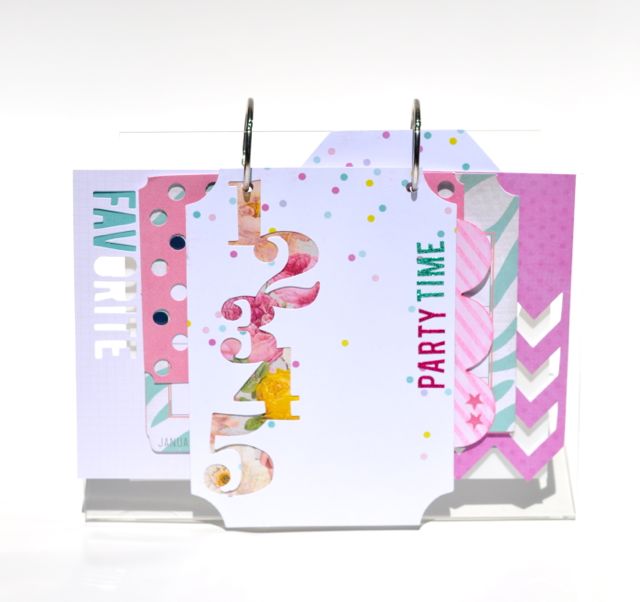
I wanted my perpetual calendar to be fun and colorful with different patterns and textures, so I mixed and matched a lot of the products together. For my cover, I chose one of the adorable die cut tags that had the numbers “1 2 3 4 5” die cut out of it, and a cute confetti dot print. This pattern reminds me of my blog header… maybe that’s why I like it so much?! 😉
First, I added some sparkly glitter letters to create a title for my perpetual blog calendar. I thought that the title “Party Time” was perfect!
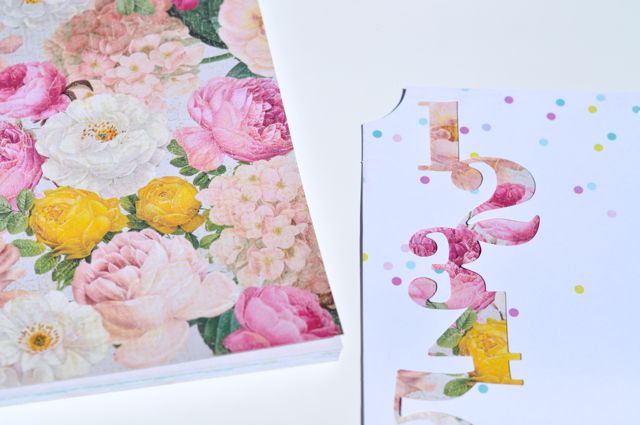
To make my perpetual blog calendar even more colorful, I cut a piece of gorgeous floral paper from the 6 x 8 paper pad, and adhered it to the underside of the cover. I love the way that the flowers peek through the die cut numbers!
I also added a small scallop to the right and side of the cover using the Color Magic Banners… this product is so much fun!
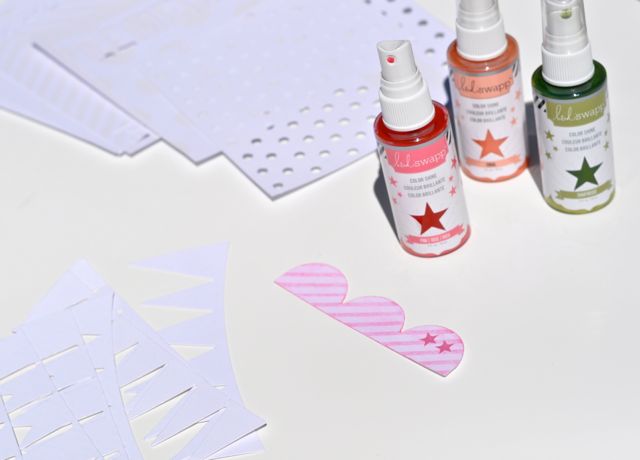
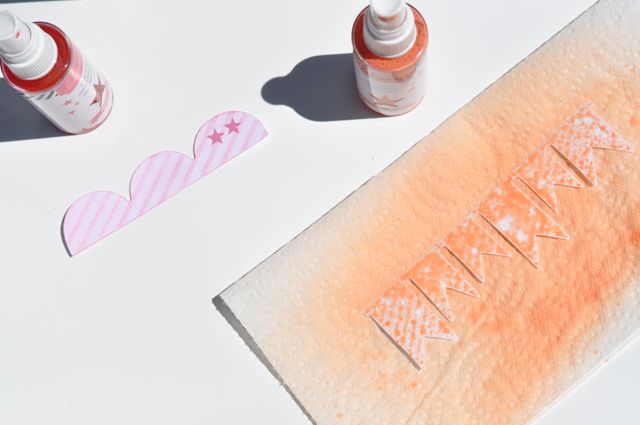
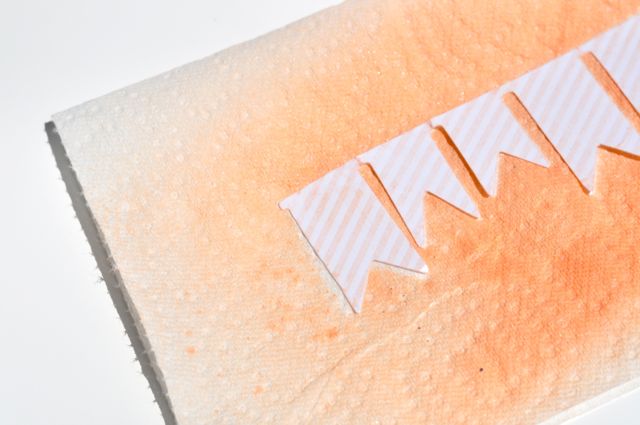
These papers and banners look plain white at first sight. However, spray them with your favorite Color Shine Spray, wipe off the excess with a paper towel, and watch the magic happen! What remains is a pretty colored pattern on the paper that appears once sprayed. So cool!
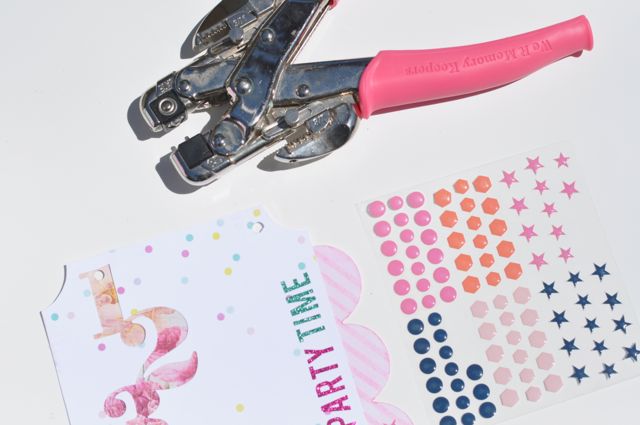
Once my calendar cover was just how I wanted, I punched two holes in the top to fit the acrylic desktop display stand.
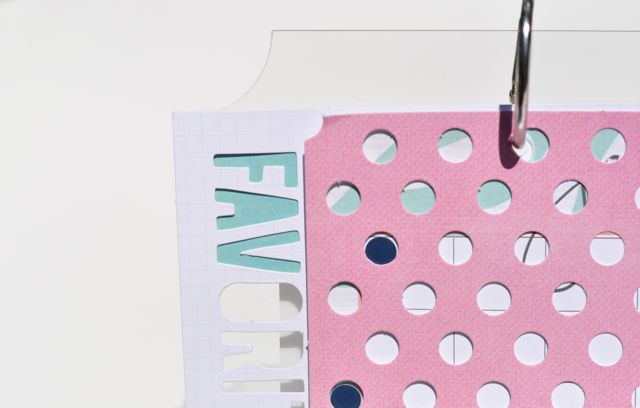
From here, I just kept adding bits and pieces of my favorite products, which was actually quite difficult, since I love it all! I really do love those die cut tags, so I tucked a few of them in between the calendar pages for a fun surprise. I purposely made them poke up and pop out of the calendar pages. I love the extra texture and colors that the die cuts added! This calendar was all about adding multiple layers to get a fun, cohesive look!

On many of the die cut tags I didn’t even have to punch holes because I could just slip the tags on the rings through the existing die cut holes… nice and easy!
I can’t wait to start using my perpetual birthday calendar. No more being embarrassed about missing a family member’s birthday for me!
Be sure to check out Heidi Swapp’s new amazing line of products exclusively at JoAnn Fabric and Craft Stores. I can’t wait to use the rest of my supplies to make more pretty stuff!
![]()
Leave a Reply