Going back to school is pretty sweet, so I decided to throw a fun sweets shop party for my kiddos to celebrate the start of a great school year! What better way to celebrate a new school year than with a fun party?
Today I’m sharing with you our sweets shop party, plus a tutorial for how to make adorable fabric goodie bags with NO sewing involved.
I filled each goodie bag up with some different products to help the kids and their parents have a sweet school year.
Back to school time means making new friends, a more structured routine for the kids, and more learning and growing. But with all of that comes lots of germs that my kids are exposed to. So many kids have been sick at my kids’ schools, but we’re prepared this year.
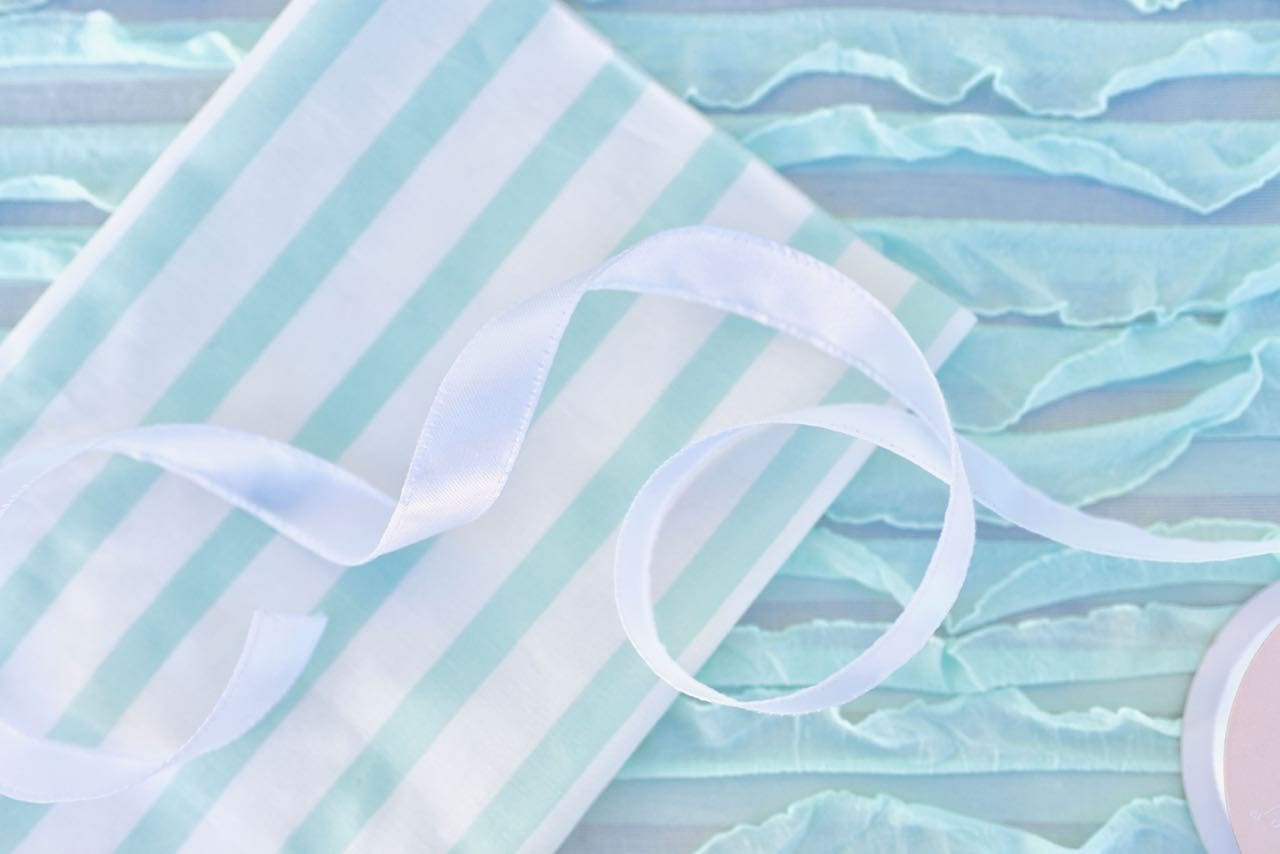
I knew I wanted our sweets shop party to be light and pretty so I chose mint and white for the main colors, then added in a little yellow and pink too. I found the perfect mint and white striped fabric and used it as the backdrop for this post.
A pretty mint tassel garland was hung centered above the party table. Lovely ruffled mint fabric that I also fell in love with became the tablecloth.

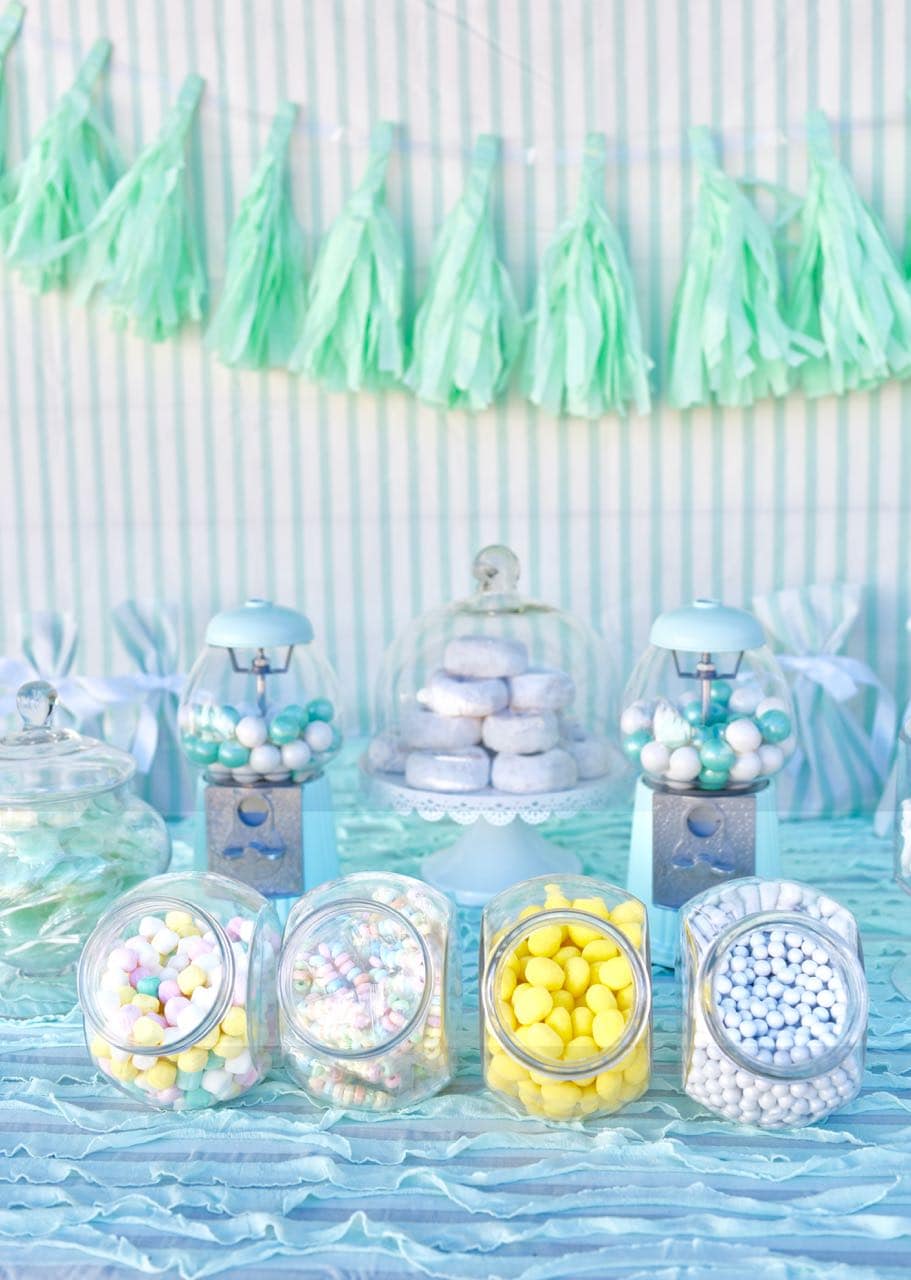
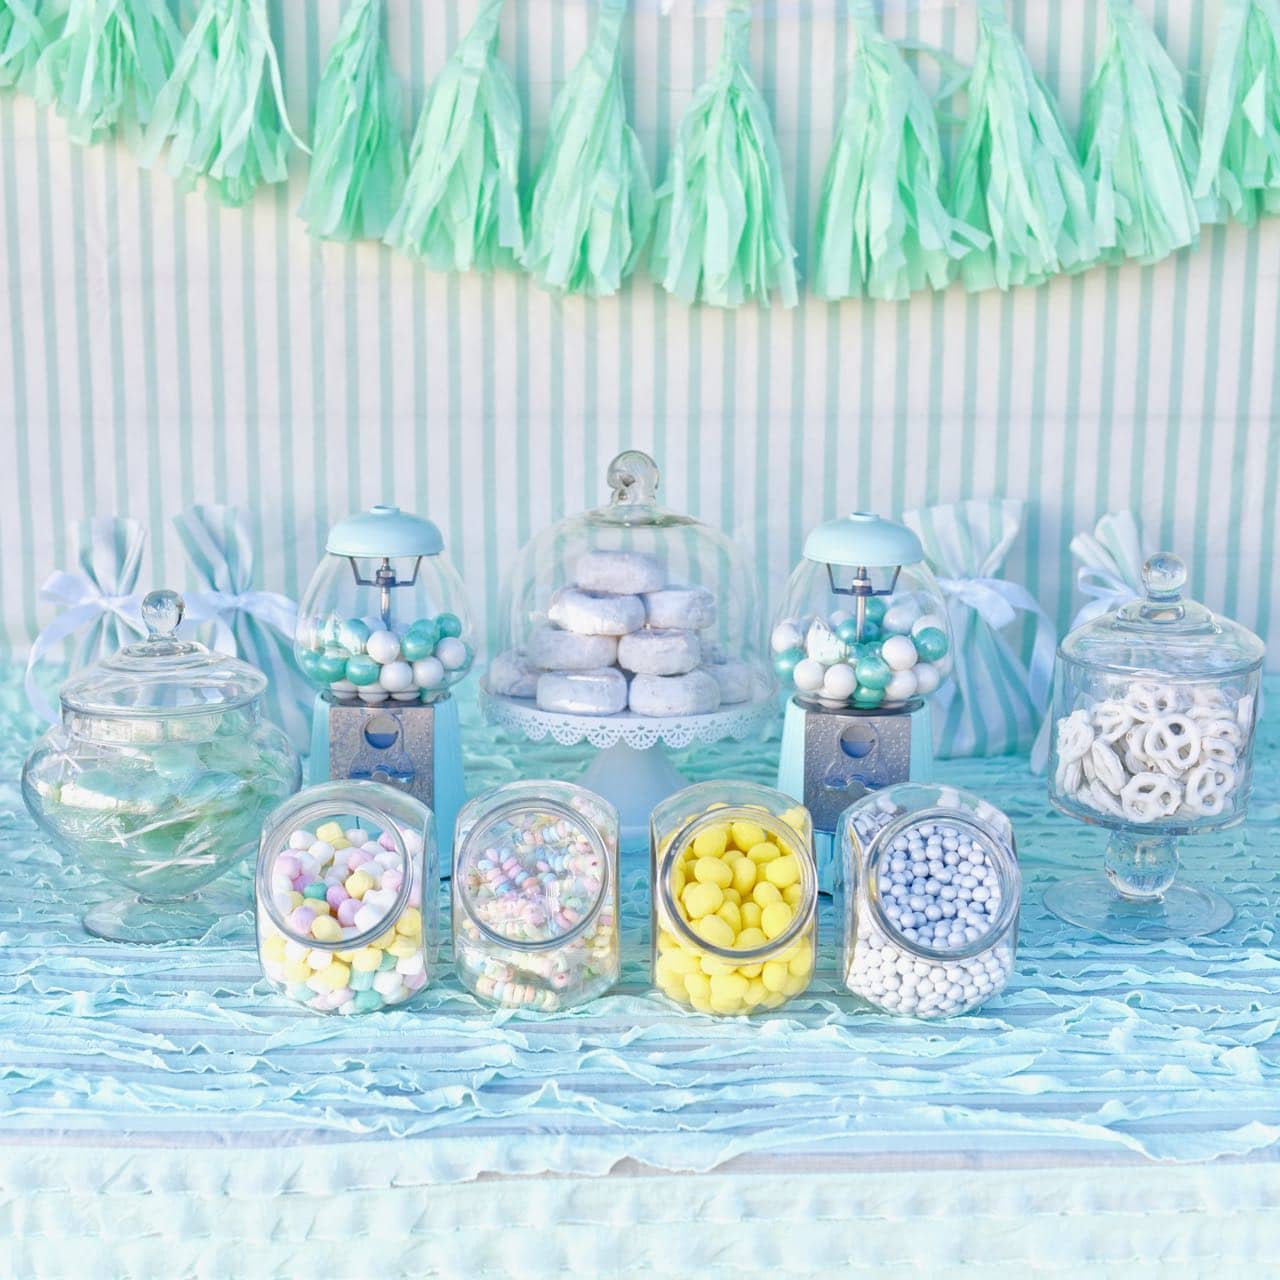
Now for the sweets! I found two gumball machines that were the size that I wanted, but they were a bright turquoise color. The color wouldn’t match the rest of the party, so I pulled apart both gumball machines and spray painted the outside and top piece mint green.
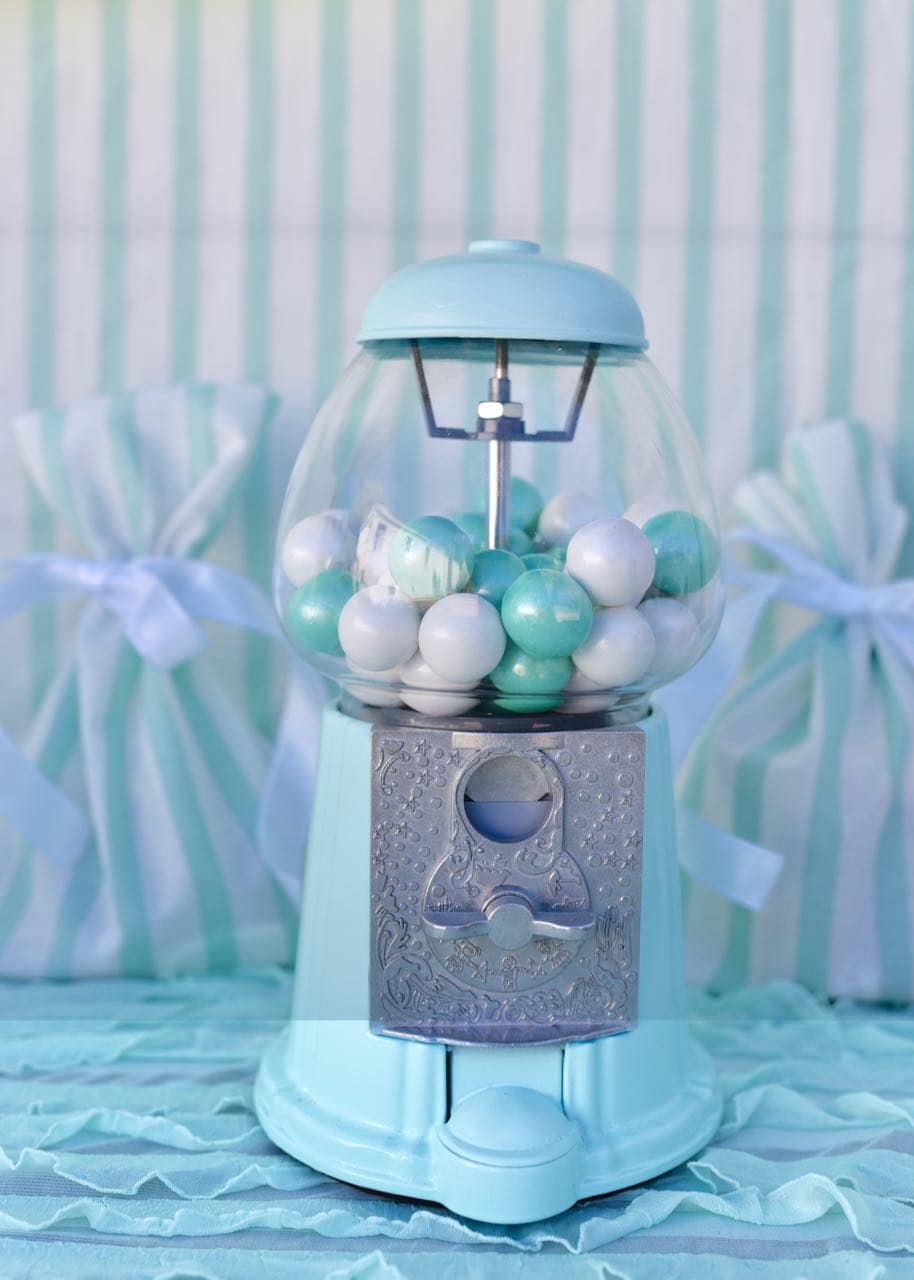
I LOVE the gumball machines in mint! I’ve never seen a mint gumball machine before, and these beauties will be going on my desk soon. I purposely picked mint and white gumballs in a size that is too big to fit through the machine so I don’t have little hands helping themselves. 😉
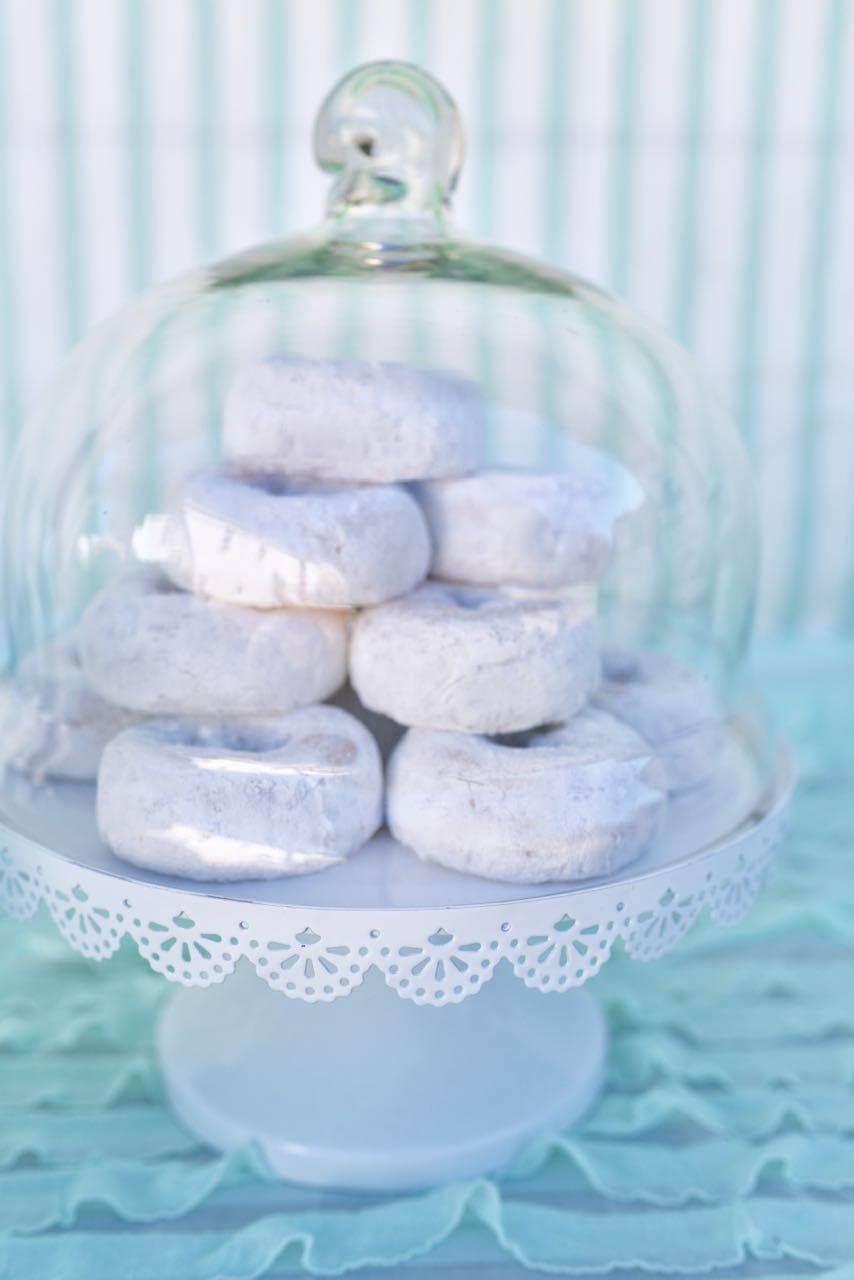
An adorable scalloped metal cake plate held plenty of white powder donuts stacked inside its’ glass dome.
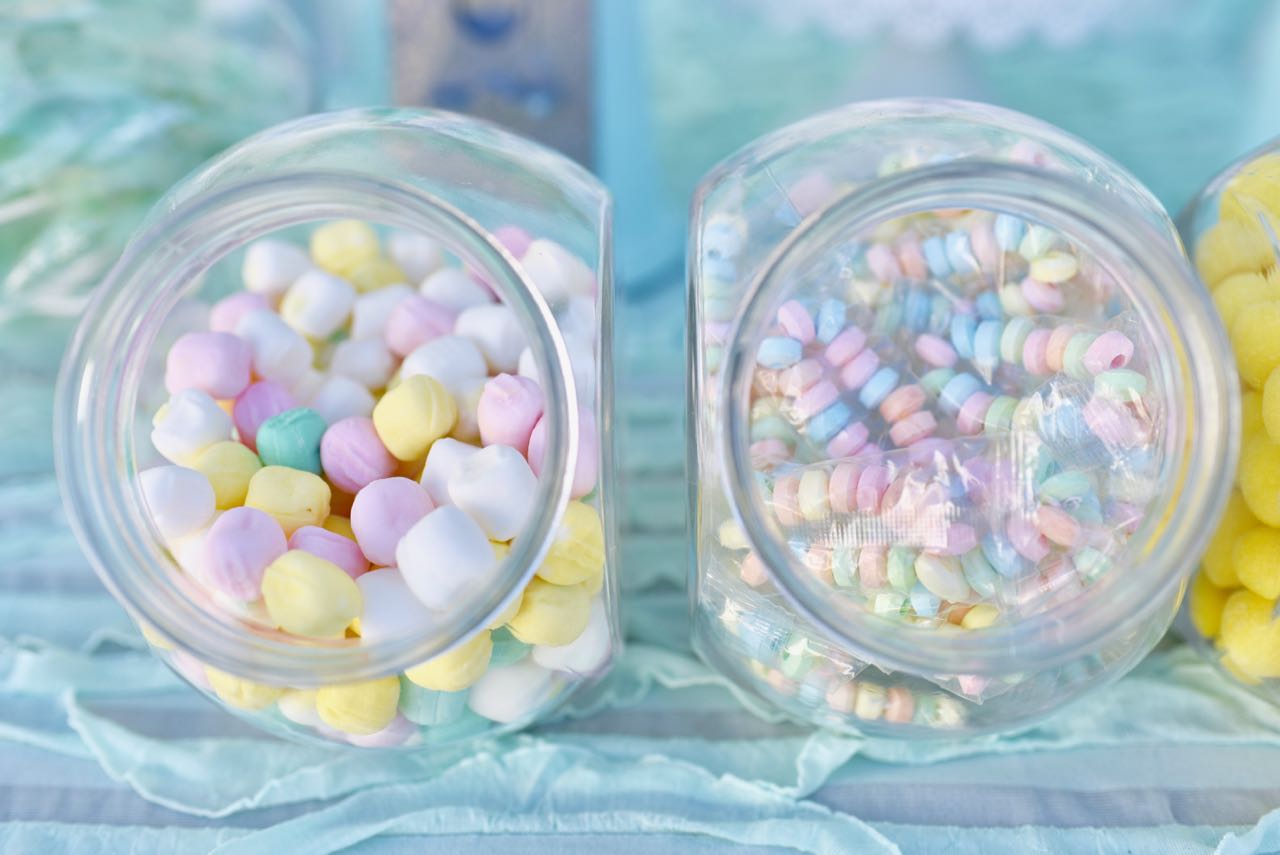
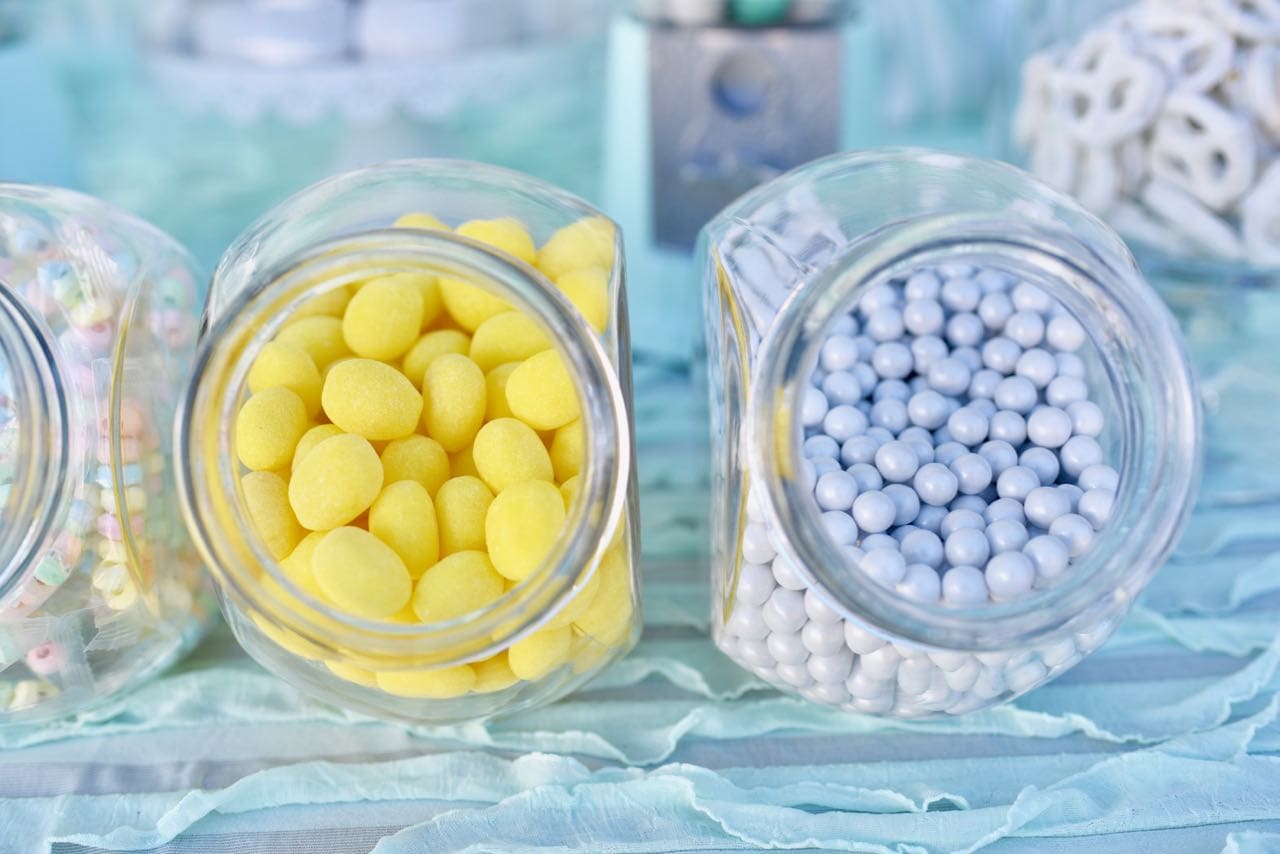
Glass canisters that look like they’re straight out of an old-fashioned sweets shop were filled with tasty sweets.
Mints, candy bracelets, lemon drops, and white candy-covered chocolate balls fit perfectly in the glass canisters.

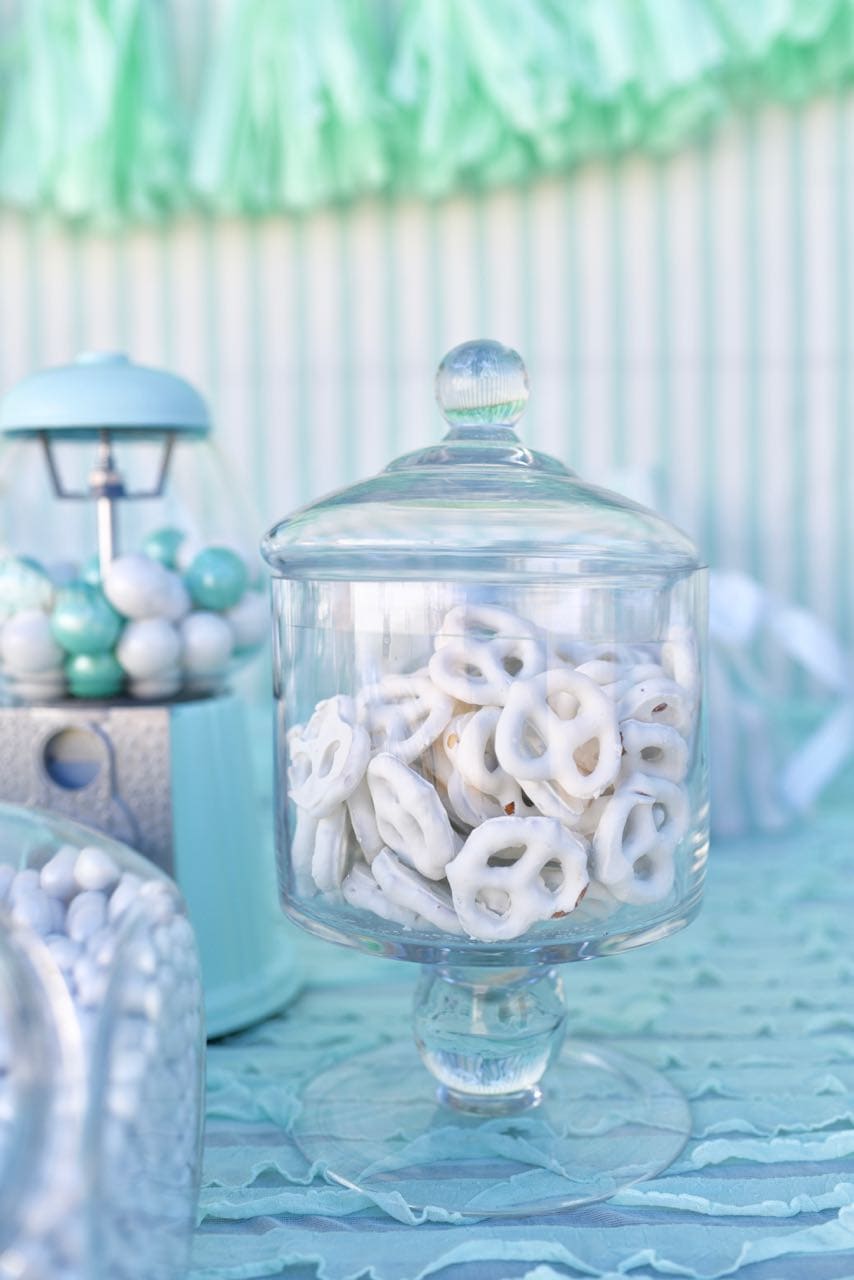
Two apothecary jars filled with mint suckers and white yogurt-covered pretzels were on either end of the table.
At the back of the table were the goodie bags that I made. I’m so proud of how simple these are to create and how great they look tied with a white satin ribbon!
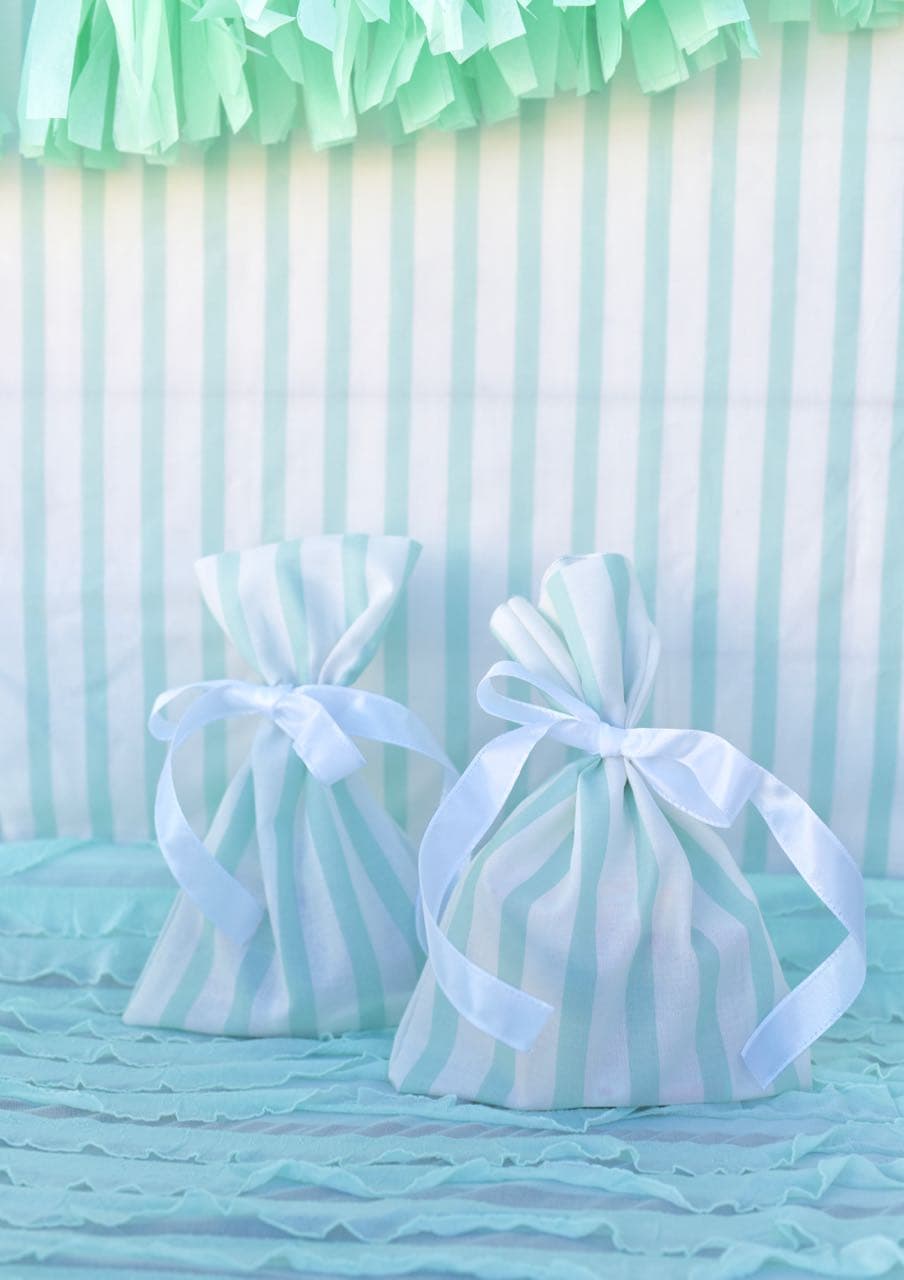
Here’s a simple tutorial for making fabric bags without doing ANY sewing. Now that’s my kind of project. 😉
No-Sew Fabric Bag Tutorial
Supplies:
- Fabric
- Fabric scissors
- Glue gun
- Satin ribbon
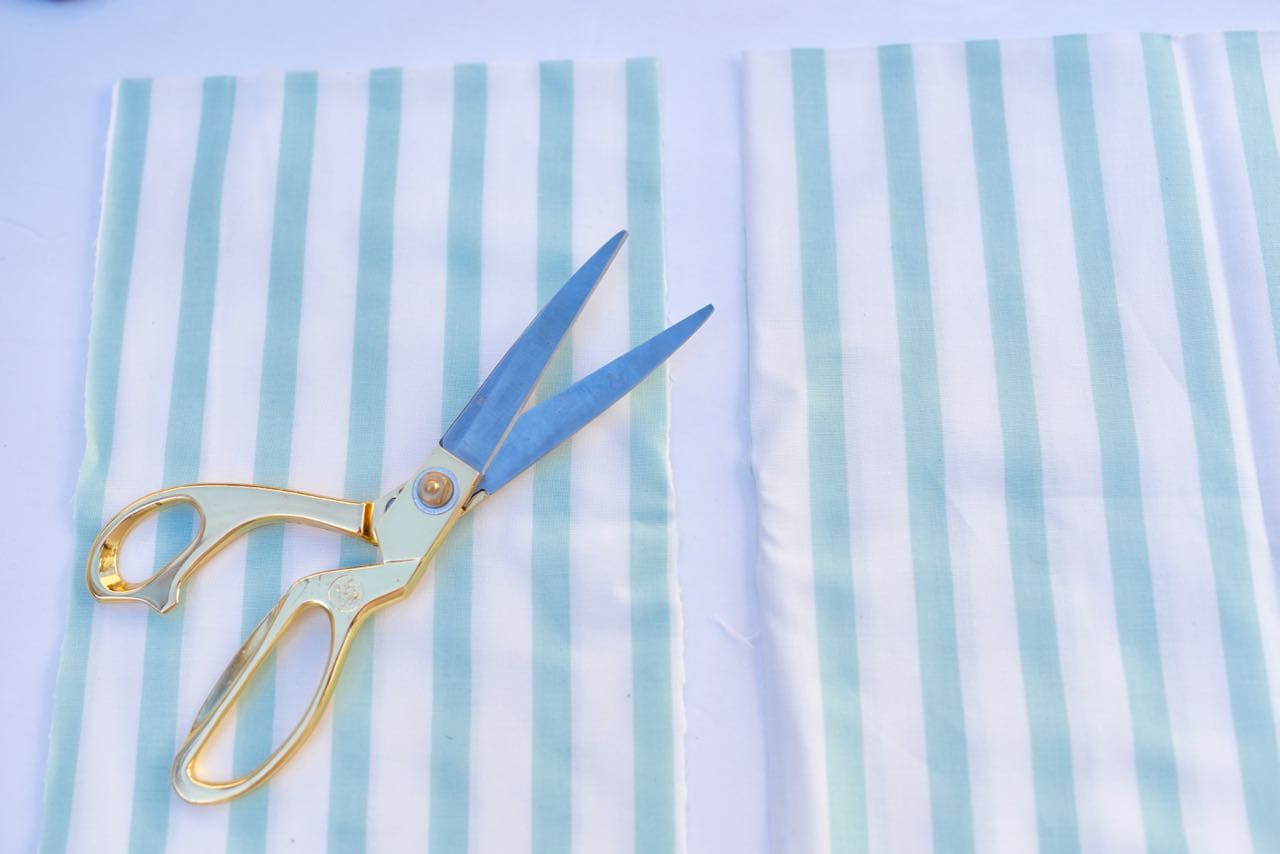
Step 1. Fold your fabric in half lengthwise, then cut your fabric in a long strip across the width. The width that you cut will be the width of the bag, minus about an inch.
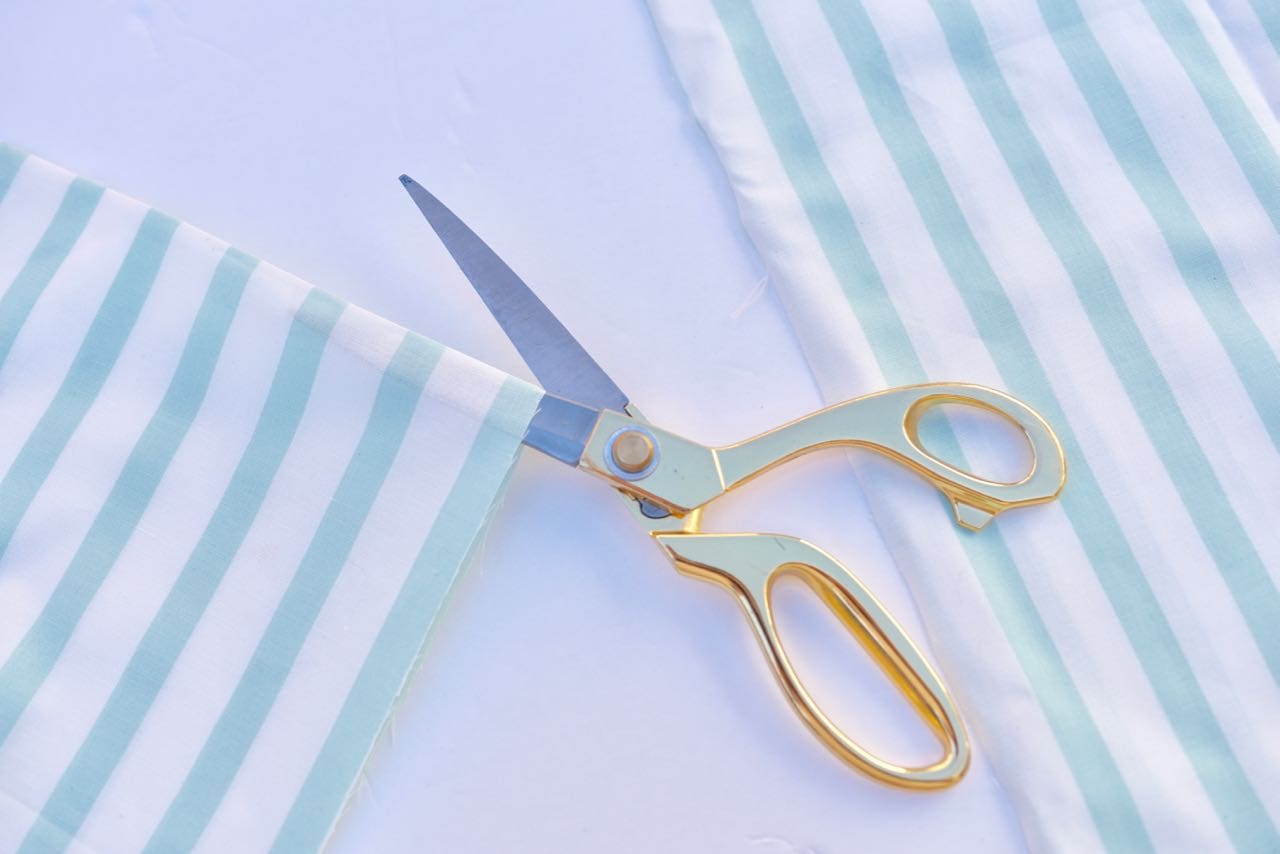
Step 2. Decide how tall you want your bag to be, then double that amount and cut. This fabric piece will become your bag.
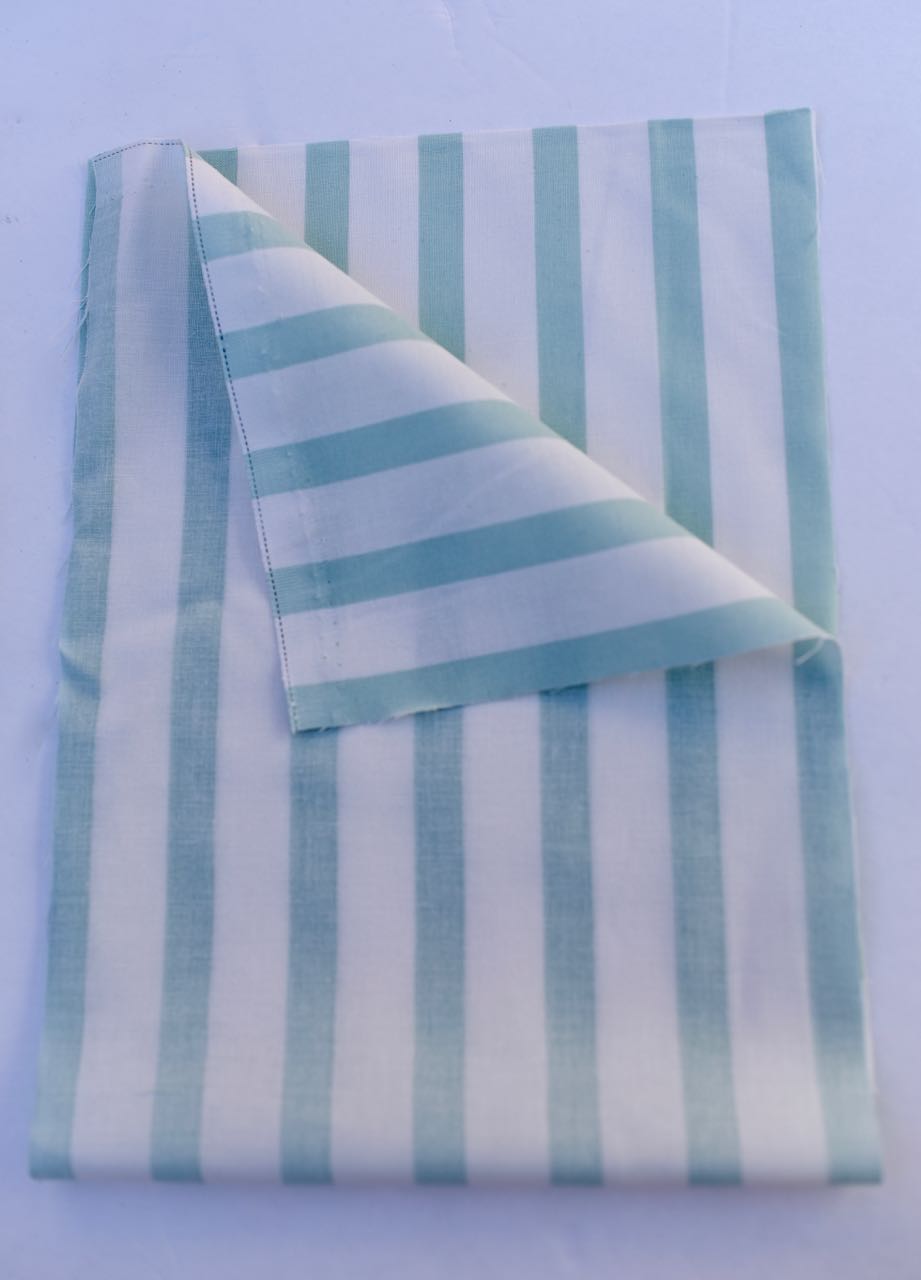
Step 3. Fold your long fabric piece in half so that the “pretty” pattern sides are facing one another on the inside. Run a strip of hot glue close to the edge of your bag, then carefully press down (it will be very hot) to seal the side of the bag. Repeat for the other side, but make sure that you leave the top of the bag open.
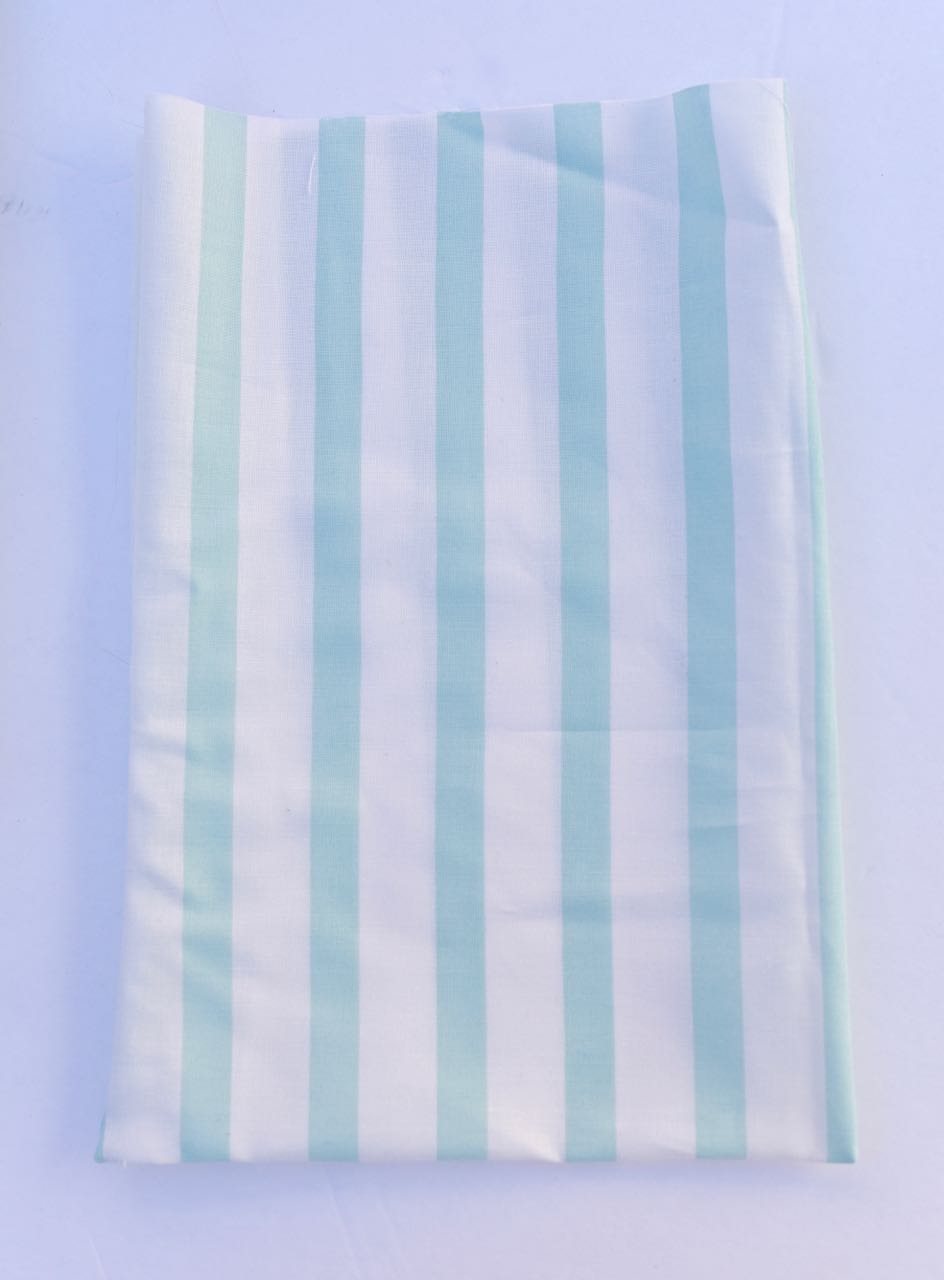
Step 4. Turn the bag right side out and push out the corners. Use fabric scissors or pinking shears to cut across the top of the bag to make sure it’s even. Fill up the inside of your bag, then close up the top by tying a bow with satin ribbon.
Thanks for letting me share our sweets shop party! Everyone had a great time and loved the practical gift bags.
What’s your favorite way to celebrate the start of a great school year?
![]()
Leave a Reply