Thank you to I Love to Create and Blueprint Social for sponsoring my tie dye party. As always, all ideas and opinions are 100% my own.
Today I’m excited to share with you a fun tie dye party that I put together this past weekend. A big group of my family are all going beach camping this summer, and we decided to make colorful tie dye shirts for the occasion so that we could tie dye our summer!

I thought it would be fun to throw a tie dye party so that we could each make our own customized tie dye t-shirts for camping. We gathered the adults, as well as the kids, and had a fun afternoon of creating, laughing, and eating.

To get ready for the party, I found the Tulip® One-Step Tie-Dye Kit®, gathered up some plain white t-shirts, and another family member picked up some yellow t-shirts. The Tulip® One-Step Tie-Dye Kit® was perfect, because it came with 18 different colors of dye that were already in the bottles, rubber bands, gloves, a big plastic table cover, and a tie dye guide to creating different looks. All we had to add were the shirts and warm water!

I couldn’t throw a party without having treats, so I made a tie dye cake that was tie dyed on the outside, as well as tie dyed on the inside! The kids LOVED it, and all wondered how I tie dyed a cake! 😉

I also bought some colorful suckers that reminded me of a spiral tie dyed t-shirt, and then printed, cut, and glued some adorable free tie dye t-shirt printables to the front. I think they turned out so cute!!

We used the included tie dye guide at first, and then we got creative with coming up with our own methods!
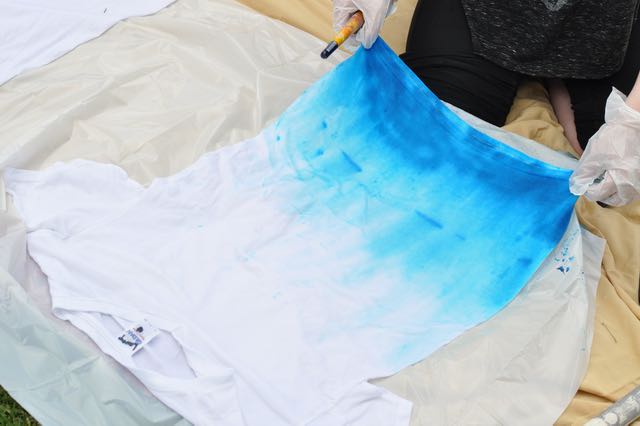
The kids were the best at this!
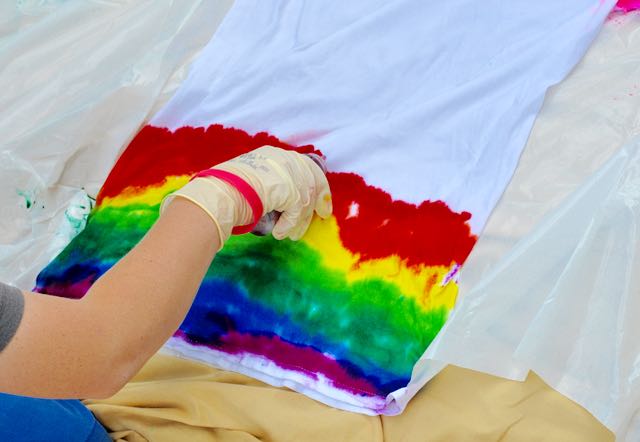
They knew what they wanted their shirts to look like and jumped right in with their fearless creativity. Their shirts were definitely the most colorful of the bunch!


We made spirals, bulls eyes, stripes, and even a few words on some fo the shirts. Everyone had so much fun customizing their shirts with their favorite colors and patterns!

After every shirt was made, we let the dye set in the shirts for about 10 hours, and then rinsed them one at a time until the water ran clear. Then we washed all the shirts in the hottest water possible in the washing machine on a full load with just a tiny bit of laundry soap.
Once the shirts were dry, the kids couldn’t WAIT to open up their shirts and see their masterpieces! They were each so happy with how they turned out, and were pretty amazed at the colorful patterns that they had created.
Here’s a great video that shows you how to set up a tie dye station to keep everything mess free and organized. There are lots of great tips here you should check out!
Happy crafting!
![]()
Leave a Reply