This is a sponsored post written by me on behalf of Freedom Outdoor Living for IZEA. All opinions are 100% mine.
It’s a fact of life that everyone has trash cans. In my neighborhood, most trash cans sit on the side of the road, which is a real eyesore.
My husband and I decided to build a trash can enclosure to hide our big trash cans, and today I’m going to show you how we did it and how you can build one too!
PLUS, I’m excited to be giving away a Connections Fencing Package of your choice, so keep reading to see how to enter!
 You’ll need to start with an even surface. Our trash cans are on a bit of a slope, so we had to build a platform to hold the trash cans. Most of you probably won’t need to do this.
Trash Can Enclosure Fencing
We decided to use Connections Decorative Fencing that’s available only at Lowe’s because it looks great, is VERY easy to install, and can be easily customized to fit your needs.
There are three different panel styles that you can choose from, as well as three different pole sizes that you can switch if your needs change down the road. We chose to use the solid panels and make them three tiers high, since our goal was to hide our trash cans. 
There are so many different ways that you can use this fencing for privacy, decoration, protection, and for concealing.
This fencing is perfect for privacy around patios, hot tubs, and decks, for decoration around plants and walkways, as trellises, to protect kids, animals, gardens, window wells, and to conceal trash cans, pool pumps, AC units, pipes, toys, wood piles, compost piles, and more.
I can think of at least five more places I’d love to put more of this fencing up because it looks great and is so versatile!
Trash Can Enclosure Supplies
- Connections Panel Kits- The amount of panels you use will depend on how large your area is and how high you would like your fence to be. Each panel is 35.5″ x 17.7″ x 1.6.” Your fence can be one, two, or three panels high.
- Connections Post Kits- You need one post kit for each end of the panels. There are three different sizes of post kits, depending on if your fence will be one, two, or three tiers high.

Trash Can Enclosure Directions
Step 1. Decide exactly where you would like your fencing to go, and how many panels and posts you will need (using the above panel measurements).

Step 2. Each post has a brightly colored stake that you will need to insert halfway into the ground where you would like your post to go.
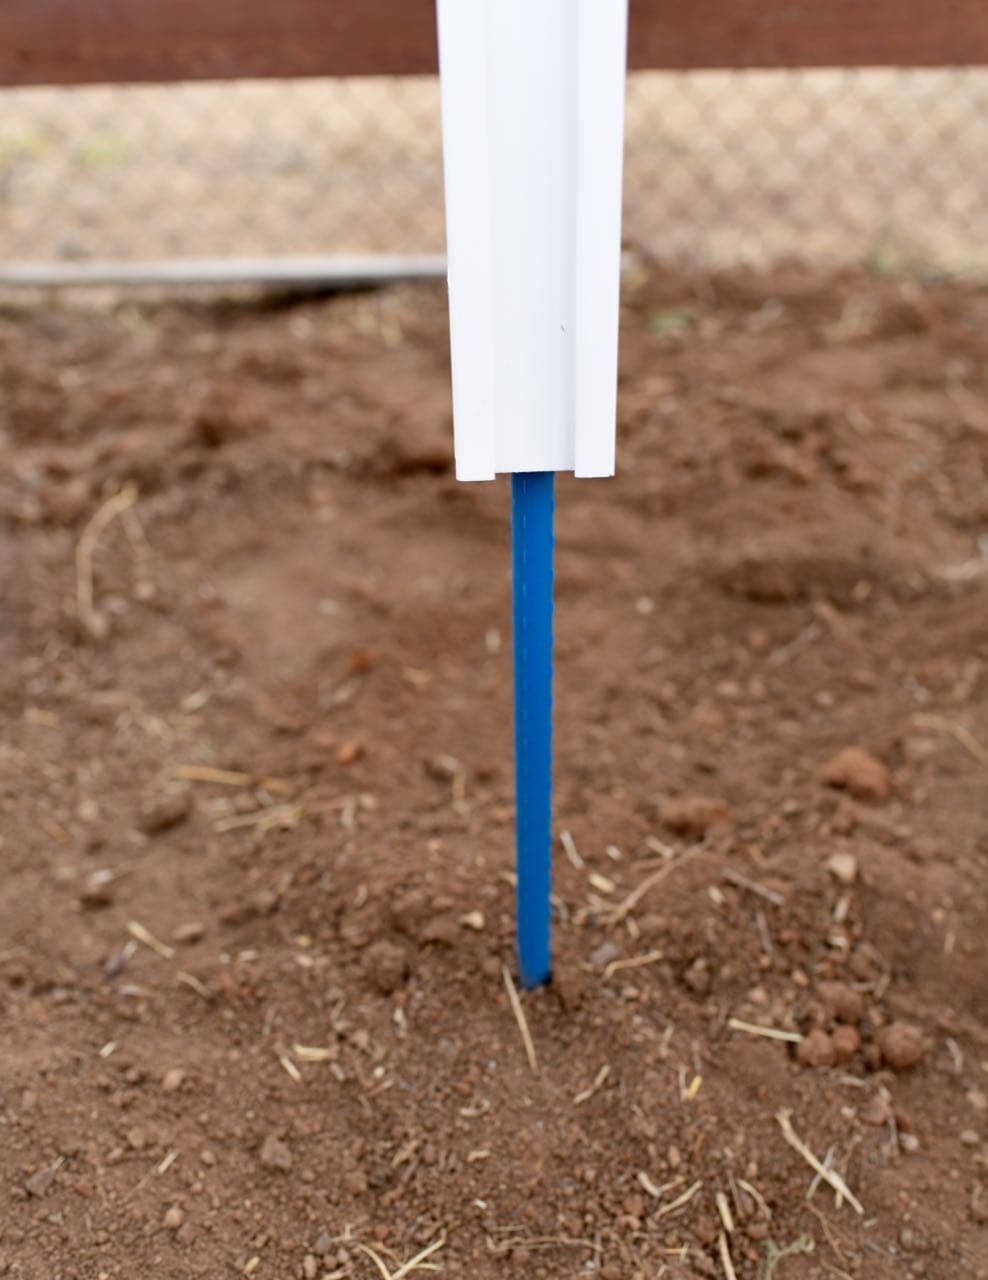
Slide the post over the colored stake and your post is ready to go! Repeat for the second post.

Step 3. To insert the panels, all you need to do is slide them in from the top of the posts all the way down.
Each post is specially designed on all four sides for the panels to slide right in so it’s VERY easy to put together and assemble with no digging, no hardware, no glue, and no hassle!

Repeat the steps for the rest of your fencing panels and posts. Be sure to add the post caps onto the top of each post to finish it off.

I LOVE how our trash can enclosure turned out! It hides the trash cans from our yard and from both sides of the road. We left the front open for ease of pulling the trash cans out for trash day.


An extra bonus that I didn’t anticipate is that it added more privacy to our backyard, which is great!
You can find Connections Decorative Fencing at select Lowe’s stores or online at Lowes.com. I highly recommend it! It’s so easy to use and does an amazing job of transforming a space in a matter of minutes.
I’m SO excited to give one lucky reader a one Connections Fencing package of your choice! Just leave a comment below telling me where you would put your Connections Fencing in your yard. That’s it! Winner will be announced on the blog. Good luck!!
![]()

