
Make a beautiful photo transfer to wood with this fun and simple tutorial! These wood photographs make the perfect sentimental gift for anyone.
Looking for an easy, inexpensive gift idea or decoration for your home?
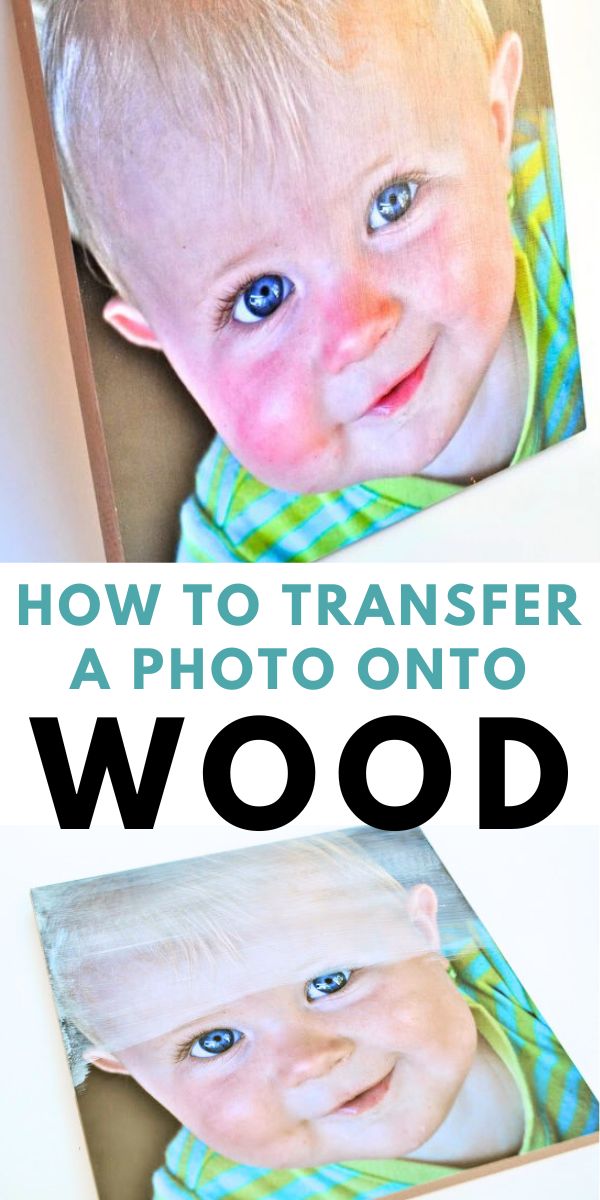
Photo on Wood

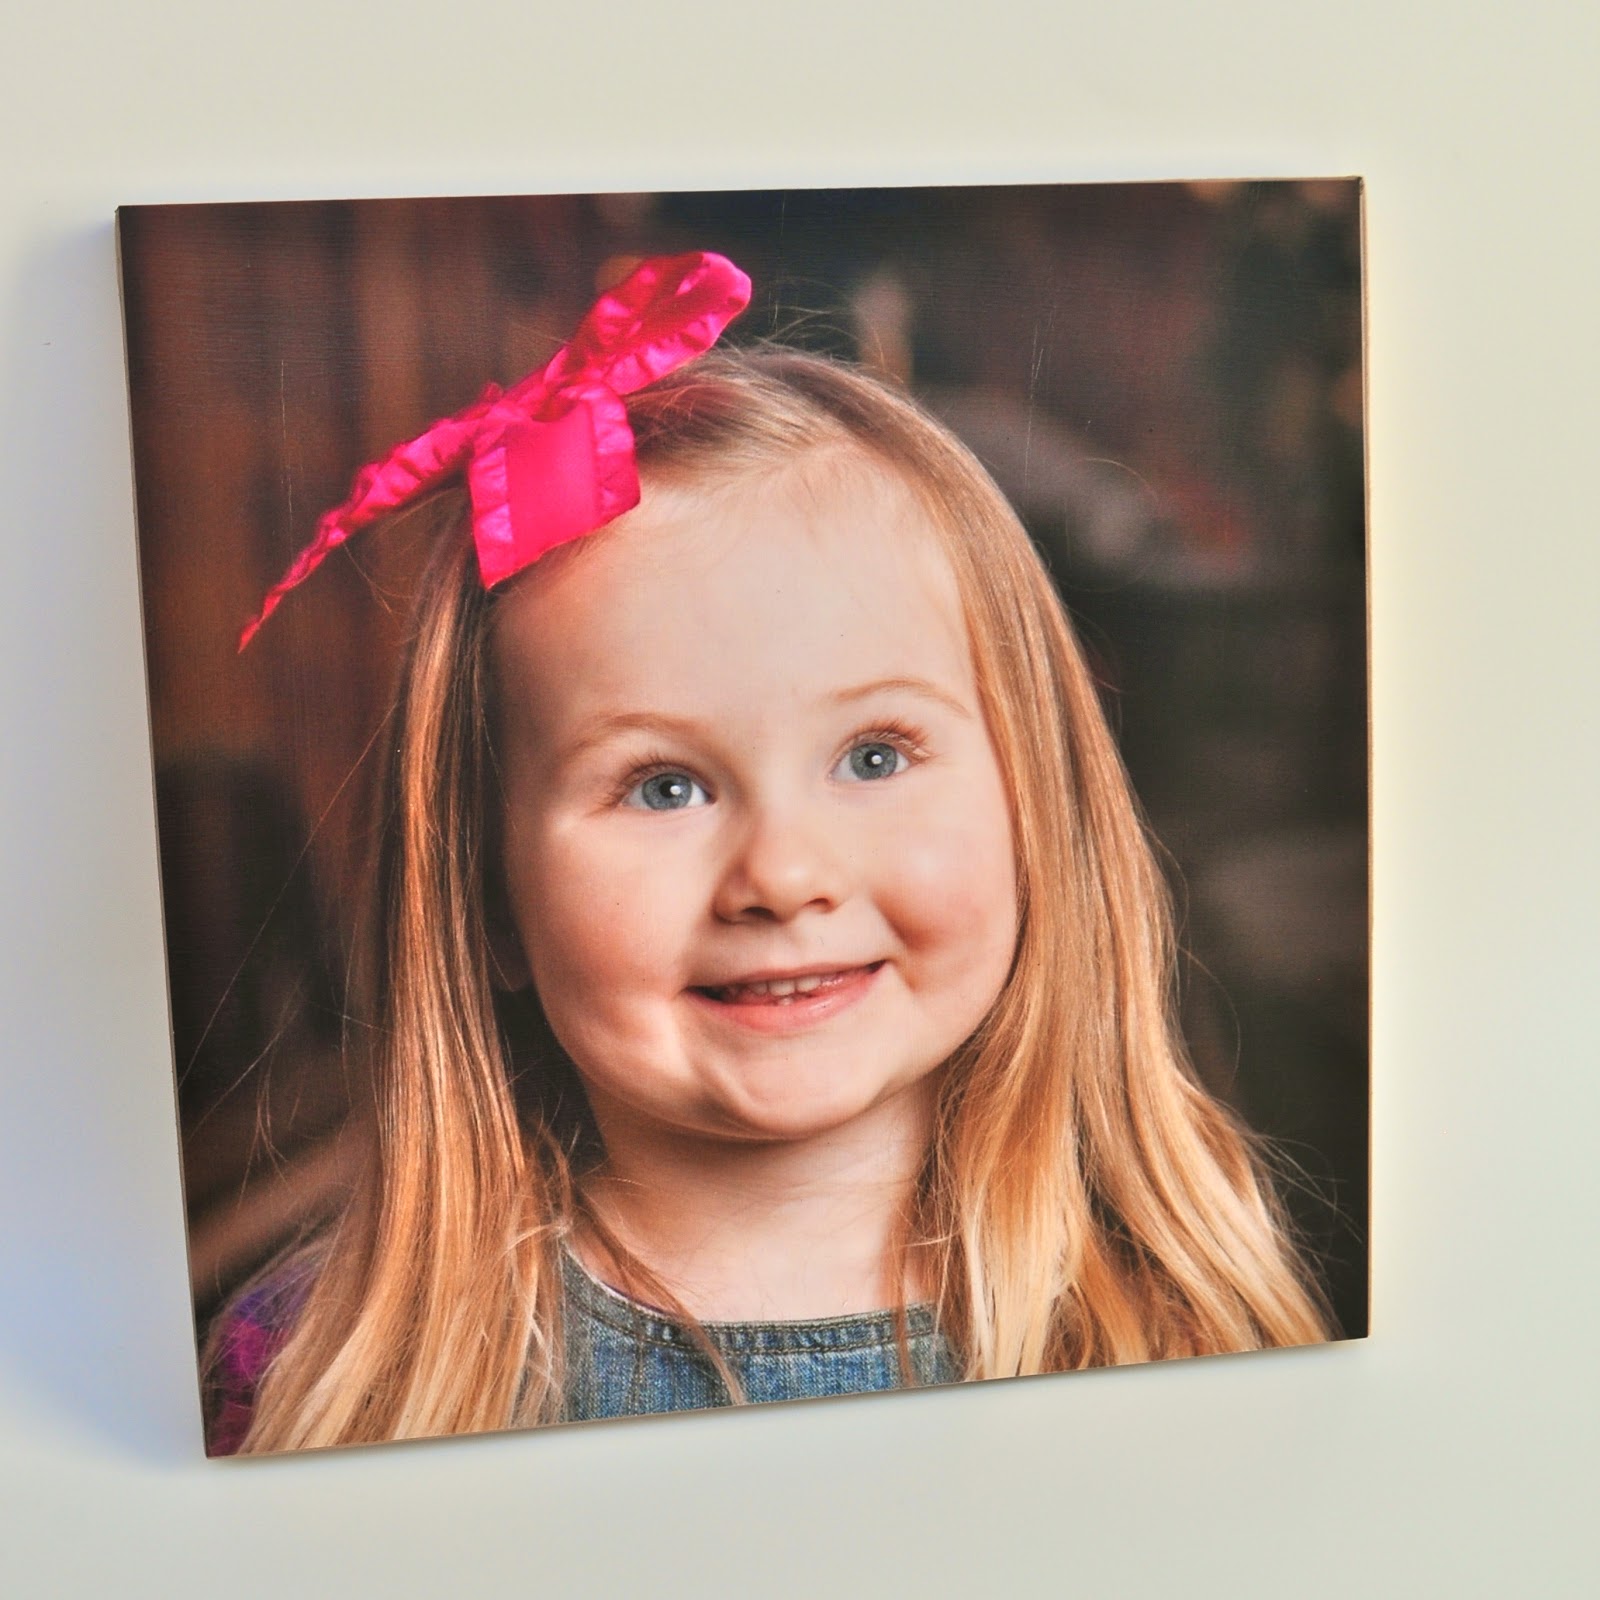
DIY Photo Transfer to Wood
I recently made one of these wood mounted photographs for my mom’s birthday with our family photo on it.
She couldn’t believe that I made it!
This photo on wood is truly one of my favorite projects.
The finished surface of the photograph ends up looking almost like a canvas.
The results look very high end!
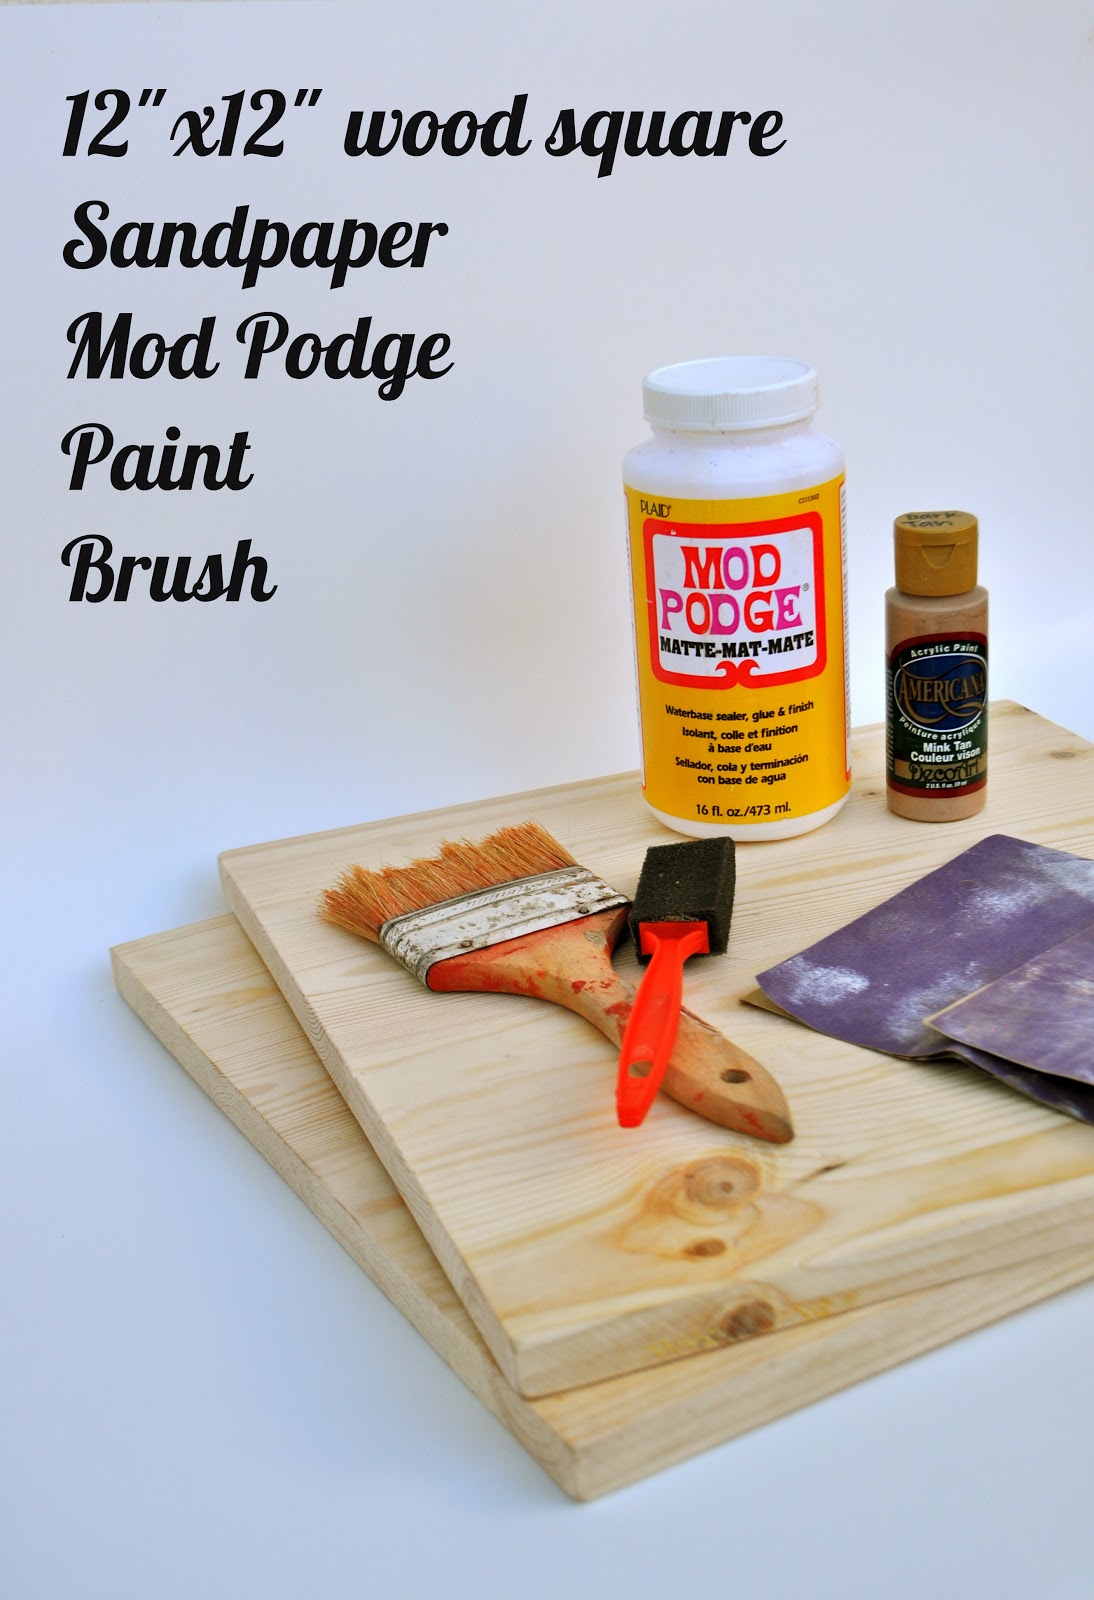
Supplies Needed
- 12″ x 12″ photo (or any other size you’d like to make)
- 12″ x 12″ wood square
- Sandpaper
- Matte Mod Podge
- Paint
- Paintbrush
Print Your Photos
First, choose the photos you would like to mount onto wood.
Next, decide what size you would like your final product to be.

I had these 12″x12″ photos printed at Costco for only $2.99 each.
Costco has since closed their photo printing service in their stores, but you can always get photos printed in Target, Walmart, Walgreens, online, and many more places!
Cut Your Wood
I bought a wood board that was 12″x 60″at Lowe’s that only cost $7.77.
A worker at the store cut the board for me into five equal pieces, so I didn’t have to worry about any cutting!
That gave me five boards for five different photos on wood.
It ended up costing me less than $5 per photo board, which is a great price!
Pick Your Paint
Prep the Wood Sides
Sand the edges of the wood board so they are nice and smooth.
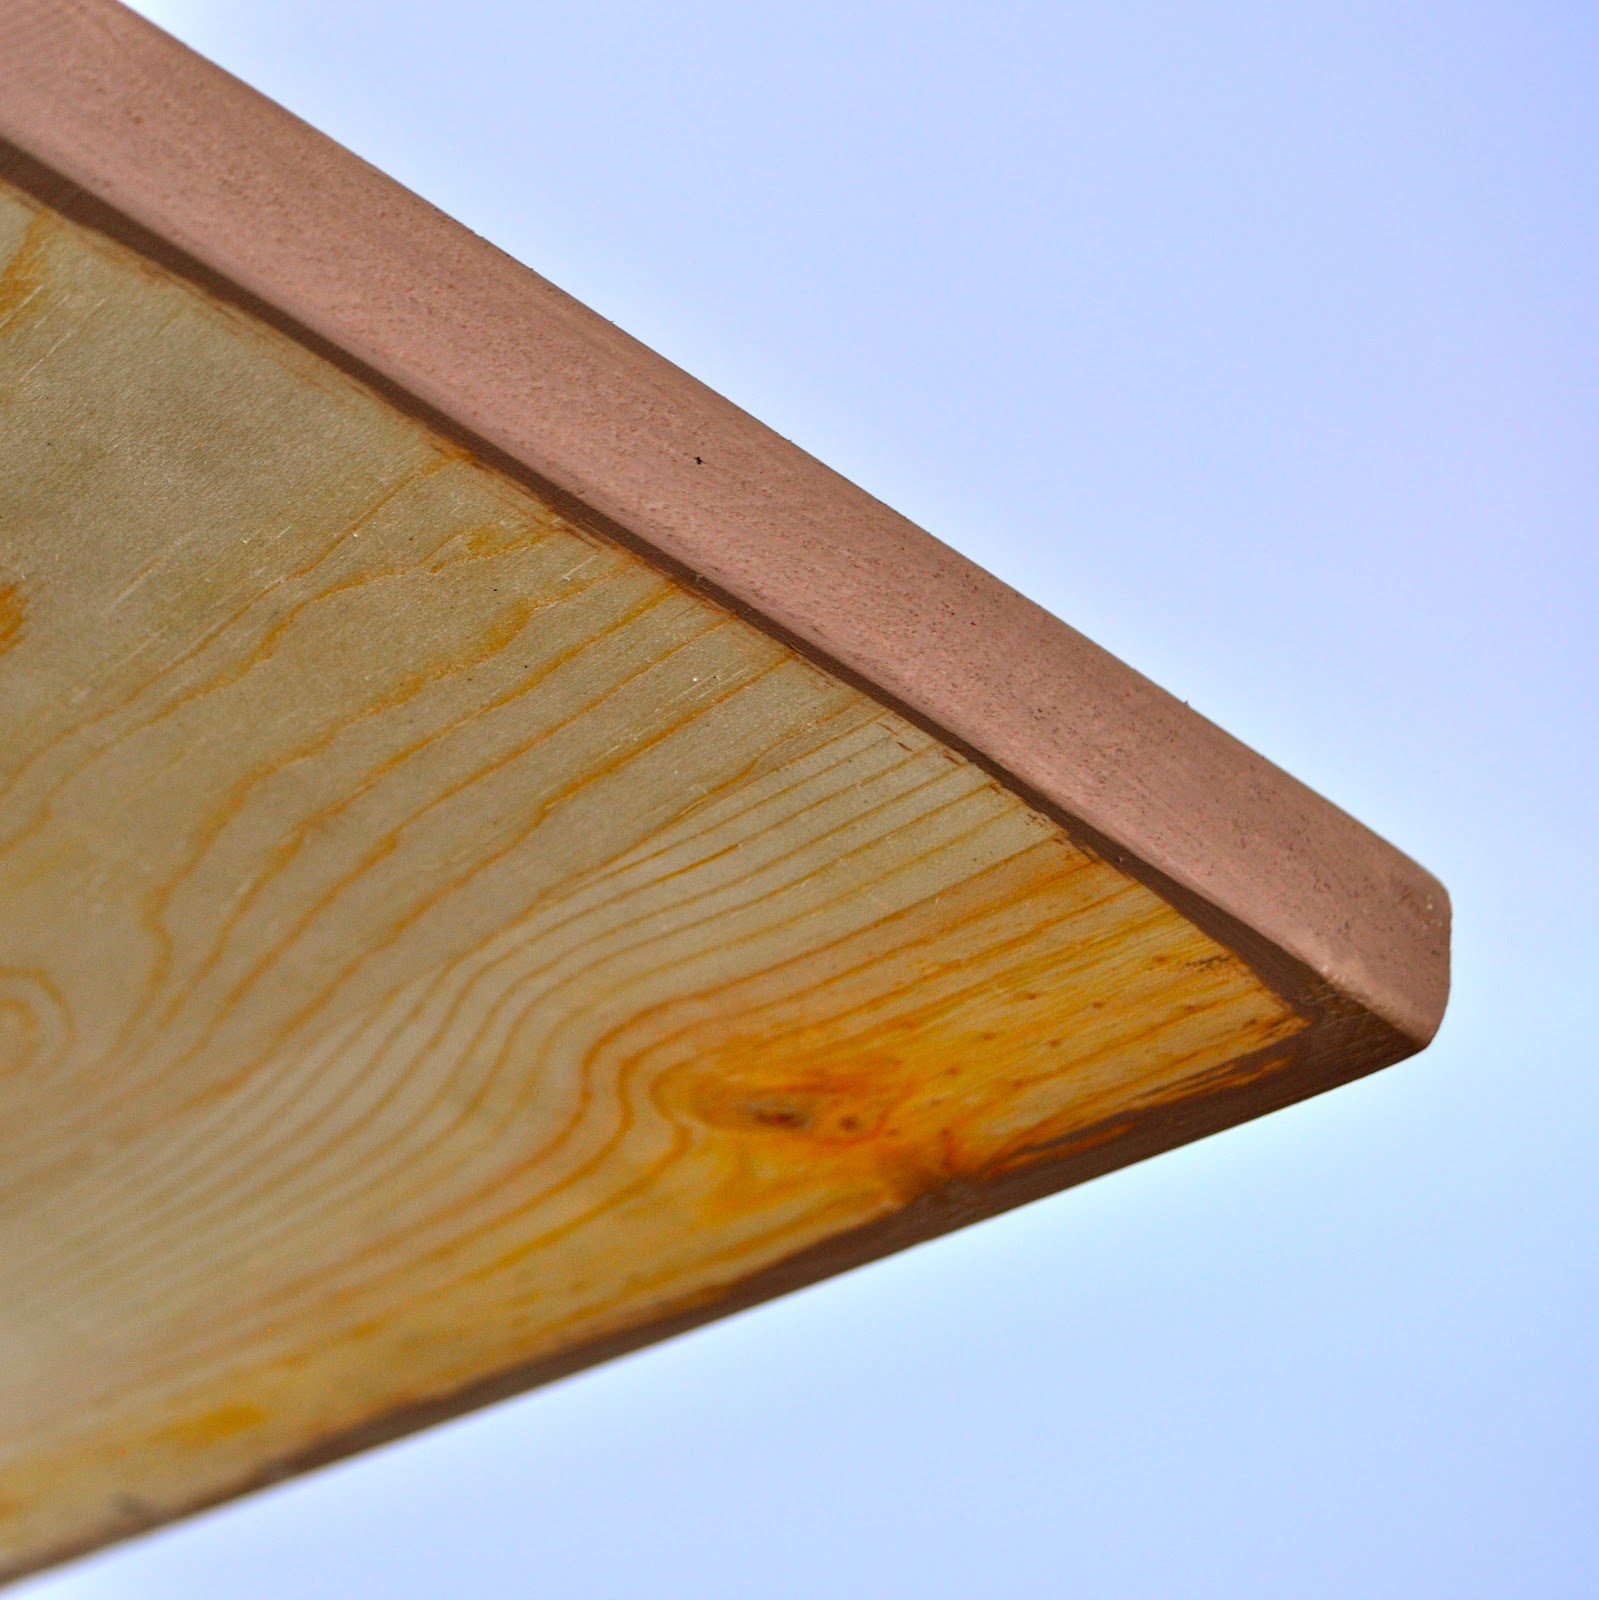
Next, paint the sides of your board in your desired color.
I painted two coats of paint, to make sure that I had a nice, even coverage of color.
If you are giving this photo transfer to wood as a gift, I highly recommend painting the back too, so it has a more finished look.
If you are keeping the wood photo for yourself, then you can paint the back or leave it unpainted, where it won’t be seen.
Transfer Photo on to Wood
Add Texture to the Photo
Next comes the scary part!
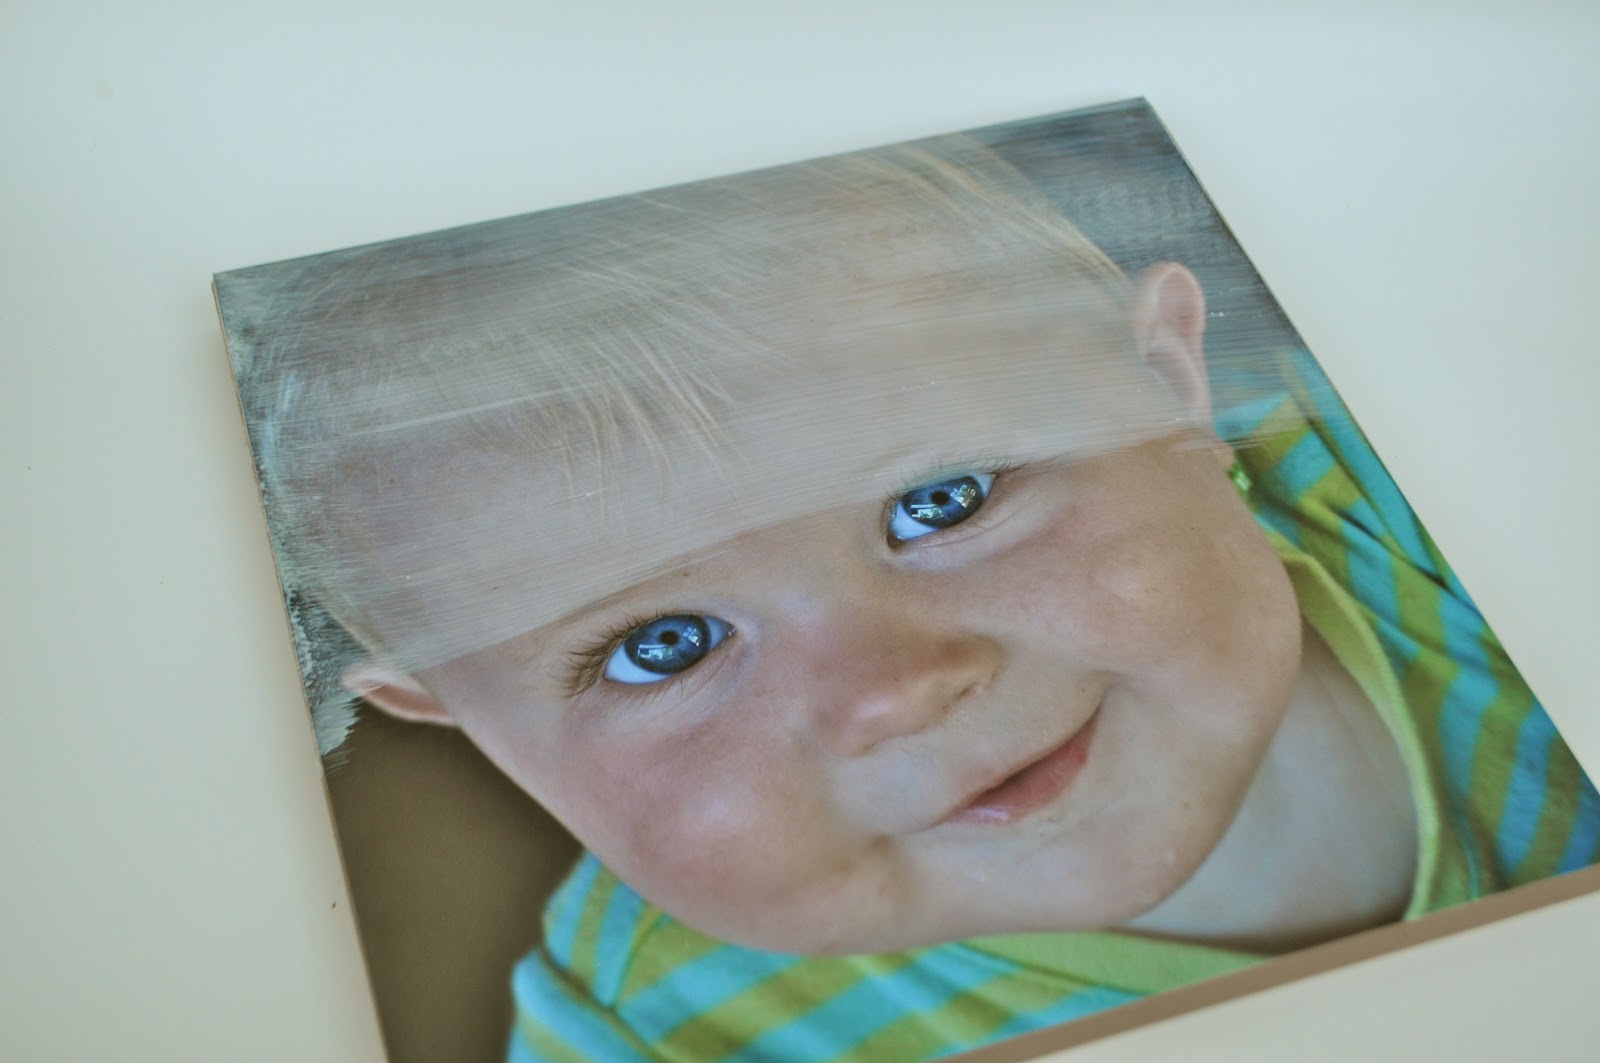
Brush a layer of Mod Podge over the top of your photo.
It will look like you ruined your wood photograph, and you’ll be wondering if you messed it up.
Don’t panic, it will all be okay!
The Mod Podge dries totally clear, and it will look just fine after a few minutes once it’s dry.
I used horizontal brush strokes for the first layer.
Once the first layer dried, I brushed on a second layer using vertical brush strokes.
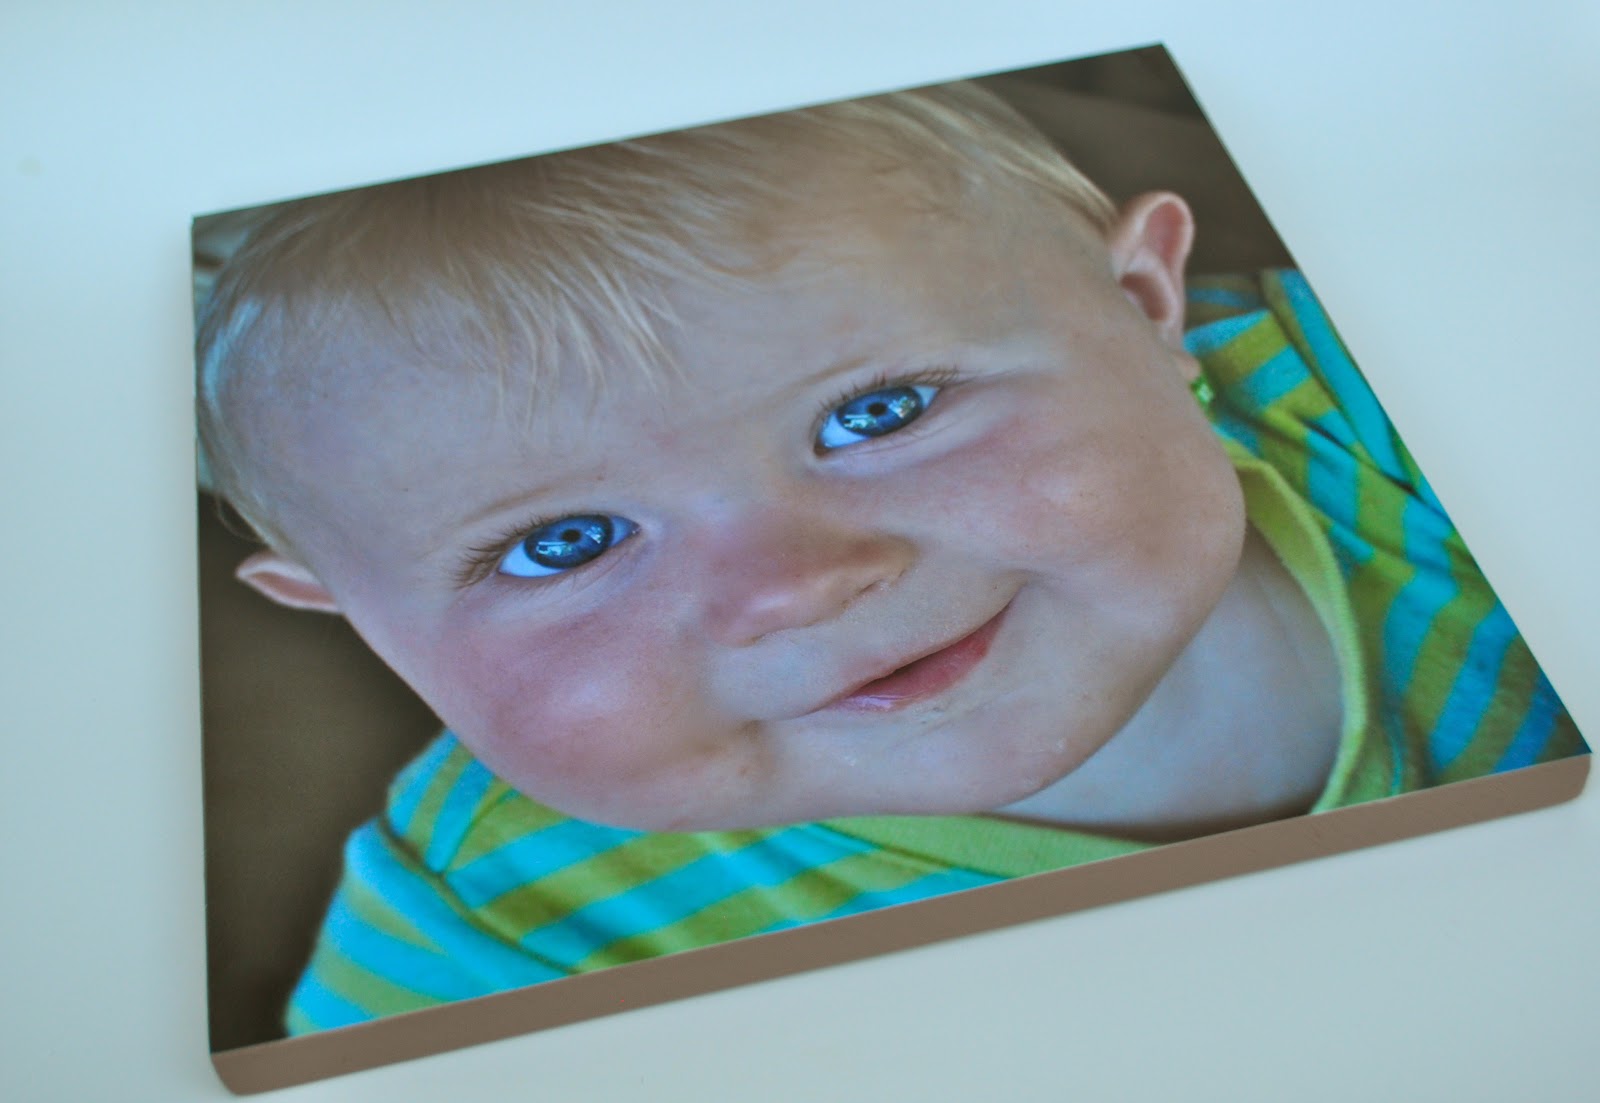
This gave the photo a beautiful canvas-y look that I just love!
Helpful tip: Make sure to use full brush strokes straight across, to make it smooth.
Once the top dries, brush the sides with Mod Podge too.


Here are my finished photos on wood.
Aren’t they just beautiful?!
It really isn’t hard to make a photo transfer on to wood, and I’m so happy I made these.
They cost practically nothing too, like our wood lemonade stand we made from wood pallets!
If you make one, be sure to leave a comment below and let me know how it goes!

Mary says
Oh my word I have to try this and I’m so excited to enter the giveaway! Tyler is so talented!!!
Mary says
I already like you on Facebook. 🙂
Mary says
And now I will be getting emails from you, yay!
Laura Russell says
Great, thank you Mary! He is talented, isn’t he? He’s the only photographer I use 🙂
Tate, Jody, Jocelyn, and Tyler says
Thanks for posting about this one! I’m definitely going to try it.
Tate, Jody, Jocelyn, and Tyler says
i like you on facebook!
Tate, Jody, Jocelyn, and Tyler says
and i submitted my email…that is all. 🙂
Laura Russell says
Thank you for following. Good luck Jody!
Michelle says
I love this! I have made something similar with the San Diego temple on a block of wood. I am definitely going to try this! And I am so excited about the giveaway.
Laura Russell says
So happy to hear you’re going to try this! Be sure to come back and let me know how it goes.
Michelle says
I like you on Facebook! And I am going to share this.
Michelle says
I submitted my email also!
The Rogers says
This is a perfect Christmas gift! Thanks for sharing! I think Tyler is awesome and would love family pics!
Laura Russell says
Isn’t he great? I hope you try this project, you will love it!
The Rogers says
I also liked your page on Facebook.
The Rogers says
Looking forward to email updates!
devanddar says
Tyler took the pictures for my sis-in-law’s wedding – they turned out beautifully! I love the wood mounted photo – I think I found my Christmas presents! Thanks!
Devin Schallock
Laura Russell says
You are welcome, let me know how the project turns out!
devanddar says
Just liked you on FB! I’m excited to see what else you have on there.
Devin Schallock
devanddar says
Can’t wait to be emailed to see more cute stuff!
Devin Schallock
wer says
Amy just told about your blog- so fun! This is the best give away!
Laura Russell says
Thank you Wendy! Good luck, and welcome to my blog!
Laura Russell says
This comment has been removed by the author.
RaeRae says
this is awesome. thanks. and Tyler is super talented.
RaeRae says
liked you on FB
Laura Russell says
Thank you, and good luck!
RaeRae says
getting emails.
The Wilcken 7 says
Dang lady you are seriously so crafty! Love the blog. I was planning on leaving a comment today and was super excited when I saw this post. Tyler is a very talented photographer.
Laura Russell says
Why thank you! Perfect day to leave a comment 🙂
The Wilcken 7 says
This comment has been removed by the author.
The Wilcken 7 says
I like you on facebook! Why don’t they have a “love it” button?!
Laura Russell says
Me too, wouldn’t that be great?!
The Wilcken 7 says
Submitted my e-mail! Have a great Monday!
MamaLadyBug says
Your cousin linked me to your page and it’s great! I did the same thing with the photos and framed canvas. I painted the edges afterward and hit the edges of the photos too. Love the end result! Your babies are precious.
Laura Russell says
Thank you, I’m glad you like my blog! I still need to try the canvas method. As soon as I find more wall space, haha.
Dan, Justyn, and Noah says
you are so creative, love this idea!!
Laura Russell says
Thanks Justyn! So glad you stopped by.
Dan, Justyn, and Noah says
I LIKED YOU ON FACEBOOK
Dan, Justyn, and Noah says
I SUBSCRIBED TO YOUR EMAIL ALSO. I am so trying so very hard for a lovely photo shoot but your so talented brother!!! (like all the so’s?!)
Cindy Sproul says
Just randomly found your page. Just moved back to San Diego area. Would love to win the giveaway!
Laura Russell says
Awesome, so glad you found me! Good luck!
Cindy Sproul says
I also liked your page on facebook
Amber Jillard says
i love it!
Laura Russell says
Thanks! So glad you stopped by 🙂
Amber Jillard says
i loved u on fb too!
Amish says
Hi, your work is awesome and I am about to try it. My question is what kind of wood did u get at lowes? Was it ply wood or exactly which kind and was the wood really heavy? 2nd question is will any kind of photo paper work since I will be putting mod podge on it and I don’t want to ruin the photo. Thank you
Laura @ Make Life Lovely says
Yes, any type of photo paper should work just fine! See two comments below to see my answer about the wood. Hope that helps!
Sam Almanza says
where did you get your 12 by 12 photo prints att
Laura @ Make Life Lovely says
At Costco. They used to print 12 x 12, but someone told me that stopped doing it recently? I haven’t tried printing that size again, so I’m not sure if they still do.
Anonymous says
I have the same question as Amish – what type of wood did you use? Plywood is the least expensive, but I’m thinking that the edges would look bad, even when painted. And what thickness did you use? Thanks!
Laura @ Make Life Lovely says
Oh gosh, I wish I could remember the thickness. I know that it was 12 x 60″, so I would ask someone who works there to show you where the wood is that are those dimensions, and I think you could find it pretty easily. No, it wasn’t plywood- you are right, the edges of plywood would look horrible. The wood I used sanded very nicely, and worked great! Good luck finding it!
Estelle says
I’d like to ask, how has this photo mounted on wood held up over time?
Laura @ Make Life Lovely says
It’s held up really well! It looks exactly like it did when I first made it. We gave a set of them to my husband’s grandma, and they look perfect! I think the key is making sure that all of the air bubbles are out from underneath the print. Make sure to smooth it down really well and push out any air bubbles that might be underneath, because over time they can expand. The final product looks really great for the small amount of money that this project costs. Good luck!
Jesse says
Do you think I valid paint on the Mod Podge to creatively eliminate something in an otherwise great photo?
Khyati Desai-Seltzer says
I made this following your instructions yesterday and it turned out great! The hardest part was figuring out how to a fix it to the wall.
Pat Wilson says
Before u put the Mod Podge on top of the photo do u let the photo dry on the wood first. Please text me at 303-324-2390 with ur reply as I broke my leg and unable to get downstairs where our computer is.
Pat Wilson says
Do u let the photo on the wood dry first before u put the Mod Podge on top of the photo? Could u text me with ur reply at 303-324-2390 as I broke my leg and unable to get downstairs where our computer is?
Amanda says
I just came across your blog. I am planning a project for the holidays for my parents. Which picture finish is better to use for this project? Glossy or Matte? Thank you for your help
denzil bell says
I was looking for ideas to put a crest on wooden coasters, these were for a friend to celebrate the 100th anniversary of the founding of the Womens Royal Naval Service. I googled “sticking photos on wood” and up came your excellent tutorial. I have today ordered the Mod Podge and can’t wait to start the project. Many thanks. Denzil Bell
Corianne Mouton says
What type of paint did you use? Me and my boyfriend want to do this project but as a collage instead of a single photo. And would you recommend the matte mod podge or gloss? I am wanting to do this project this weekend so if you could please get back with me as soon as possible that would be great. Thank you!
Michelle says
Hi there, I would like to make one of these and was wondering if your photo were copied on photo paper or copy paper? Thanks
Laura says
It was on photo paper. 🙂
Dawn Marie Driver says
Laura, thank you so much for sharing this. My Chancey (he’s a furbaby) passed away 1 1/2 yrs ago and I’ve been trying to come up with an idea to display his pictures on one of my living rm wall. This is perfect! I’m almost finished with it and I’m loving it! Instead of painting the edges I used stain. And if I do say myself they’re looking good! Thanks again! Dawn Marie
Laura says
That’s great Dawn, so glad you found my post helpful! I’m sorry to hear about your furbaby. You’ve found a great way to remember him though! I love your idea of staining the edges too- brilliant!
Guddi says
Hi Laura, fantastic post, though quite a few years old. I wanted to ask if modge podge gives a shiny finish ? If I wanted to have shiny finish, should I bother with some kind of varnish or just modge podge is enough ? Thanks !
Laura says
Hi Guide! Mod Podge comes in all different formulas, so if you want a glossy finish, you can use the Mod Podge Gloss and that should be enough shine! They also have matte and other kinds of Mod Podge too, depending on the look you want. The key with this project is to make sure you get all the air bubbles out once you put the photo down. Good luck!!
Rebecca Bolton says
This is awesome! My question is will the Mod Podge ruin the photo overtime? I know you have to use special tape and glue when scrap-booking photos so just curious how the Mod Podge affects the photo overtime.
Laura says
Well, after 13 years these photos still look gorgeous! I gave them to my mom, and they still looks just like they did the day I made them!
Amanda O says
Hi Laura!
I’m just wondering what the purpose of painting mod podge on top of the photograph is? Is it just for the texture? Thanks!
Laura says
Hi Amanda! It’s for the texture but it’s also to seal the photograph and to protect it.
Laura says
It’s for texture and to protect the photo and seal the whole thing together. Definitely don’t skip this step!
Rachel says
Does it yellow? I’ve heard using it yellows after time.
Laura says
I made mine for a family member so I’m not 100% sure but I don’t think they have yellowed.