Learn how to make darling honey jar bee party favors with just a few supplies. These honey jar favors are easy to personalize and can be made for any party theme!
It’s hard to believe that my sweet baby girl just turned one. She has brought such joy and light to our family, and I truly can’t imagine life without her!

To celebrate her first birthday, I put together a gorgeous bee themed party for her .
I made some adorable bee party favors I just HAD to share with you!
While brainstorming party favor ideas, the first obvious choice was honey.
I bought some cute mini glass hexagon jars with lids, but they looked pretty plain and boring when I added the honey.
I needed to way to personalize my bee party favors and make them extra cute!

Bee Birthday Party Video
Check out the short video below of my daughter’s bee birthday to see the party in action!
As well as my daughter’s fabulous cake eating skills… 🙂
I’m not exaggerating when I tell you that I use my Cricut Explore Air 2 machine for practically every party I throw.
It’s the perfect way to make customized party favors and decorations for any themed party I create!
You can see my Cricut in action at my son’s dinosaur party, my daughter’s Cupcake Wars party, and so many more of my kids’ parties.

How to Make Pretty Bee Party Favors
For my daughter’s birthday, I knew that I wanted to add a bee and the number one to the top of each jar.
I also wanted to add some yellow and white to the jars (since those are the party colors) and soften the jars a bit.
My husband’s grandparents recently passed away and I’ve been helping the family clean and sort through their large estate.
In one of the linen closets I found some yellow and white vintage pillowcases a couple of weeks ago that were going to get donated.
I just knew that I had to incorporate them into my daughter’s party somehow!
I wanted to have a bit of grandma there at the party in spirit, since she couldn’t physically be there.
Honey Bee Party Favor Supplies
This post contains affiliate links, which means that if a purchase is made I earn a very small percentage at no extra cost to you.
- Yellow and white fabric
- Pinking shears
- Cricut Iron-On (white)
- Martha Stewart Cricut Expore Air 2
- Cricut EasyPress 2 Martha Stewart Edition
- Small honey jars
- Mini honey dippers
- Jute twine

Making the Fabric Honey Jar Top
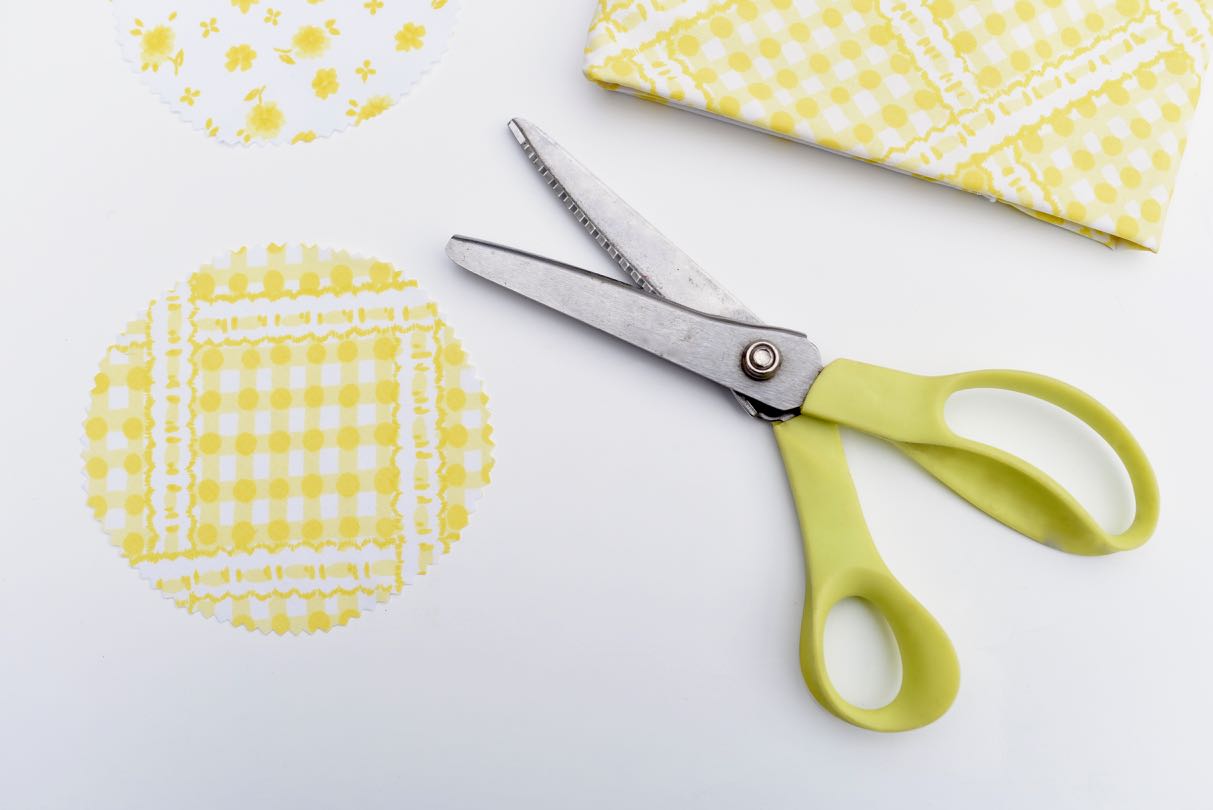
Using the top of a round gold jar, I traced circles onto one of the vintage pillowcases with a pencil.
I used my trusty pinking shears to cut around the traced circles, which left me with a handful of round jar tops.
To customize each jar top, I decided to use some white Cricut Iron-On and my Martha Stewart EasyPress 2.
I was inspired by the Martha Stewart Bumblebee favor box project in Cricut Design Space, so I decided to adapt it to an iron on and switch it up a bit to work for my daughter’s honey jar toppers.

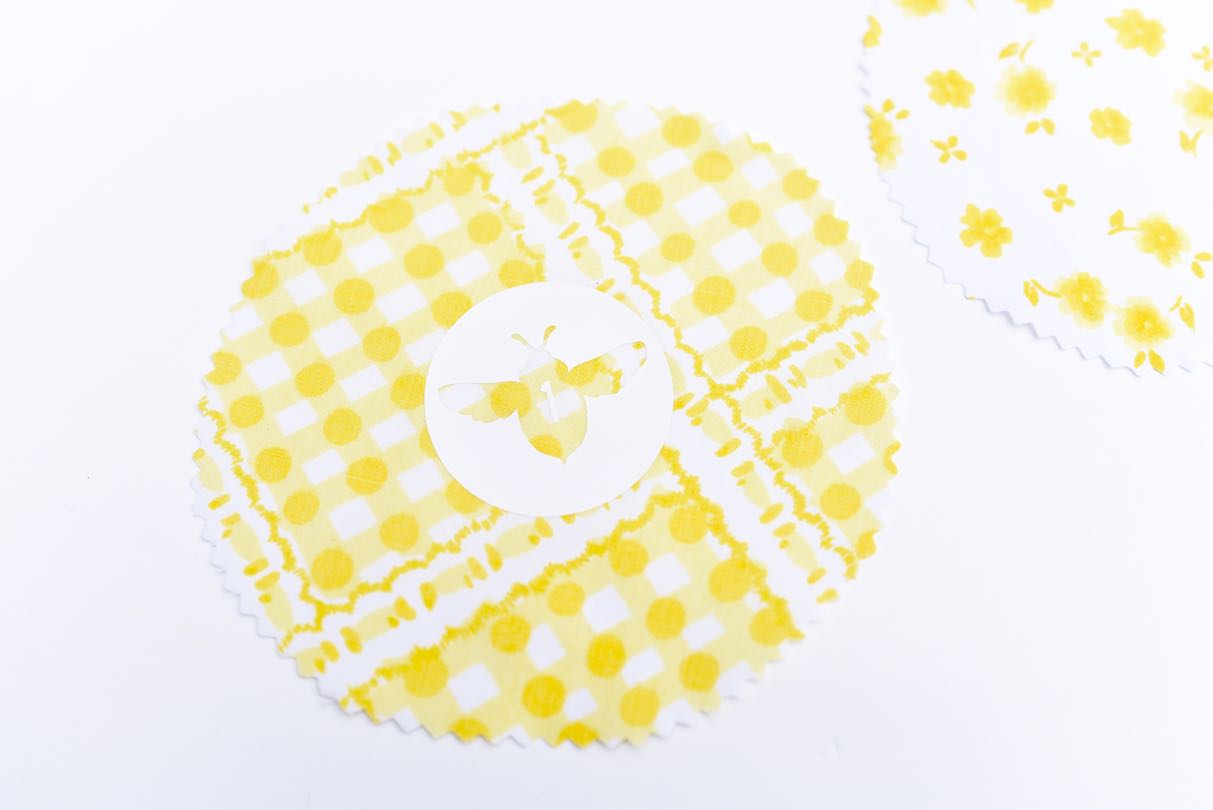
After playing with the design a bit, I came up with my bee party honey favor design.
It was simple, sweet, and round like the top of my bee party favors jars.
Notice the number one I added to the middle?
Cutting the Bee Iron-On
To cut my design from the iron-on, I followed the prompts in Design Space.
I changed the number at the top to 8, since I wanted to make 8 favors.

Make SURE that you mirror the image, otherwise your iron-on will go on backwards.
My Martha Cricut machine cut out the iron-on beautifully, and I used one of my Cricut tools to peel up the excess iron-on so that just my design was left.
I used scissors to cut a square around each design.
Adding the Iron-On to the Fabric
An EasyPress 2 is the best way to add iron-on to fabric.
I’ve found that it adheres much better and is more precise than using an iron.
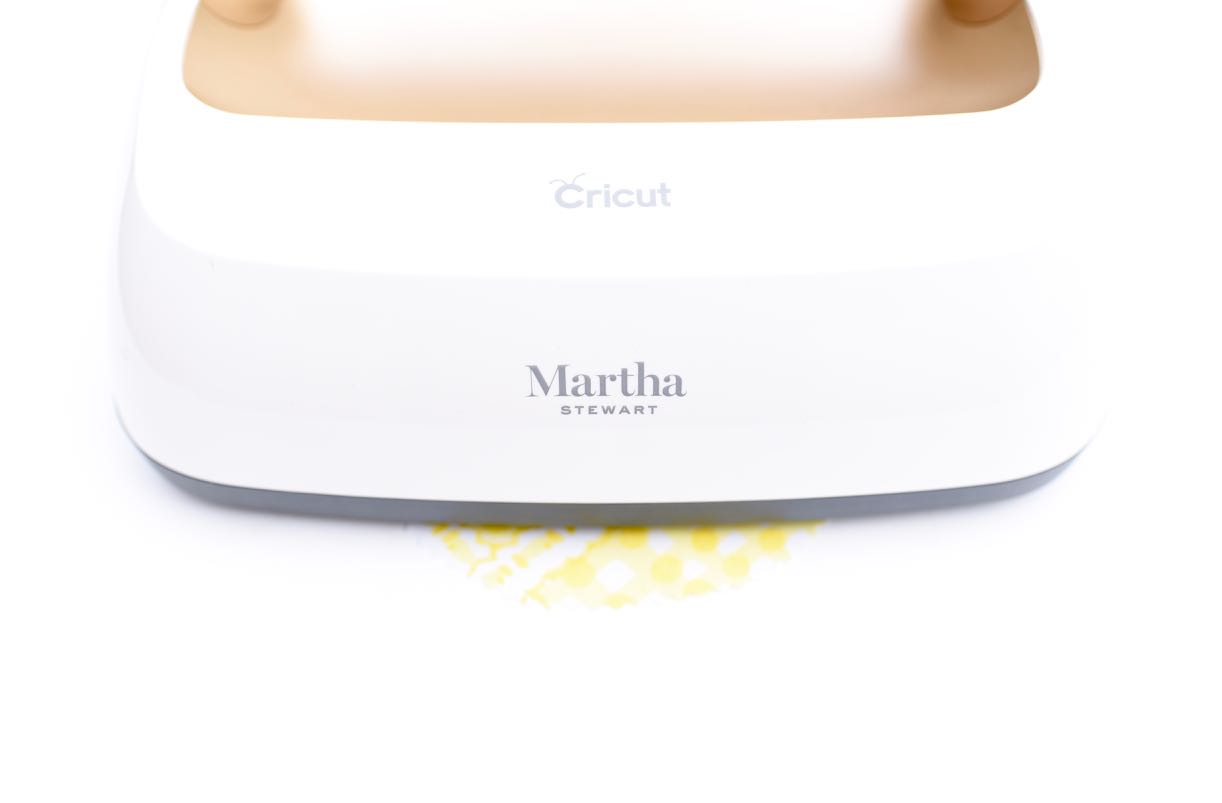
First I heated up my machine.
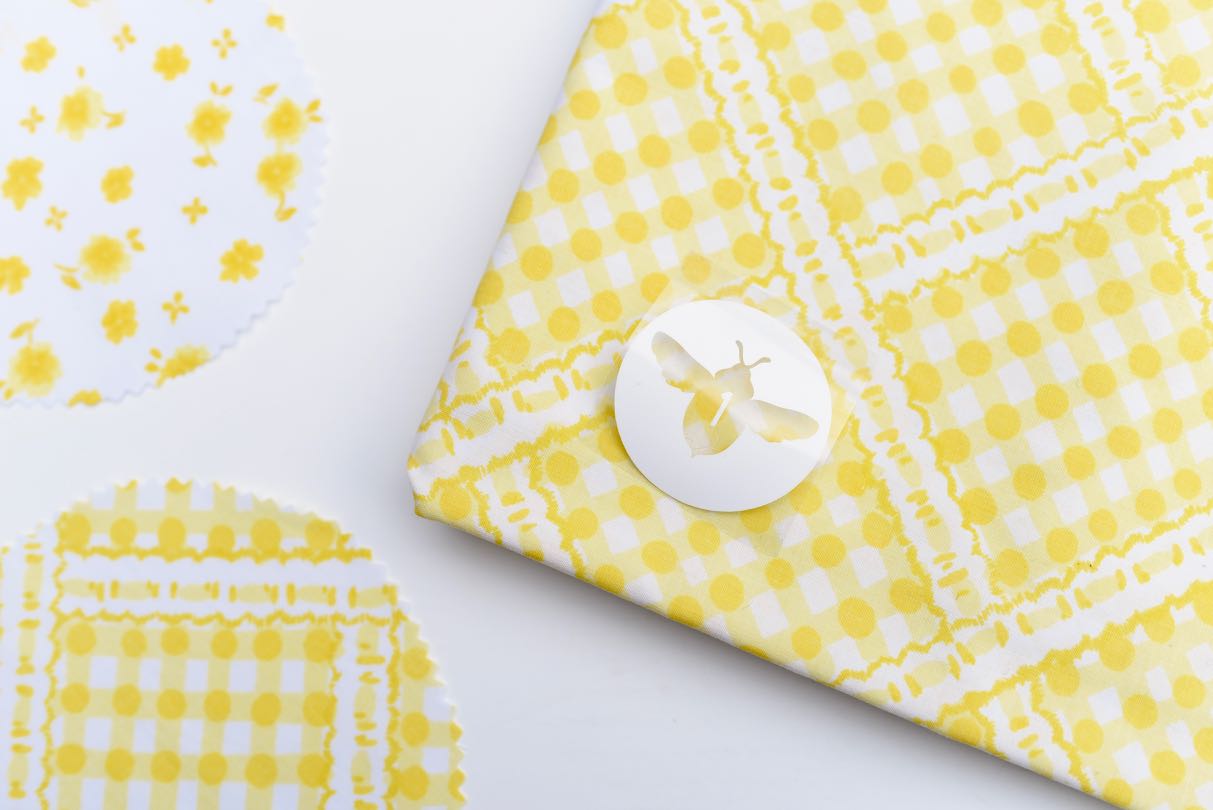
Once it was ready, I placed my bee design in the center of my fabric circle, shiny side up.
I followed the EasyPress Interactive Guide directions that told me how long to hold the machine down on top of my design.
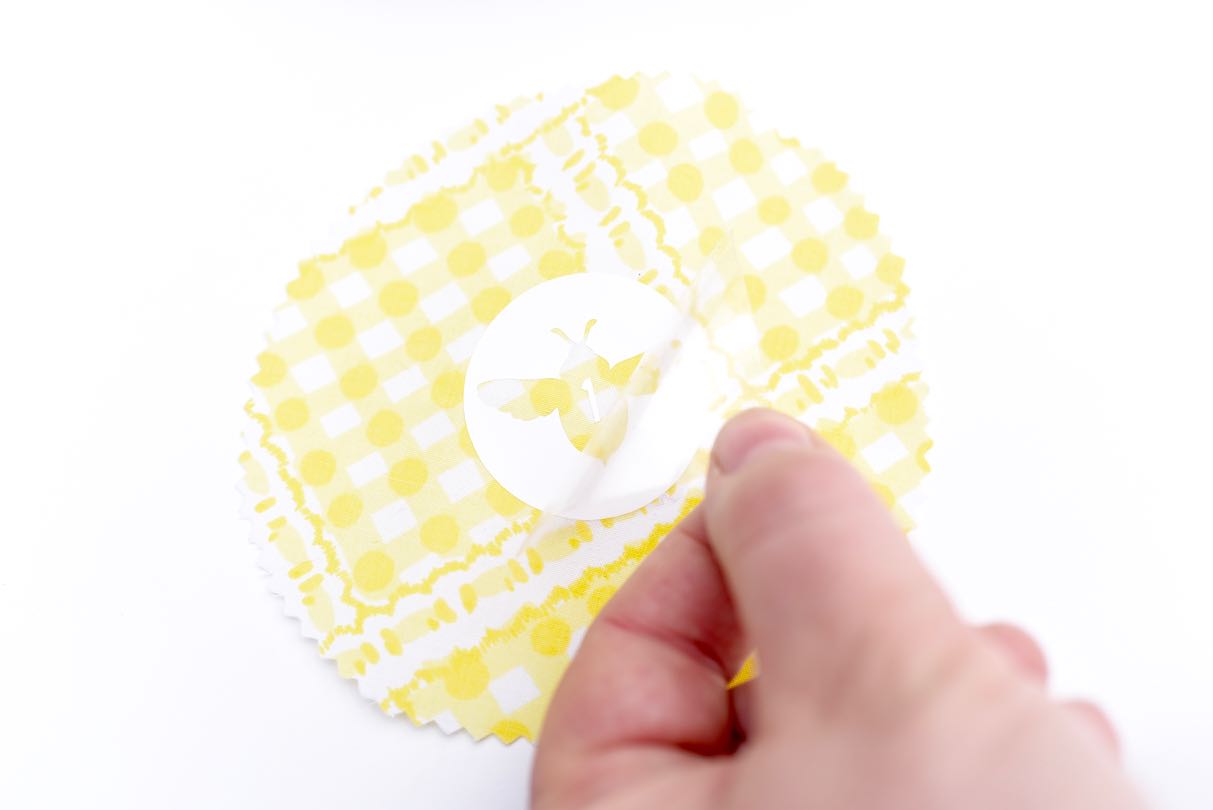
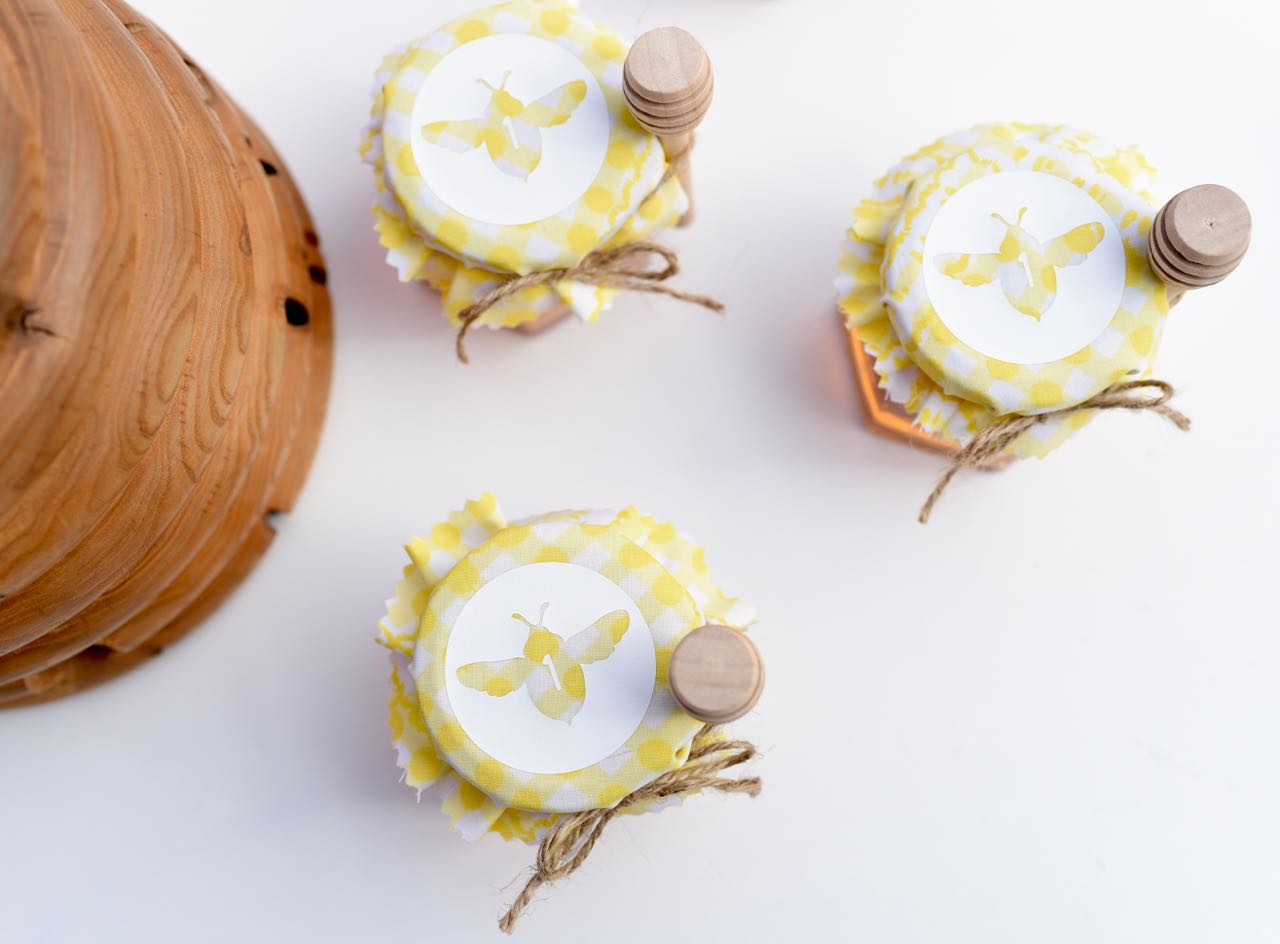
Next I peeled up the shiny plastic from the top of the design, and I had the cutest jar topper!
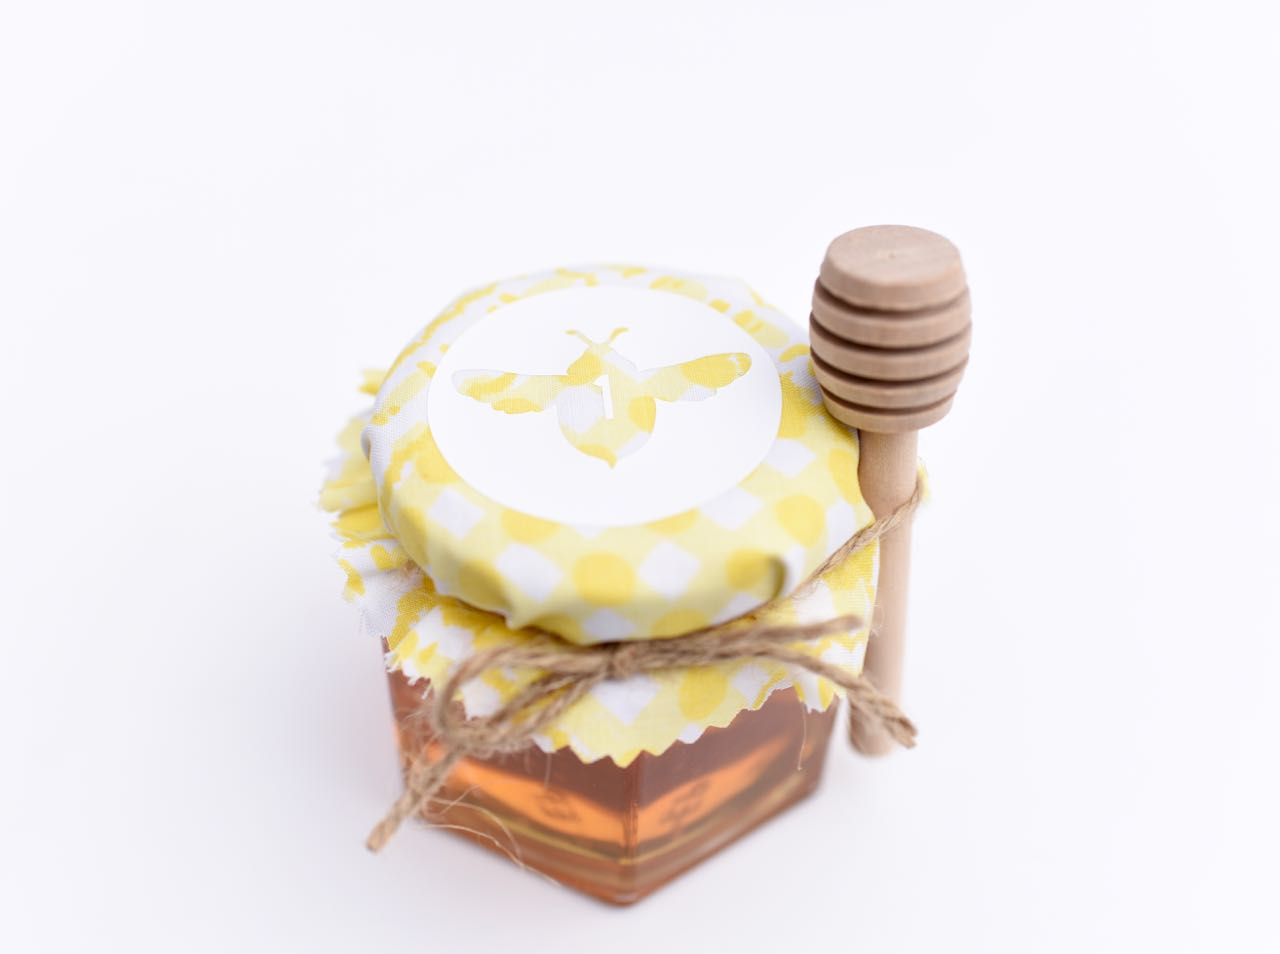
Each fabric cover was centered over each jar, then I added some jute twine underneath the lid.
A mini honey dipper was tucked into the jute on each side as a darling addition.

I’m SO happy with how my bee party favors turned out and can’t wait to see everyone’s reactions to them this weekend at the party!
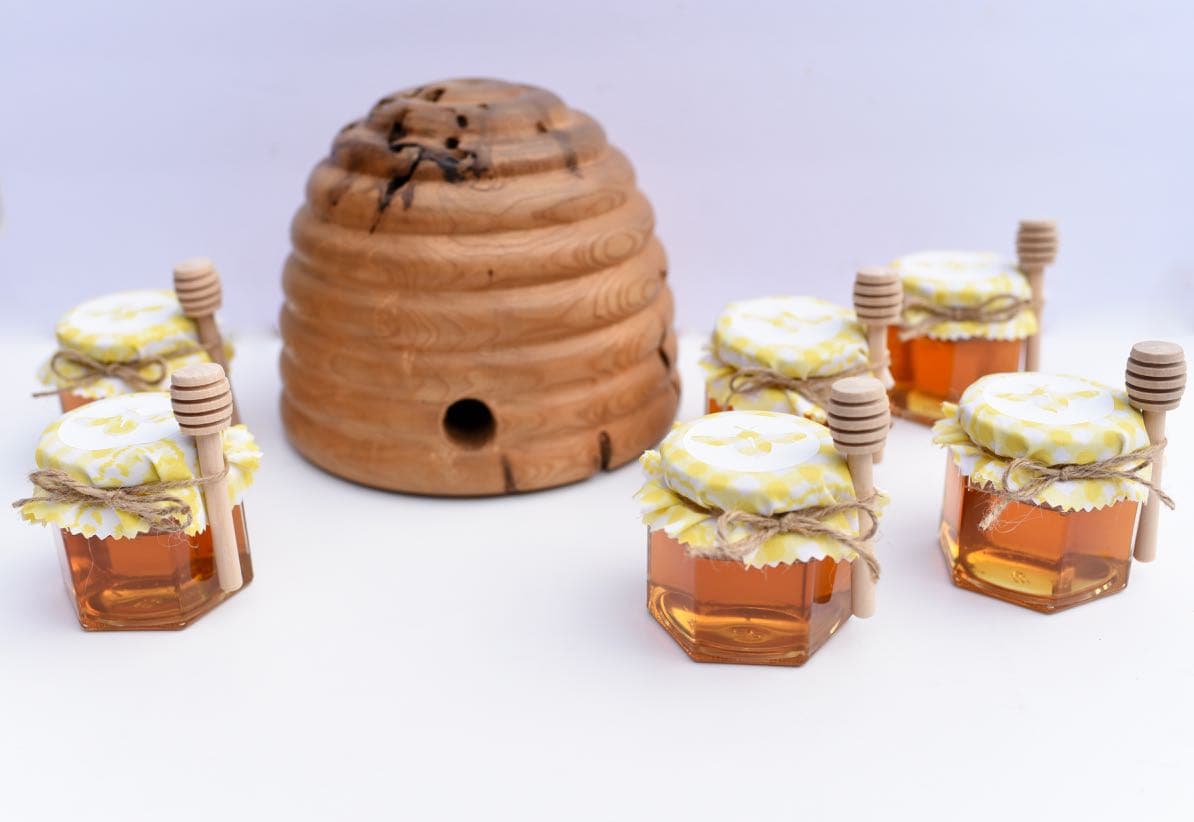
My husband’s uncle Paul is a very talented wood turner (you can see some of his creations here) and he created this amazing wood beehive.
It is the perfect addition to the party!
Although grandma has never met Sienna and can’t be at her party, I’m confident that she would be thrilled to play a small part.
I don’t think it was an accident that I found one lone tissue paper honey bee decoration in the bottom her trunk, along with the yellow and white flowers I’ll be displaying proudly at her party.
Don’t miss all the fun details of our bee birthday party!
![]()
Jennifer Duffy says
So nice! Where did you find the mini honey drippers?
Laura says
Thanks Jennifer! I bought the mini honey dippers on Amazon here- https://amzn.to/2YoArMG. Here’s the link to the 4 oz.honey jars I bought on Amazon too that fit the dippers perfectly!- https://amzn.to/2UfgZTm (affiliate links) Good luck!