
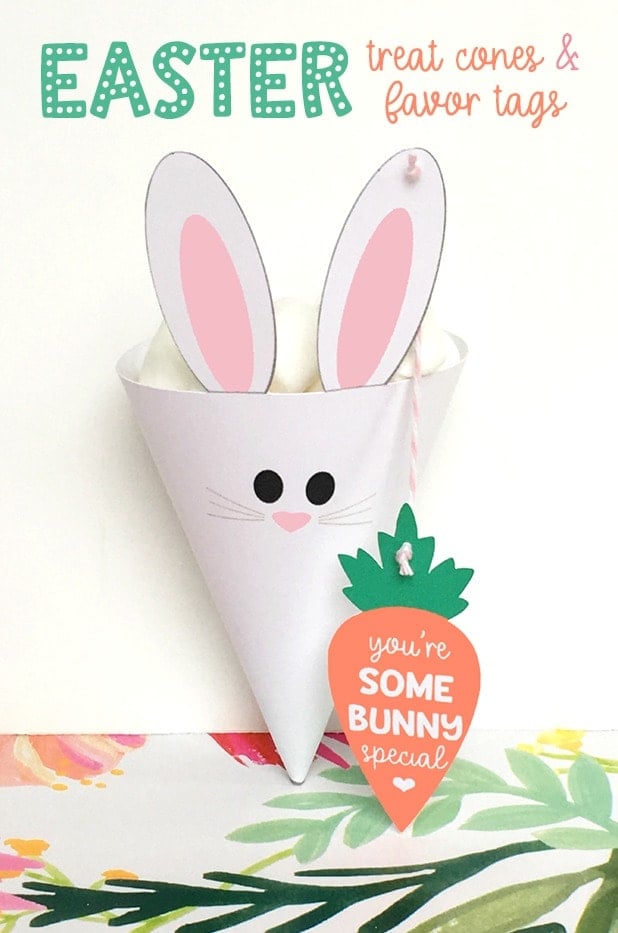
Print darling free Easter bunny treat cones to hold Easter candy and treats for your celebrations this spring!
Easter is quickly approaching, so I wanted to share this cute DIY Easter printable with you!

These little Easter bunny treat cones are perfect to tuck inside Easter baskets.
You can also use them as sweet little gifts for your kiddos to share with friends.
The adorable little carrot favor tags are the perfect match for the cones.
Feel free to attach them to any other gift you might want to share!
Print our 32 FREE Easter Egg Printables for more fun!
Check out our painted Easter bunny jars, Easter bunny craft, and darling Easter bunny bag!
Easter Bunny Treat Cones
You’ll love these easy Easter printable candy holders.
Treat Cone Supplies
- FREE treat cones and favor tags PDF
- Scissors
- Very small hole punch
- Twine
- Double-sided tape or Glue Dots
- Filler of your choice (marshmallows, pastel non-pareils, or other Easter colored candy)
Print the Cones and Tags
Use the link above to access the printables.
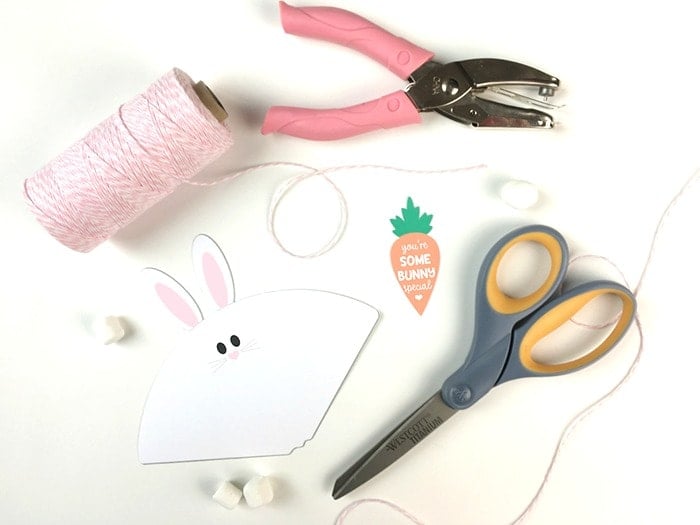 Print the cones and tags onto white cardstock paper.
Assemble the Easter Bunny Cone
Use scissors to cut out the shapes.


Once they are cut, punch a hole in the center of the carrot leaves and in the top center of the right bunny ear.

Add some double-sided tape or glue dots along the back edge of the cone.
Roll the paper so that it forms a cone shape, then press the seam to seal.

Attach the Carrot Tag
Thread a piece of twine through the hole in the ear, going from the back to the front.
Tie a knot in the front, then cut off the excess with scissors.
Determine how low you would like your carrot to hang, then cut the twine length accordingly (leaving a little extra to allow for a knot).
Thread the end of the twine through the hole in the carrot, from back to front.
Tie a knot in the front and trim excess.
Fill the cones with your favorite little treat and enjoy!

So cute, right?
Super easy, too!
Happy Easter!
Thanks to Jen from Jen T by Design for sharing these darling printables while was on maternity leave enjoying my sweet baby girl.

Christ Centered Easter Printables


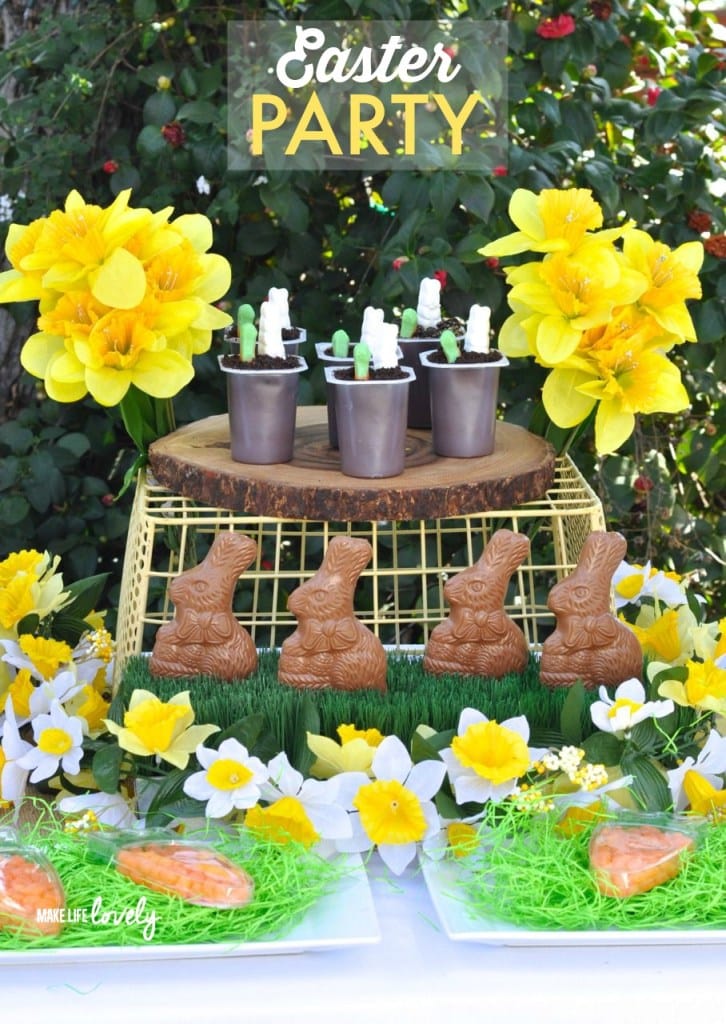

Easter Nest Place Setting and Favor DIY
![]()
This Easter tutorial was updated in February 2025 and was originally posted in March 2018.
Leave a Reply