One of my very favorite party treats to make are chocolate lollipops. I’ll show you exactly how to make chocolate lollipops that will impress both kids and adults.
Homemade chocolate lollipops are VERY simple to make in just a few minutes with very little ingredients.
You have to try really hard to mess up these easy treats.

I recently had a mermaid party and made some gorgeous seahorse chocolate lollipops in shimmering pretty pastel colors.
Edible luster dust is a simple way to make your chocolate lollipops REALLY stand out, and I’ll be showing you how to use it and the best (and safest) kind to use.
If you love chocolate, you’ll go crazy for my chocolate no bake cookies.
Let’s get started!
This post contains affiliate links, which means I made a very small percentage of any purchase made at no extra cost to you. Thank you!

How to Make Chocolate Lollipops
Chocolate Lollipop Supplies
You’ll need a few supplies to get started making chocolate suckers.
- Chocolate– Chocolate melts, almond bark, or chocolate bars are best to use because the chocolate melts quickly and hardens quickly and you don’t have to worry about tempering it.
- Chocolate lollipop molds– Pick a mold that matches your party theme or holiday. There are TONS to choose from! I used this seahorse sucker mold.
- Chocolate Melting pot (or microwave)– A chocolate melting pot isn’t absolutely necessary, but it makes the job of melting the chocolate and keeping it warm and pourable SO much easier. If you don’t have a chocolate melting pot, you will have to keep microwaving your chocolate to warm it up and get it just right. With the melting pot, it keeps the chocolate at the perfect temperature for pouring.
- Lollipop sticks– The 4″ size works is the right size for plastic chocolate sucker molds
- Lollipop clear plastic bags
- Luster dust (optional)- Luster dust adds color and a nice shimmery finish to your chocolate suckers and is available in many different colors.

Melt the Chocolate
First you’ll need to melt the chocolate. If you have a chocolate melting pot, just pour your chocolate into the melter, turn it on, then stir every few minutes until the chocolate is melted.
The chocolate will keep warm and ready to use automatically!
To melt your chocolate with a microwave, follow the directions on the chocolate package.
If your chocolate is too thick once it’s all melted, then you can add always add a little shortening to it.
Just stir in a spoonful to make it thinner.
Add more if needed.

Pour the Chocolate into the Chocolate Lollipop Molds
Place a lollipop stick into each stick spot in the sucker mold.
You don’t need to add any cooking spray to the mold because the chocolate will already pop out easily on its’ own once cool.
Once the chocolate is the right consistency, then use a big spoon to pour the chocolate into the chocolate lollipop molds.
Make sure you add enough chocolate to cover the stick.
Once each lollipop cavity is filled with chocolate, I like to gently lift up my mold and tap it down on the countertop to remove any air bubbles in the chocolate.
Setting the Chocolate Lollipops
Place the chocolate lollipop mold into the fridge for about 15 minutes.
This helps the chocolate to cool and harden faster.
Don’t leave the chocolate lollipops in the fridge for too long, or the chocolate can get crumbly.

Removing the Chocolate Lollipops
To remove the lollipops from the mold, you can pull out each lollipop one by one by the stick.
The cool chocolate suckers pop right on out of the mold, leaving you with perfect chocolate designs that are SO easy to achieve!

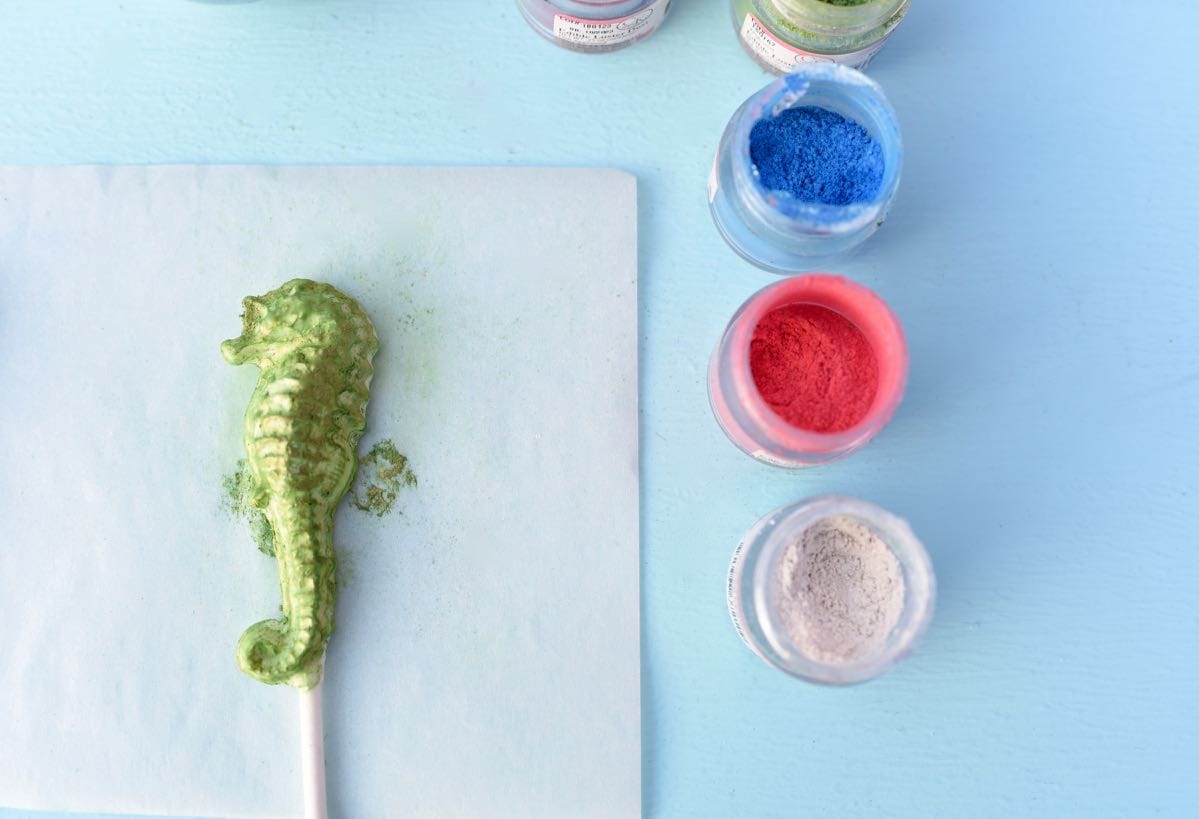
Using Edible Luster Dust on Chocolate Lollipops
If you want to take your chocolate lollipops to the next level, you can add edible luster dust over the surface to give them a nice shimmering sheen and some color too.
I made my pretty seahorse lollipops for a mermaid party with white chocolate melts.
The white was kind of boring, but I knew I wanted to customize each seahorse to be a slightly different color.
To do this, I used colored luster dust.
Luster dust is a shimmery powder that comes in many different colors.
You need to be very careful when using luster dust because not all luster dust is safe to eat!
Many brands make luster dust that is “food safe,” but isn’t FDA approved or meant to be consumed.
Be sure to stick with a brand that says “FDA Approved” on the packaging.
My favorite luster dust brand is CK, because their luster dust powders are absolutely beautiful and create such pretty color and shine.
They are also FDA approved and completely edible, which means that I’m okay with making these for birthday parties and for my kids because I know they are a safe product.
Here are the CK luster dust colors I used- Super Pearl Edible Luster Dust, Victorian Purple Edible Luster Dust, Pink Heather Edible Luster Dust, Pool Blue Luster Dust, and Sour Apple Luster Dust.
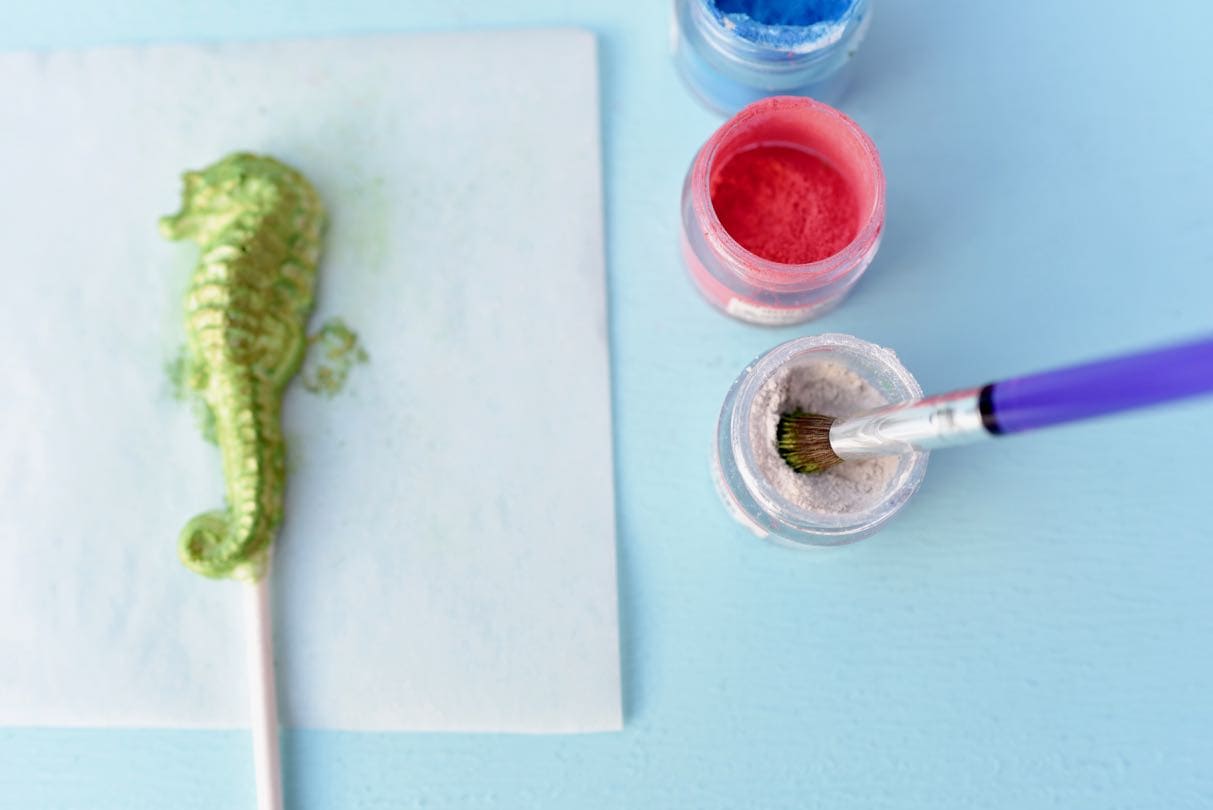
How to Use Luster Dust
To add luster dust to chocolate lollipops, you’ll need a food safe brush that looks like a paintbrush.
Make sure it’s food safe!
Choose which color you will use, then dip your paintbrush into the powder.
Tap off the excess powder, then lightly brush the powder over the top of your lollipop.
If you want just a light shimmery sheen over the top, then this will probably be enough coverage for you.
If you want more color or shimmer, then pour a little powder into a small bowl.
Add a couple drops of clear vanilla extract or lemon extract to the powder, then stir well.
Use this mixture to paint with your brush onto the lollipops.
Some people use alcohol for this step, but we don’t drink alcohol and don’t have it in the house so I prefer to use clear vanilla extract or lemon extract instead.
Feel free to layer on different colors like I did for our mermaid tail chocolates that I’ll be sharing soon.
here are so many creative color combos you can use!
For our seahorses, I wanted each seahorse to be just one color so I kept it simple.
I used one colored luster dust on each lollipop, then covered each one with a edible super pearl luster dust.
The pearl dust softened the whole look of the suckers and gave such a pretty shimmer!


Storing Your Suckers
Now your suckers are ready to be stored.
I use clear plastic lollipop bags to cover the chocolate on the end of the lollipop stick.
Then you can use a twist tie or ribbon to seal the bottom of the bag closed.
Well, I think that about covers everything you need to know to learn how to make chocolate lollipops with molds!
There are so many cute plastic molds out there for practically every occasion.
For these seahorse suckers, I made a really simple lollipop holder from wood from my backyard.
I’ll be sharing the DIY soon for it!
I love how it looks like a piece of white driftwood that floated in from a long voyage at sea.

How to Make Edible Sea Glass Candy


How to Make Easy Homemade Suckers


Happy lollipop making!
![]()
Leave a Reply