
Make the cutest light up pumpkin for under $10! This fun DIY makes an adorable Halloween decoration or centerpiece for your home.
I just love a Halloween decoration that lights up, especially when there’s a remote involved. 😉
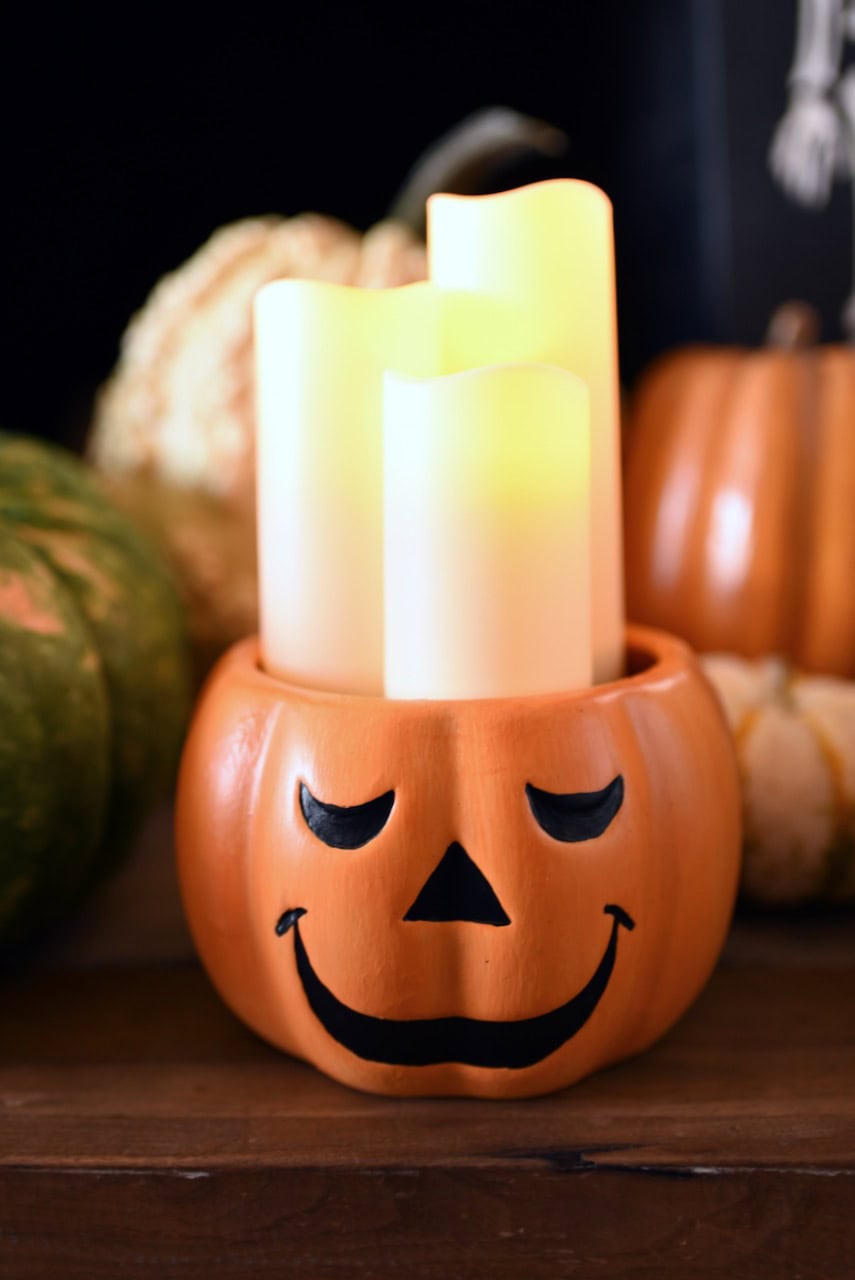
If you’re like me, then you’re going to love this adorable light up jack o’ lantern craft that is so simple and oh so cute!
This fun Halloween decoration is perfect for any room in the house, and is even safe for a kids’ room when you use battery-powered candles.
Light Up Pumpkin Inspiration
I saw the cutest smiling light up jack o’lantern on Pottery Barn Kids, and knew I wanted to make my own version.
The Pottery Barn version was SO cute, and I knew that it would be very easy for me to create my own light up pumpkin for much less!
See how I made the viral Pottery Barn ghost wreath and light up ghosts for less too!
Light Up Pumpkin VIDEO
I highly recommend you watch the video below to see EXACTLY how I made this cute light up pumpkin.
Then read below to get all the details and links to everything I used.
You can also watch the video with music on my YouTube channel. I’d love for you to follow along and join me there!
This post contains Amazon affiliate links, which means I make a small percentage of any purchase made at no extra cost to you. Thank you!
Light Up Jack o’ Lantern Supplies
Pumpkin
I found an ugly ceramic pumpkin at Goodwill for $3.99 that I used, but you could use almost any fake pumpkin that has an opening at the top. You can even cut the top of a foam pumpkin and use that.
Battery candles
I found the perfect candles that I used from Amazon. They were perfect! They are tall and thin and not too thick and worked just perfectly. The candles come in a 24 pack with four remotes, and even have a flickering candle mode.
Paint
I used some craft paint I already had on hand in orange, yellow, cream, and brown.
Paper toilet paper rolls
You’ll need three toilet paper rolls as a base for the stand to hold the candles up.
Black felt, paper, or craft foam
I used black adhesive felt, but a piece of any of the above items will work.
Hot glue gun
I used my favorite high temp glue gun for this project (and most projects that I make). It comes in all different colors and my favorite is the light pink one that I own!
Pick a Pumpkin for the Light Up Pumpkin
First we will start with our pumpkin.

I found my ceramic pumpkin for $3.99 at Goodwill.
It was the perfect size and shape and I loved the cute face!
You can use an old pumpkin you already have on hand to make your light up pumpkin.
You can also shop your local thrift store for something similar, or even cut the top off of a foam pumpkin.
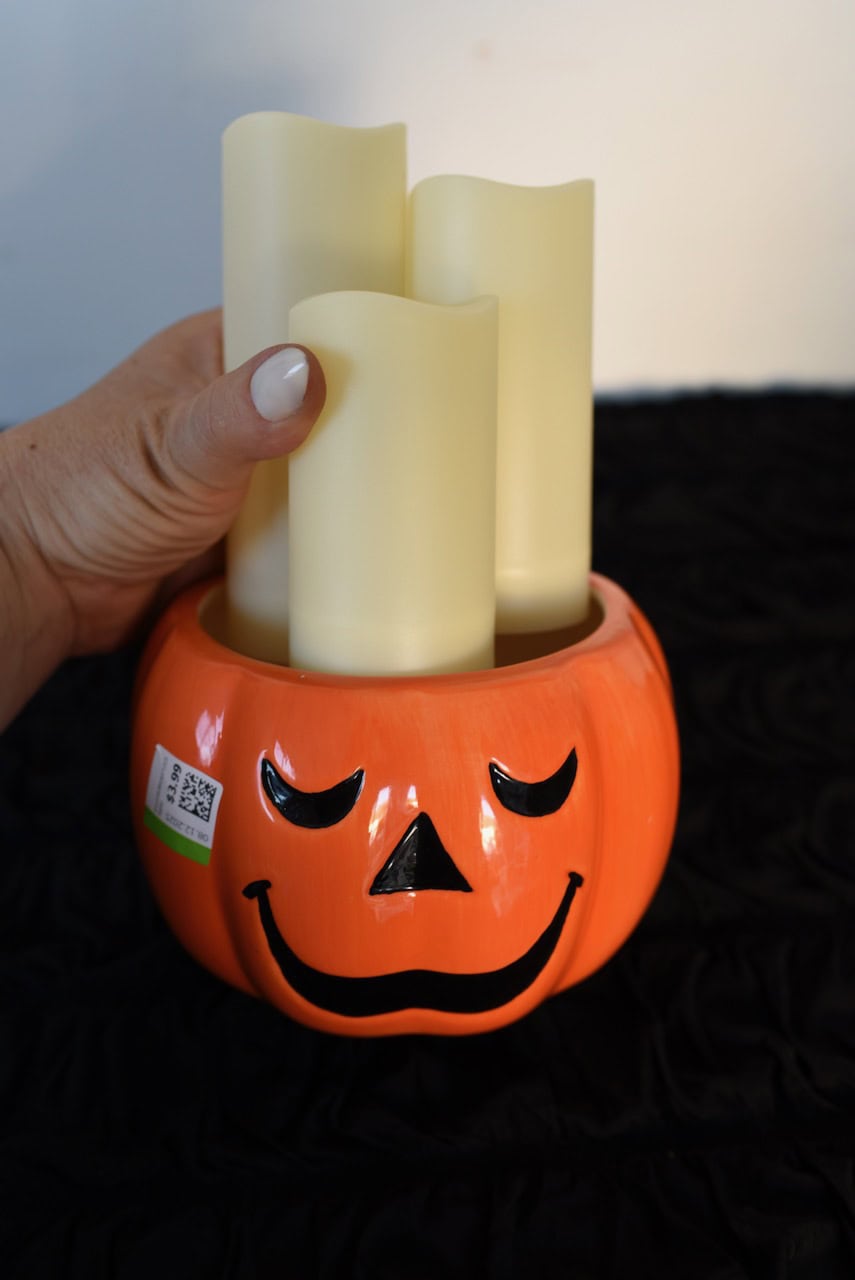
Make sure that the candles you use fit your pumpkin by placing them inside.
Paint your Pumpkin
The one thing I didn’t like is the paint color.
It was too bright and dark for me, so I wanted to paint mine a lighter, more neutral orange color.
Of course this step is optional, but I love my light up pumpkin so much better now.
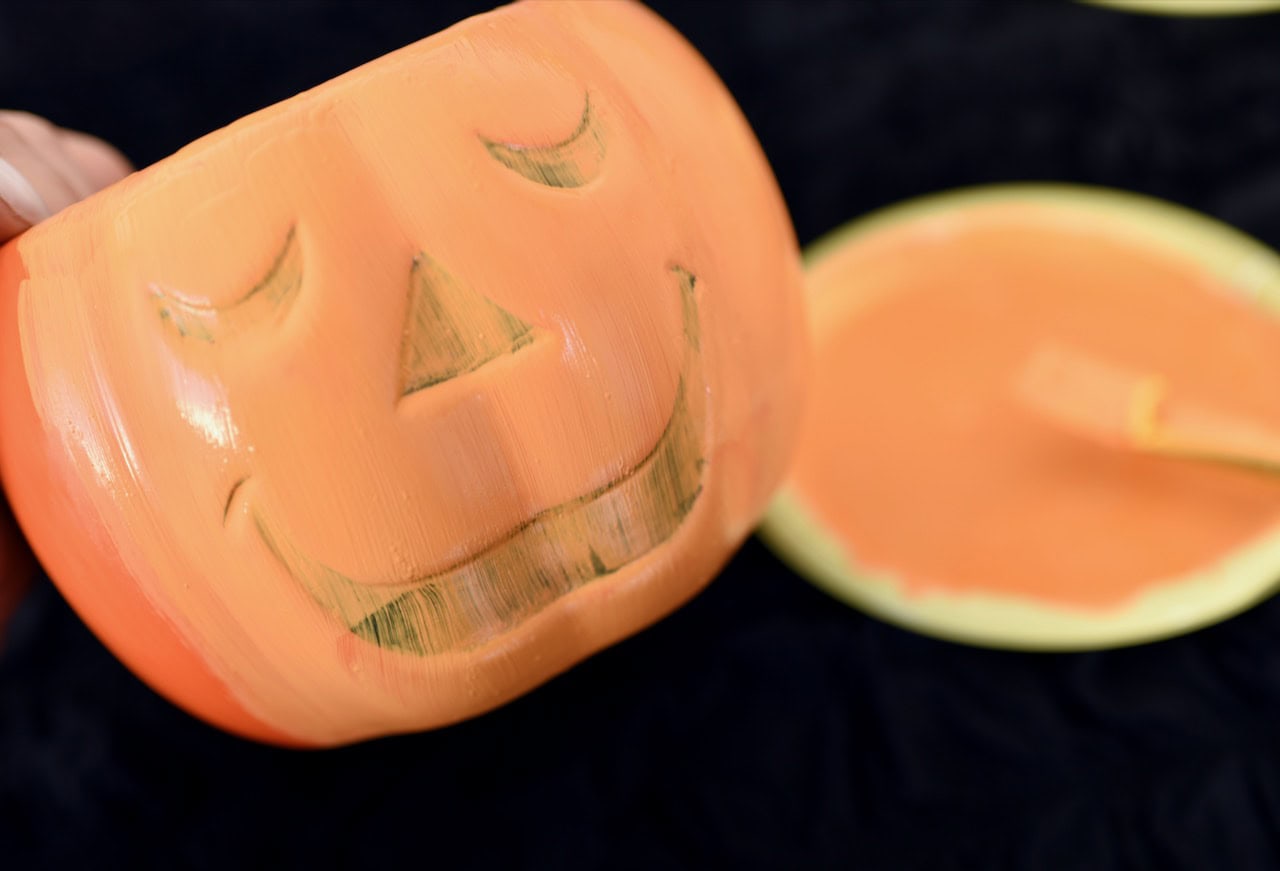
I used some watered-down lighter yellow and orange colors to add some highlights to the raised part of the pumpkin.
Next, I used some watered down darker orange paint on the lines of the pumpkin.
This gave it some subtle depth.
I made sure to blot up the excess liquid with a paper towel when I was done for a nice smooth look.
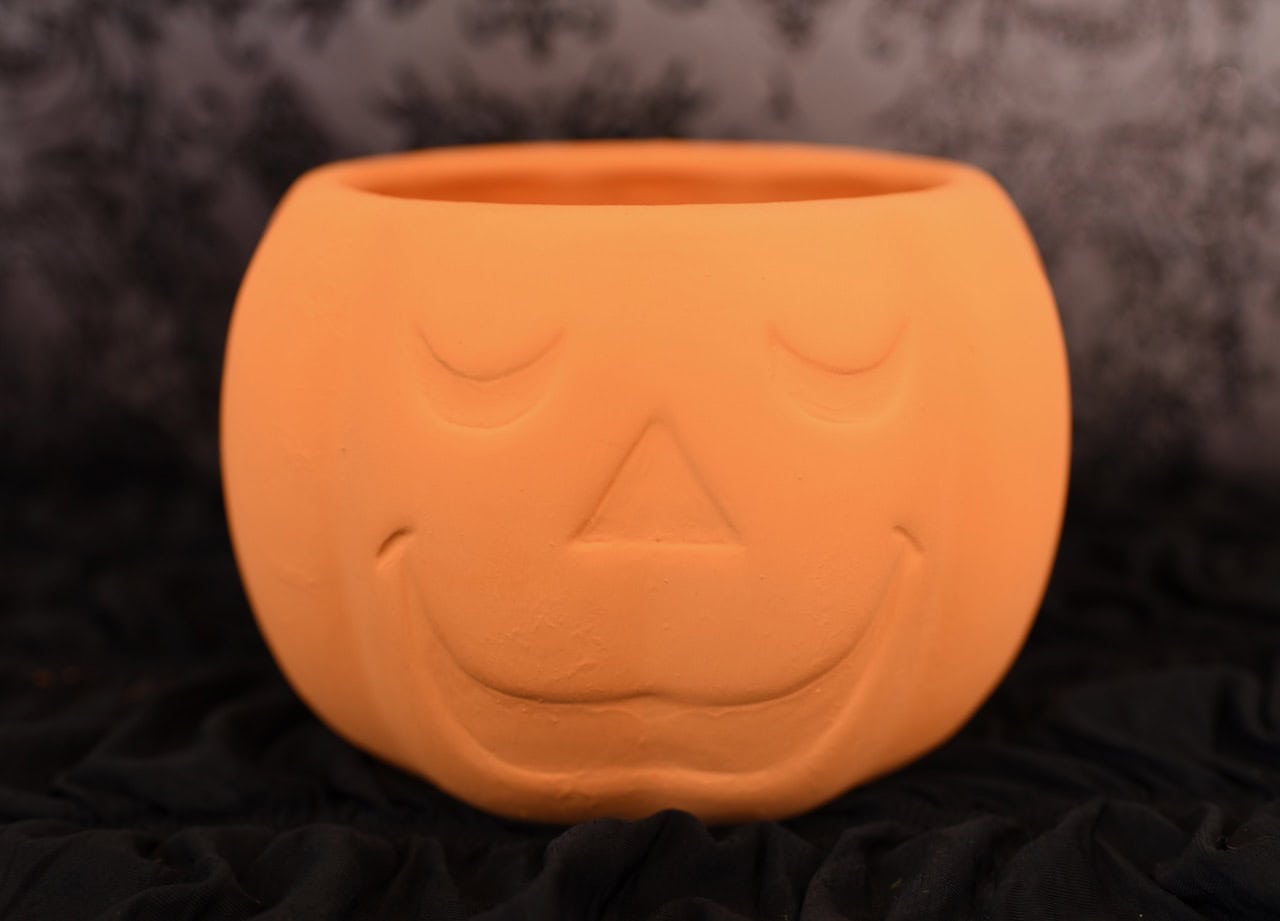
After about three coats of paint, this is what my pumpkin looked like.
I used some black chalk paint to paint back in the black eyes, nose, and mouth of my jack o’ lantern.
Create the Candle Base
The candles needed a base to sit on, so I created an easy one with things I already had on hand.
I gathered three toilet paper roll tubes, then arranged them standing up inside the pumpkin.

I added some hot glue around the rim of each toilet paper roll, one at a time, then pressed them down into the bottom of the pumpkin.
To make a platform for the light up pumpkin candle base, trace the top of the pumpkin onto a piece of cardboard.
Then, cut it a little smaller so it will fit inside.
I placed the cardboard on top of the toilet paper rolls to make sure it fit.
Next, I traced the cardboard over the back of a piece of black adhesive felt from Hobby Lobby.
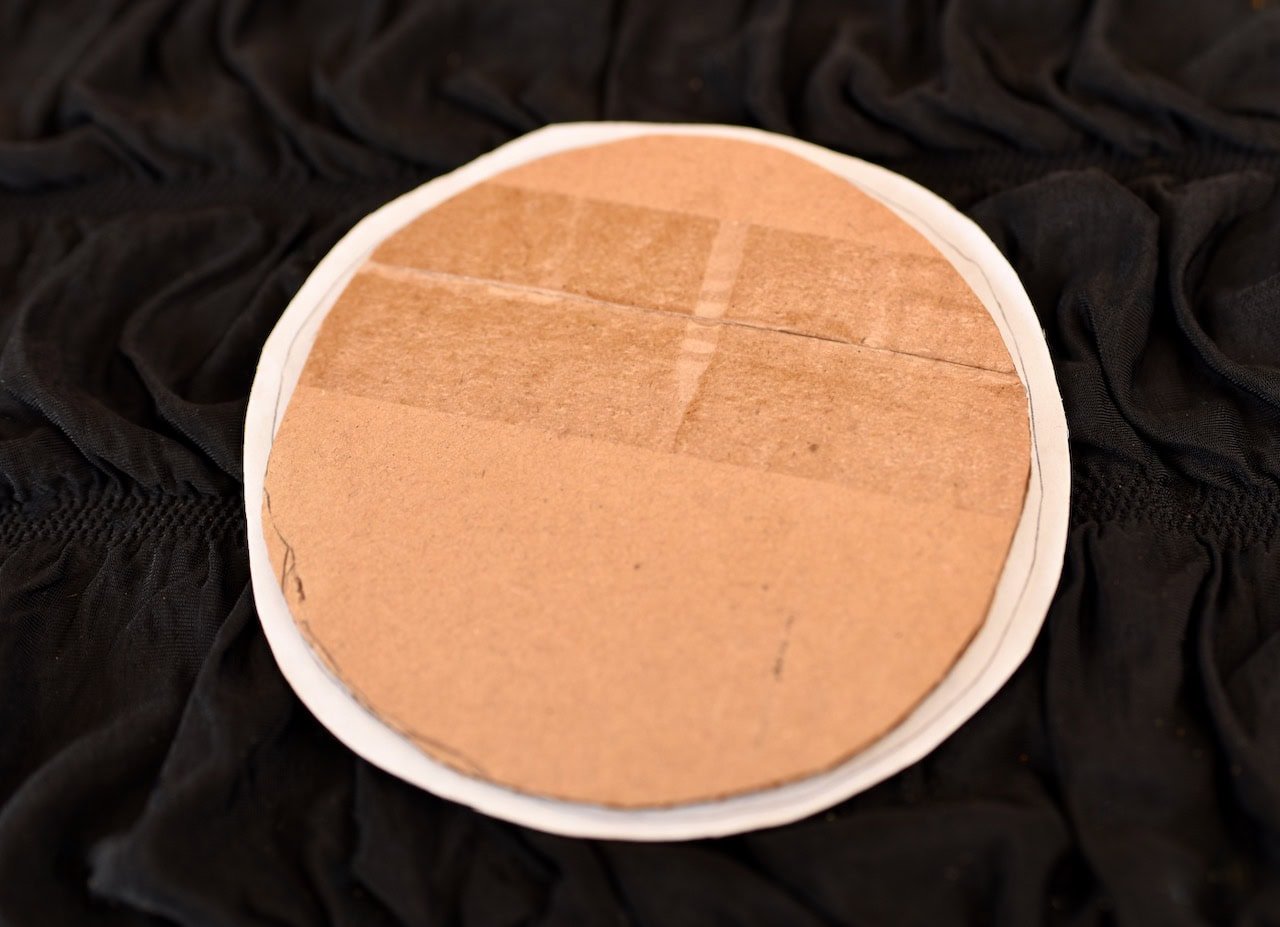
I cut out the felt circle a little larger than the cardboard so it would compensate for the smaller cardboard and would go to the edges.
I peeled the backing off, then pressed it down onto the cardboard, then glued the cardboard to the top of the toilet paper rolls.
Add the Candles to the Light Up Pumpkin
I found the perfect candles for my pumpkin that fit really well and were the right height and width.
They even came with a remote so they are so easy to turn on and off!
I placed my pumpkins onto the base, turned them on, and admired how cute my light up jack o’ lantern looked!
It was SO cheap to make this pumpkin and I just love it!
How to Decorate with this Light Up Jack o’ Lantern
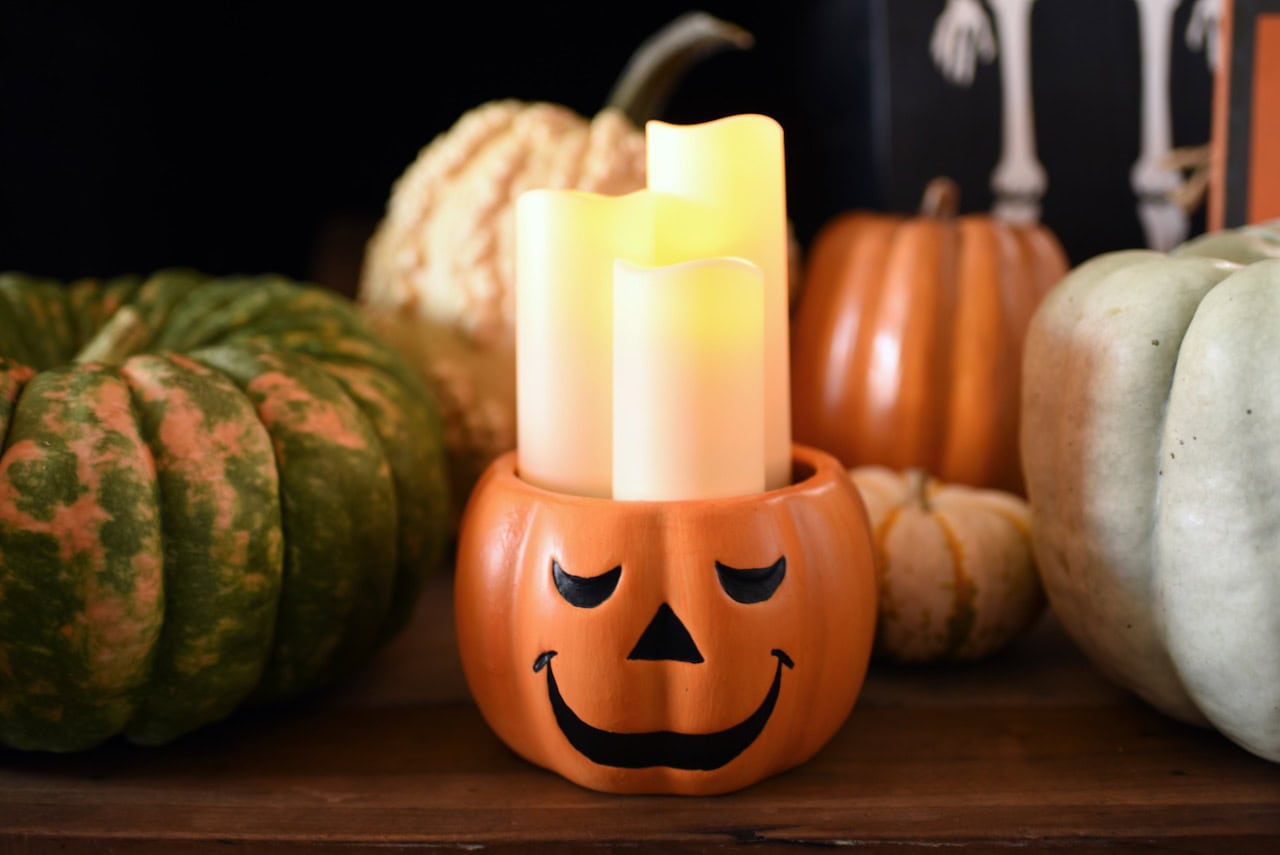
This sweet pumpkin with candles is perfect for decorating for Halloween.
Display it in any room of the house as a centerpiece, home decor, or party decoration.
I think it’s such a fun, unique Halloween decor piece- it works perfectly anywhere you put it!
My daughter wants it in her room, and it would make the perfect nightlight as she is getting to sleep.

I hope you enjoyed this fun Halloween craft.
Be sure to check out all our other Halloween DIY’s- there are a lot!
Thanks so much for stopping by!
![]()
Leave a Reply