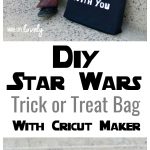
Make a custom DIY trick or treat bag with a Cricut machine that can match ANY costume!
My favorite Halloween costumes are the ones where every little detail is thought through and everything matches perfectly.

My son (as well as the rest of my family) is obsessed with Star Wars.
Check out my son’s amazing Star Wars party and our Star Wars Rebels party for proof!
When you’ve got a young Padawan learner who is a Jedi for Halloween, you just have to make them a new Star Wars trick or treat bag to go with their costume!
DIY Trick or Treat Bag
To add some fun to his costume this year, I created a fun trick or treat bag that says “May the treats be with you.”

I cut each of the silver fabric letters across the front of the bag with my Cricut Maker.
It cuts fabric you guys, and it’s incredible!!
How to Customize Your DIY Halloween Trick or Treat Bag
Use this tutorial to make your own custom DIY Halloween trick or treat bags that can work with any costume!
Not doing Star Wars? No problem!
- Use a different colored bag to match your costume
- Cut out a different quote
- Add a symbol or picture to the front of your bag to match your costume
- Use a shaped bag that matches your Halloween costume
I am an Amazon affiliate and this post contains affiliate links, which means I get a small percentage of any purchase made at no additional cost to you.
DIY Trick or Treat Bags Supplies
- Black tote bag

- Cricut Maker machine
- Silver fabric (I used silver metallic Oly-Fun, which doesn’t fray)
- Pink Cricut mat (for cutting fabric)
- Craft glue

Create Your Design
Open up Design Space, which is the platform where you will create and edit designs for your Cricut machine to cut.
You can have access to the cut file for free!
Simply use my Star Wars bag design and resize the words to fit the size of your Halloween bag.
Feel free to create your own design.
P.S. This design would also make a great shirt!
Cut the Fabric for the Bag
Place a piece of silver fabric (or silver iron-on) onto the pink mat that came with the Cricut Maker machine, then set aside.
When you’re ready to print, press the “Make it Now” button.

Press the flashing arrow button to load the pink mat with the fabric on it.
Next press the flashing “C” button for the machine to start cutting.
Arranging the Design on the Trick or Treat Bag
When the machine has cut out the design, peel off the excess silver material from the mat.
Carefully peel off each letter.
Arrange the letters on top of the bag, making sure it looks how you would like them to be on the finished DIY trick or treat bag.

Gluing the Design Onto the Bag
Add a small amount of craft glue onto the back of each letter, one at a time.
Press each piece gently into place.
I used my pink mat to help me get each row perfectly straight.
Just place the mat at the bottom of each row, then glue the letters down.
Let the adhesive dry, making sure to follow the directions on the back of your adhesive.

So simple, right?
Look how cute our DIY trick or treat bag looks!
Now you can relax and indluge in a Star Wars freakshake as a reward 😉

It looks even cooler when your kid is dressed like a Jedi for Halloween.
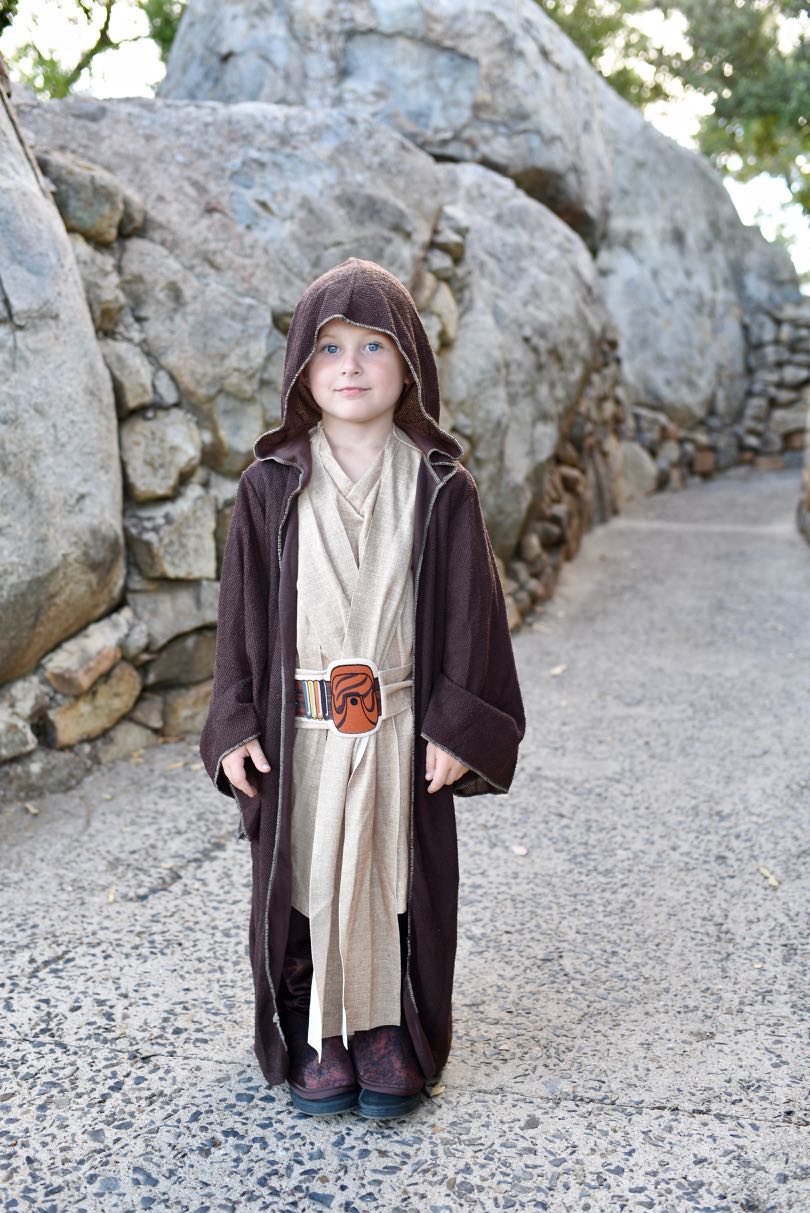
Of course we had to have a big photo session to show off his new Halloween costume and trick or treat bag!


I mean, how could I resist that sweet-faced blue-eyed Jedi?


If you love Harry Potter like us, you can make a no-sew Hedwig owl costume with your Cricut maker too!


If you’d like to learn more about all you can do with a Cricut Maker, be sure to check out my 7 Reasons You Need a Cricut Maker post.

See how I made giant crayons in this Giant Crayon DIY with Cricut vinyl.
![]()
This article was updated in September 2024 and was originally posted in September 2017.