Make a beautiful handprint Christmas tree decoration with your kids that you will treasure for years to come! Save those small handprints and turn them into beautiful holiday decor you can decorate with year after year.
As a mother of five, I’ve tried everything to get my kids to stop growing older year after year. Time flies much too quickly!
Although I haven’t figured out how to stop the hands of time (yet), I have figured out how to create a snapshot of when my kids were younger with a lovely handprint Christmas tree.
This holiday craft I made with my kids last year is a keepsake I’ll treasure for many years.
I plan on decorating with it every single Christmas, just like our sock snowman and 5-minute snowman ornaments we made!
A beautiful handprint Christmas tree makes the perfect gift for a parent, grandparent, or neighbor.
This would also be a really cool for a class to give to their teacher for a unique and thoughtful Christmas gift.
How to Make a Handprint Christmas Tree Craft
It’s really quite easy to make your Christmas tree from handprints.
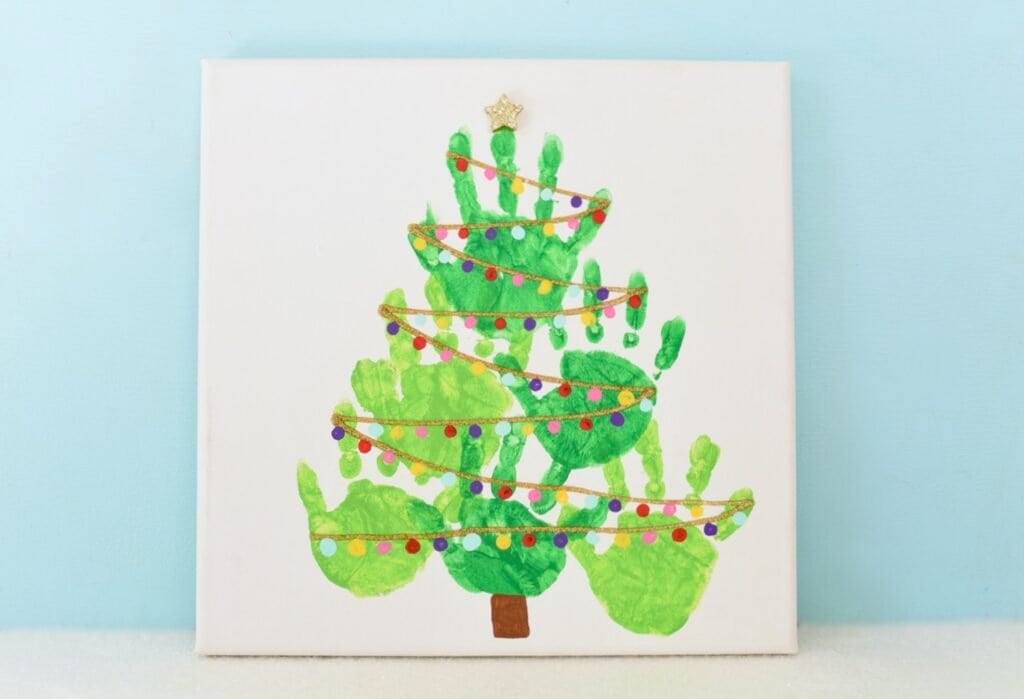
Instead of using one handprint to create a tree, I pressed my child’s handprint multiple times in two different colors of green to create a grand, large Christmas tree shape on a canvas.
I think this makes this handprint Christmas tree craft a bit more special.
We also decorated the tree with a gold glitter strand of colorful lights and a shiny star tree topper.
This really is one of the easiest Christmas crafts out there and makes a great keepsake!
Surprise the kids and make fake snow with 2 ingredients and some Christmas cookies.
These chocolate no bake cookies, Andes mint cookies, and Special K bars are our favorites we make EVERY December!
What to Do With Your Handprint Christmas Tree Decoration
- Decorate for Christmas each year with your new handprint art.
- Let your kids make their own version to decorate their bedroom for the holiday season.
- Give one of these handprint Christmas tree canvases to grandparents, other relatives, or a teacher for a gift they’ll treasure.
- Use this concept to create a handprint Christmas tree bulletin board at school or church, where each child adds their handprint to form one large tree.
- Make a quilt, pillowcase, wall hanging, or Christmas tree skirt out of the handprints with fabric paint.
- Add a single handprint tree to a piece of white folded cardstock to create a custom Christmas card. Make color copies of the hand prints to create a set of cards to give to family and friends.
This post contains Amazon affiliate links, which means I make a small percentage of any purchase made at no extra cost to you.
Materials You’ll Need
- Light green and regular green acrylic craft paint
- 12 x 12″ canvas (you could also use white cardstock if you’d like, but it won’t be as durable as a canvas you can display year after year)
- Paintbrush
- Gold glitter glue (I used Ice Stickles glitter glue that worked perfectly!)
- Small wood star
- Craft paint in multiple colors (for the lights)
- Q-tips
Prep the Hands
Make sure your child’s hands are washed and dried completely before starting.
Use your child’s clean hand to measure how many handprints you’d like to make and the pattern that you would like to use of green and light green.
Trust me, it’s much easier to plan this out ahead of time than to just go for it!
Take the lids off of the green paint and the light green paint.
Use a medium sized paintbrush to brush paint onto your child’s hand.
Be sure to paint the whole hand with enough paint to cover it, but not too much.
You don’t want any dripping paint or paint blobs on your finished handprint Christmas tree.
Press the Hands Down to Make the Tree
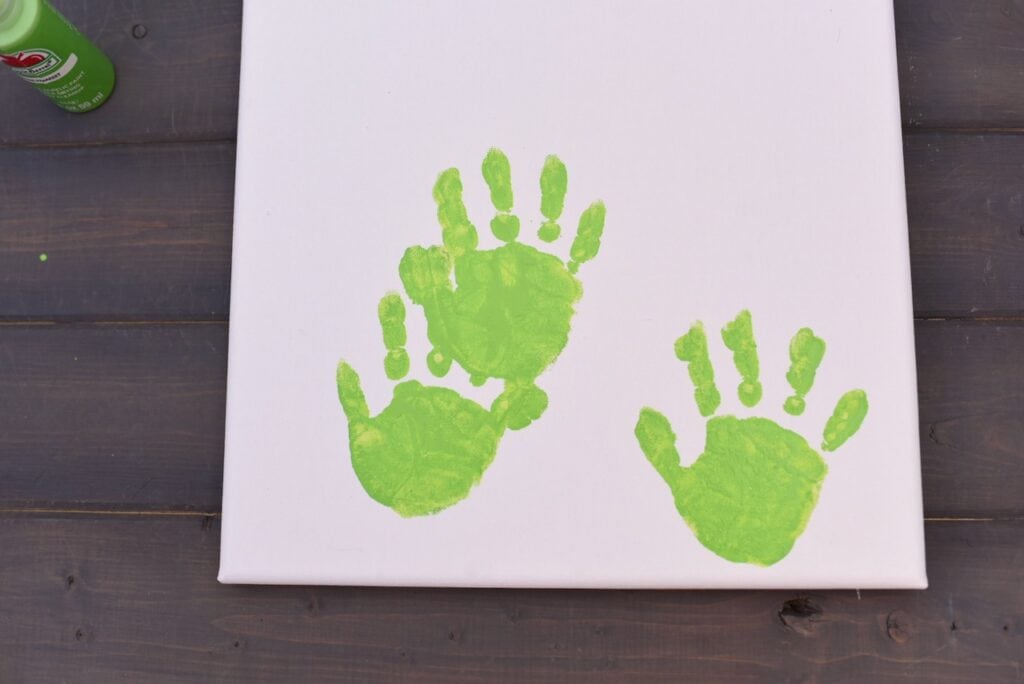
We practiced pressing my daughter’s hand on a piece of paper first to get a feel for how much paint to use and how hard to press.
After a couple practice runs, I had my toddler daughter spread her fingers and thumb apart a little.
Then I pressed her hand down firmly onto the canvas and told her to hold it down very still while I pressed it to make sure her whole handprint was down.
I gently and carefully pulled her hand up to reveal her handprint.
Since I knew the layout of what our handprint Christmas tree was going to look like, I decided to do all the handprints of one color first, then move on to the next color.
This was an easier way to do it because I didn’t have to clean her hands in between each handprint.
My daughter’s handprints overlapped a little bit so that it would look a little more uniform, like a real tree.
Let the paint dry completely before moving to the next step.
Add the Christmas Tree Strand
Every handprint Christmas tree needs some pretty Christmas lights!
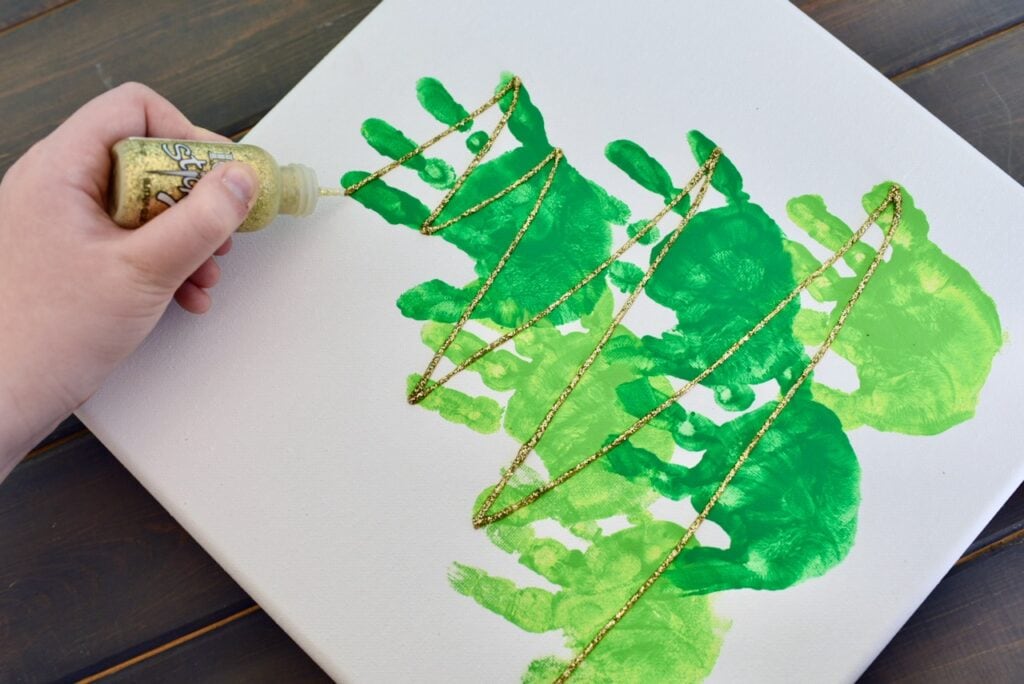
Create the light strand with shimmery gold glitter glue.
Start at the top of bottom of your handprint tree, carefully and slowly making the light strand go back and forth across the Christmas tree.
Let dry completely.
Add the Star Tree Topper
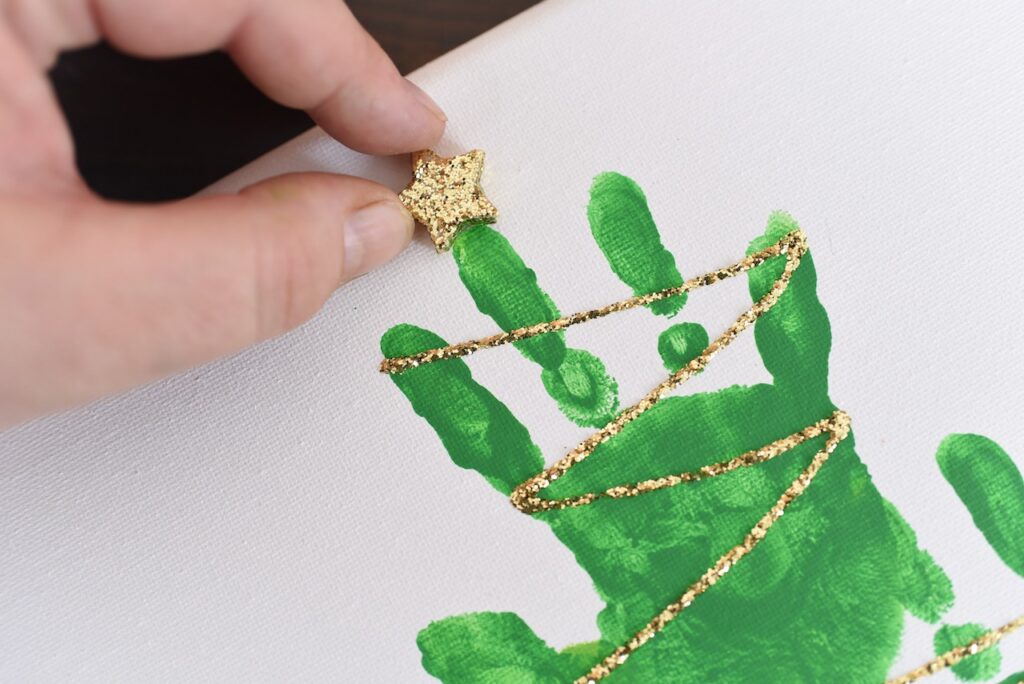
Use the same glitter glue or glue and gold glitter to paint a small wood star.
You could also just use yellow paint to make a yellow star.
Let dry completely.
Attach the painted gold shimmery star to the top of the tree with some hot glue.
Make the Christmas Tree Lights
Make sure that the gold glitter light strand is completely dry before starting the Christmas tree lights.
- Pour out a little of the paint colors onto a paper plate or paint palette that you would like to use for the lights.
- Dab the end of a Q-tip into one of the paint colors, then gently press down onto the plate to test. I like to test to see how much paint is on the Q-tip and how big it makes the circle light. This will help you know if you need to blot the Q-tip first each time or just go straight to the canvas.
- Start at one end of the strand and press the Q-tip down to make a light.
- Repeat with the next color near the first light with a clean Q-tip.
- Repeat for each color that you are using, with one Q-tip per color.
- Keep a consistent pattern for a uniform look.
- Let dry completely.
Last but not least, be sure to add a brown tree trunk at the bottom of the tree with a paintbrush and some brown paint.
Isn’t it darling?!
I absolutely love how this sweet Christmas craft turned out, and plan on displaying it every year.
It will make such a cute decoration in my daughter’s room too!
Other Ways to Decorate Your Handprint Christmas Tree
- Make small ornaments for the tree from craft foam or construction paper
- Glue small ornaments made from buttons onto the tree
- Use pipe cleaners or other craft supplies to create a garland for the tree
- Add any other embellishments you would like to your handprint Christmas tree
- You can even use this same concept but with one hand to make handprint Christmas tree cards from your kids
I hope you love this sweet handprint craft as much as we do.
Happy crafting!


Leave a Reply