

How to make stickers with Cricut Print then Cut with your Cricut Explore or Cricut Maker. Learn step-by-step how to use the Cricut print then cut feature. You’ll also learn lots of helpful tips and tricks to help you use Cricut Sticker Paper.
I’ve been obsessed with stickers ever since elementary school- I even founded a sticker club in 5th grade!
I can’t believe how easy it is to make my own stickers using Cricut print then cut on my Cricut Explore Air™ 2 machine.
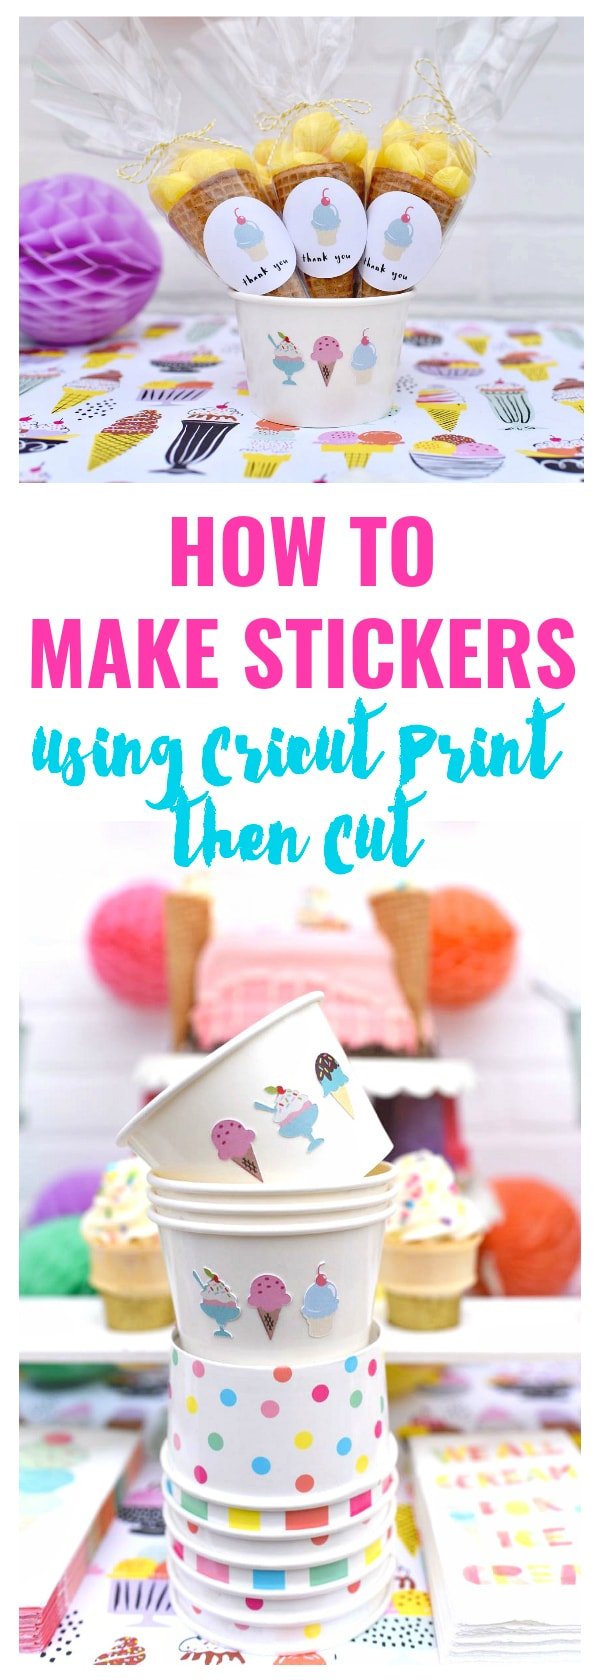
The Cricut print then cut feature was perfect to create personalized ice cream spoons and cups recently at our ice cream party I threw for my tween daughter.
They are a great way to add our party colors, designs, and themes into your party.
And the best part? They are so simple!
How to Make Stickers with Cricut Print then Cut
Today I’m sharing how to make stickers with Cricut print then cut, and I’m sharing the cut file with you too!

Supplies To Make Cricut Stickers Using Cricut Print and Cut
- Cricut Explore Air™ 2 machine
- Cricut Sticker Paper (or another brand of sticker paper)
Open Cricut Design Space
Log into Cricut Design Space to start creating.
If you don’t have an account, it just takes a minute to set one up.
You can also use my 1 “ice cream stickers cut file I already created!
If you just want to use my ice cream stickers cut file, then skip ahead to step #5.
- Have Cricut Access? Then the cut file will be FREE!
- Don’t have Cricut Access? The total is about $4.95 for the specific designs I used.

Search for Images to Use
In Cricut Design Space, start a new project, then press on the left side of the screen where it says “Images.”
Use the search bar in the top right of the screen to find the images you like.
I searched for ice cream, then selected all the images I liked.
Then I pressed the “Insert Images” button at the bottom of the page.

Flatten the Images
Select each ice cream, then hit the “Flatten” button at the bottom right hand side of the screen.
This turns each ice cream into one whole piece instead of a separate cut file for every little piece of the ice cream.
Resize and Copy Your Images
Resize each ice cream by clicking on it, then dragging the right hand side of the box to the size that you like.
I made each of my ice creams about 1″ so they would fit well on my ice cream spoons and cups.
If you would like multiple rows of ice cream like I did, you can press the “Select All” button (with a + sign above it) at the top left of the screen.
Then press “Edit” at the top, then “Copy.”
This will copy the whole row for you.
Then just press “Edit” again, then “Paste.”

This is an easy way to copy and paste multiple elements in your design, instead of manually copying and pasting each one.
Yay for shortcuts!
How to Print the Cricut Stickers
Now your design is ready for printing.
Press “Save” at the top left to save your project, and save to be a “Print then Cut” image.
Press the big green “Make It” button at the top right hand side of the screen.

Make sure everything looks good, then press “Continue.”
You will be prompted to print the design onto your paper (be sure to load sticker paper if making stickers like I did).
What to Do If the Cricut Sticker Paper Gets Jammed
I’ve heard from many of you that your HP printers are getting jammed with the Cricut Sticker Paper because it’s too thick. Here are two options to help…
Solution #1- Use a Thinner Brand of Sticker Paper
Use a thinner brand of sticker paper than the Cricut Sticker Paper or buy full sheet labels that are thinner.
Some readers have recommended Avery full sheet labels and think that this is the best sticker paper for Cricut.
Your printer should be able to handle these without a problem!
Just be sure to use a different material setting on your Cricut machine, one that is comparable to the thickness of your sticker paper.
Solution #2- Print on Cricut Sticker Paper at a Copy Shop, the Cut at Home
If you really want the thicker stickers that you’ll get with the Cricut Sticker Paper (but your printer doesn’t want to print on them), then take your sticker paper to a copy shop.
I took mine to Office Depot and they were able to print on the thick Cricut Sticker Paper with no problem.
There are a few things you have to pay careful attention to though, so please read below carefully for the best results!
- Be sure to take the pdf file of your project that you’ve saved under “Advanced” when you go to print and cut your design in Design Space.
- Ask them to make inkjet prints (not laser prints) onto your sticker paper.
My local Office Depot has two inkjet printers so this worked perfectly!
Your Cricut machine will NOT read a laser printer print, so make sure this is done with an inkjet printer.
- Be sure that the design is printed at 100%.
If it’s printed at a different size, then the registration marks on your paper won’t be the right size and your Cricut machine won’t cut accurately.
I took my sticker paper home, then followed these next steps and my stickers cut perfectly!
How to Cut the Cricut Stickers with Your Machine
After your design has printed, adjust the dial on your Cricut Explore Air™ 2 machine to the right setting.
If using the Cricut sticker paper, which is quite thick, I like to use the “Vinyl” setting.
Place your sticker paper on the cutting mat, then load it into the machine by pushing it up against the rollers.
Press the flashing “Load/Unload” button.
Press the flashing “Go” button to cut your stickers.
These stickers are small and intricate, so it will take a few minutes to cut.
How to Cut Your Stickers Twice
Here’s a little helpful trick if you need to cut your stickers twice.
I cut the design once with my Cricut machine, then pushed the flashing button again (without touching the mat or paper) to cut the same thing one more time.
The only trick to this is that you can’t pull out the mat or move the paper at all before doing this!
If you use Cricut Sticker Paper, then this cuts the stickers perfectly so that the thick stickers are easy to remove from the backing sheet.

Aren’t they adorable?
It doesn’t get much cuter than tiny ice cream stickers.

To decorate the ice cream spoons, I peeled off a sticker and stuck it right on the end of the spoon.

To decorate the ice cream cups, get creative!
Line the ice cream stickers up in a row on the cups, scatter them all over, or let each party guest get in on the fun and decorate their own cup.
I’m so in love with my Cricut Explore Air™ 2 machine and can’t wait to use it even more!
There are SO many creative things you can do with this machine.

Check out more cute Cricut projects at our ice cream party.
Check out all the fun party ideas, including a grocery store ice cream cone cake hack, an easy DIY ice cream cone garland, a DIY ice cream cone stand, and so much more!
More Helpful Cricut Tutorials:
- Everything You NEED to Know About Cricut Infusible Ink
- 7 Reasons Why You Need a Cricut Maker in Your Life
- The Foolproof Way to Make DIY Wood Signs with Cricut
- How to Make Custom Aprons with Cricut Iron On Vinyl
- Vibrant Tropical Baby Shower with Cricut
- Cricut Iron on Onesie for Baby
You’ll love these fun posts too!


Happy crafting!
![]()
This How to Make Stickers with Cricut tutorial was updated in June 2021 and was originally published in June 2017.